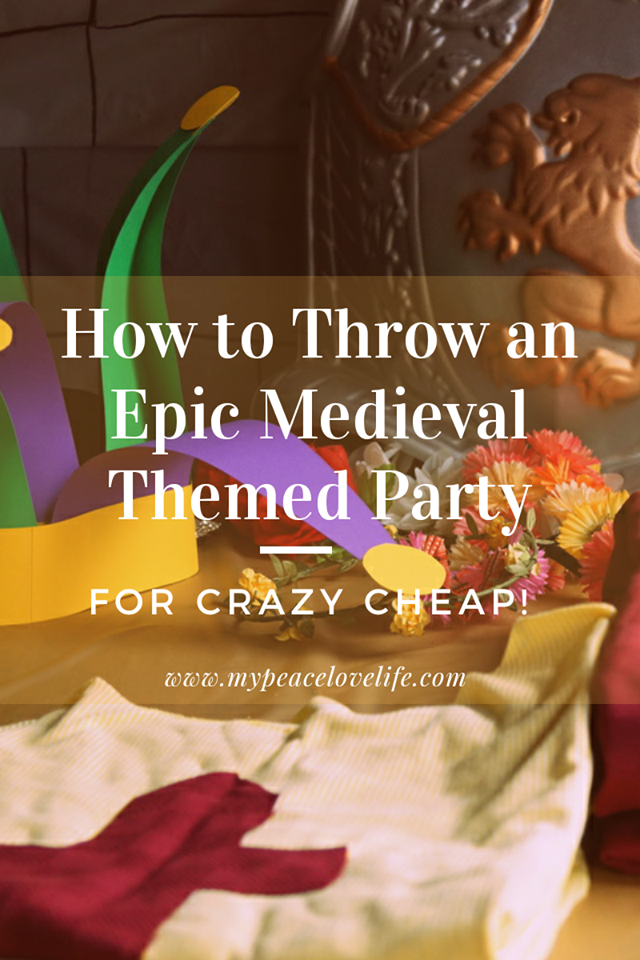
This year my wonderful mother turned 60 years old! Since 60 is a pretty special milestone, I wanted to do something extra awesome for her, so she would remember it for the rest of her life. We are both obsessed with the t.v show "Reign", which is a show about kings and queens, and castles, and the like, so I decided to make her "Queen for a day!"
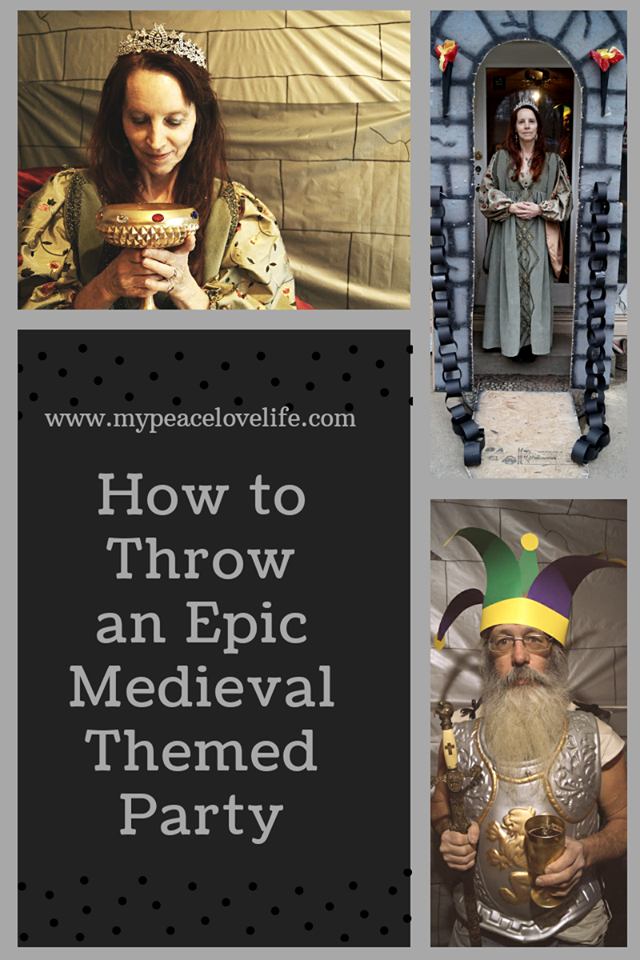
Here are pictures from our Medieval themed party, with lots of tips and D.I.Y that you can steal for your very own medieval themed party!
Here are pictures from our Medieval themed party, with lots of tips and D.I.Y that you can steal for your very own medieval themed party!
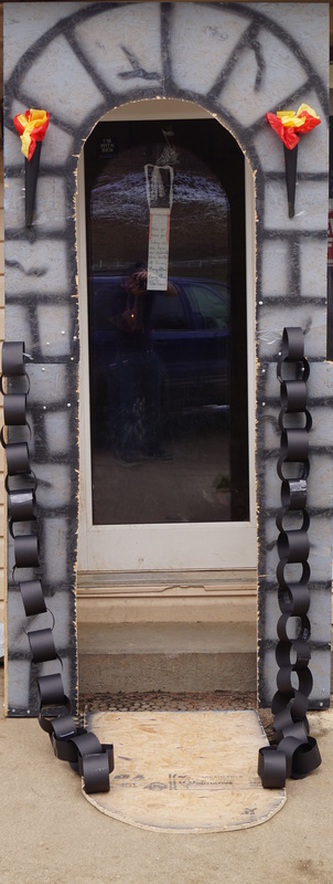
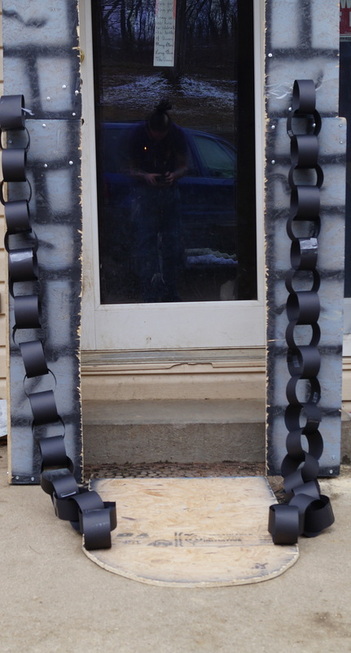
First things first, you gotta set the scene! I absolutely love themed things, and to pull off a themed thing successfully (whether it be a wedding, room decor, an outfit, or a party), people must know immediately, what the theme is! As soon as people enter the room, they should think that they are in a castle! We took it a step further, and made it so as soon as people pulled into the driveway, they knew they were about to enter a castle! We did that with this incredible drawbridge that my husband made out of some scrap wood from his work! Here's how we did it!
My wonderfully crafty husband just got some scrap wood from work, picked up a saw, and cut a person-sized door our of the wood! Keep the door so you can lay it on the ground, and connect some chains to it, to make it look like a draw bridge!
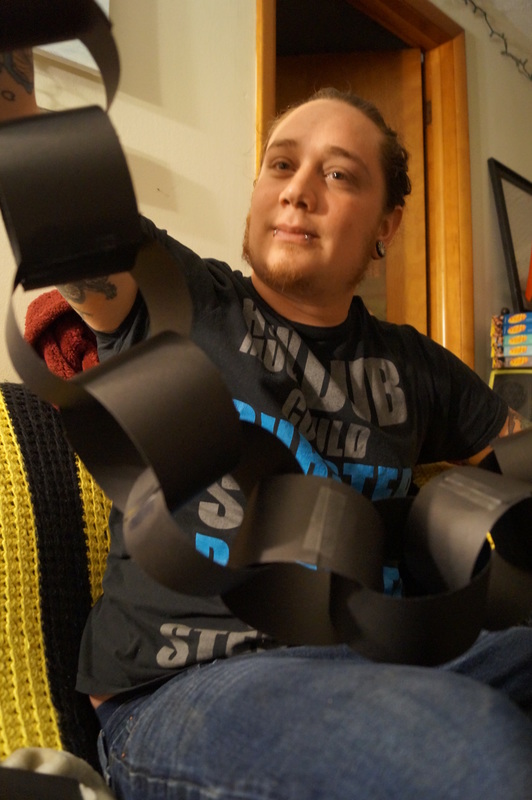
The drawbridge chains are just black construction paper cut into strips, then linked and taped together. You know how you used to make paper chains in school! For these, just make sure the strips are wide, so it looks like thick chains.
|
|
Nick picked up cans of black and grey spray paint for just a couple bucks each, and spray painted it to look like blocks.
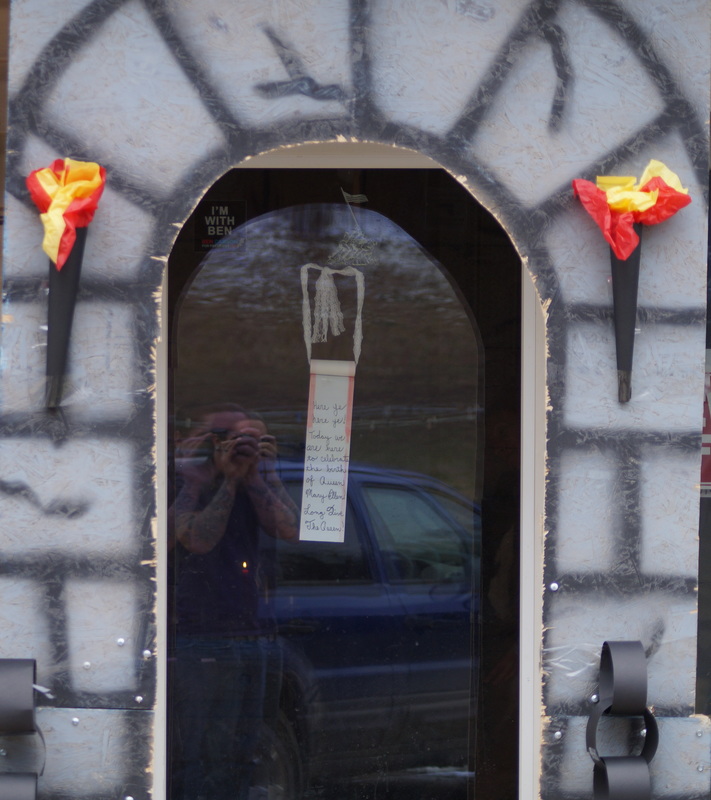
We also added some "torches" to either side of the gate.
These torches are super simple to make, and look so good! We made a bunch and also used them inside the house.
These torches are super simple to make, and look so good! We made a bunch and also used them inside the house.
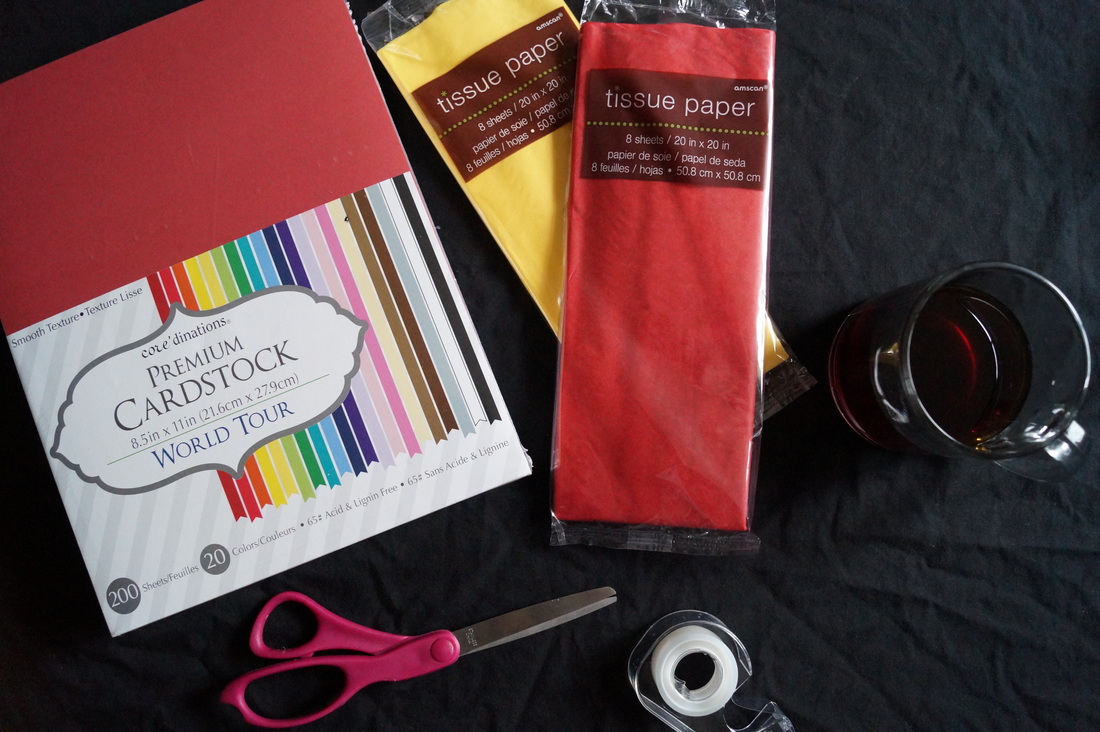
These torches are super simple to make! All you need is; black construction paper, red and yellow tissue paper (we got these at Dollar Tree for only a dollar each), and scotch tape and scissors!
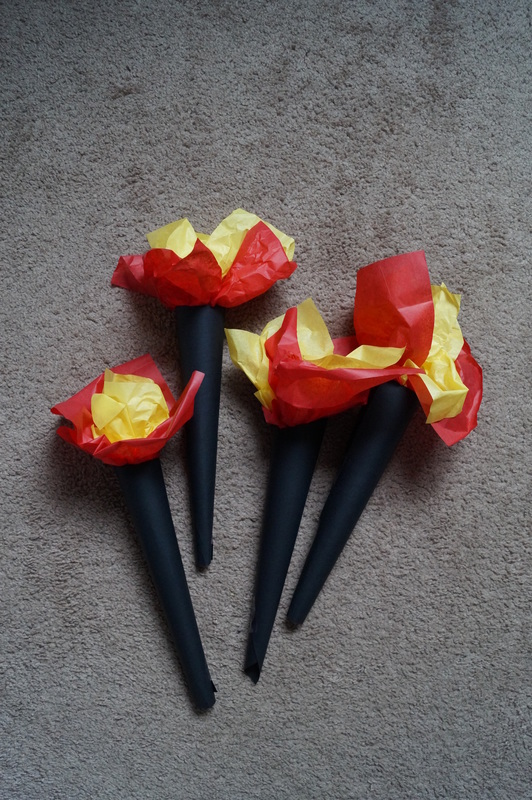
What to do; Cut one black piece of construction paper into a square, so you can roll it into an ice cream cone looking tube, then tape. The top should be a large hole, with the bottom coming to a point, just like an ice cream cone! Then take both colors of tissue paper, and shove them into the top hole, fanning them out to look like a flame. You can also place battery operated tea lights on top of the flames, to make it light up!
Now for the inside of the house!
Now for the inside of the house!
Those walls!
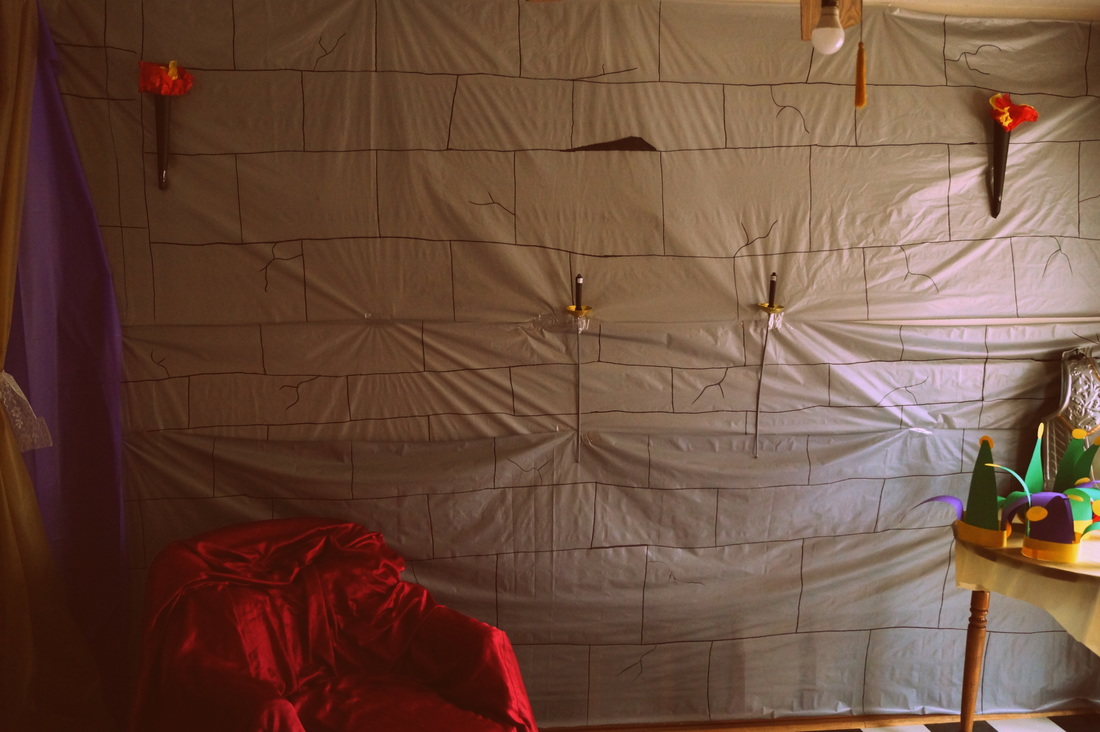
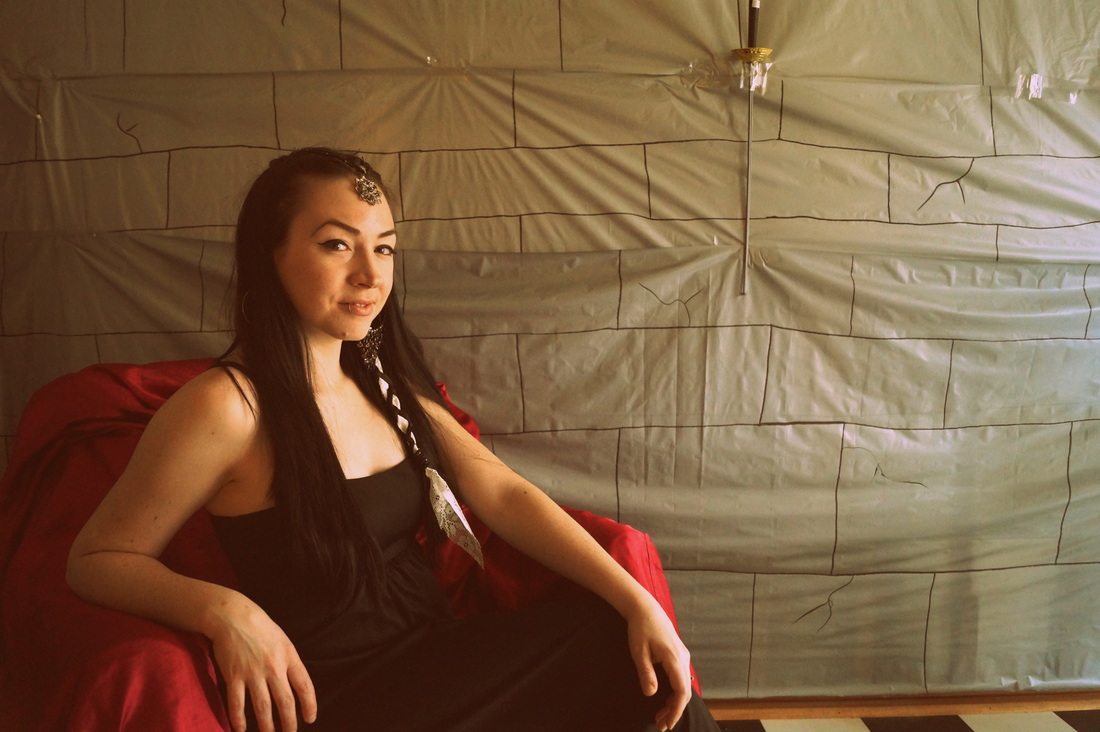
The walls were one of the most important elements of the decoration, because that's what hid our modern day dining room walls, and turned it into an ancient castle! It even helped hide the living room and the kitchen.
The walls were one of the most important elements of the decoration, because that's what hid our modern day dining room walls, and turned it into an ancient castle! It even helped hide the living room and the kitchen.
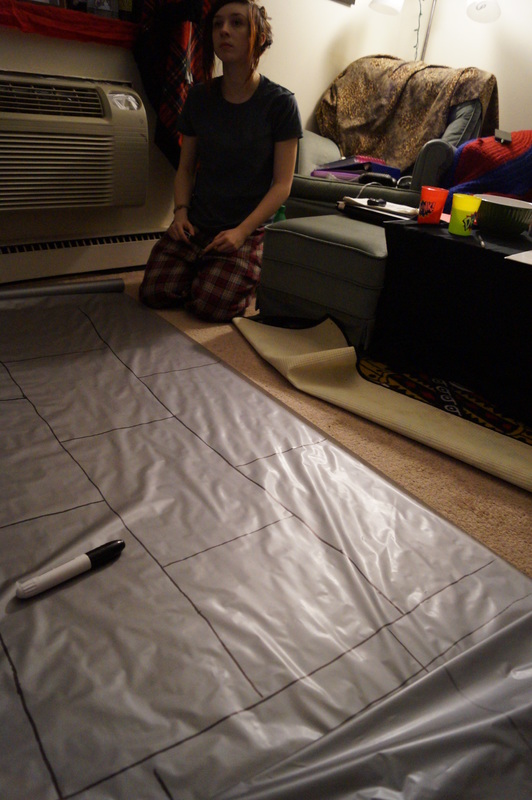
We bought a roll of grey plastic table cloth from Party City, and me and my sister used permanent markers to draw blocks. We just rolled out the tablecloth and drew yards upon yards of this, so we could make sure every wall was covered. When it came time to decorate, we just measured out the lengths horizontally, cut the rolls, and taped them to the walls with heavy duty tape!
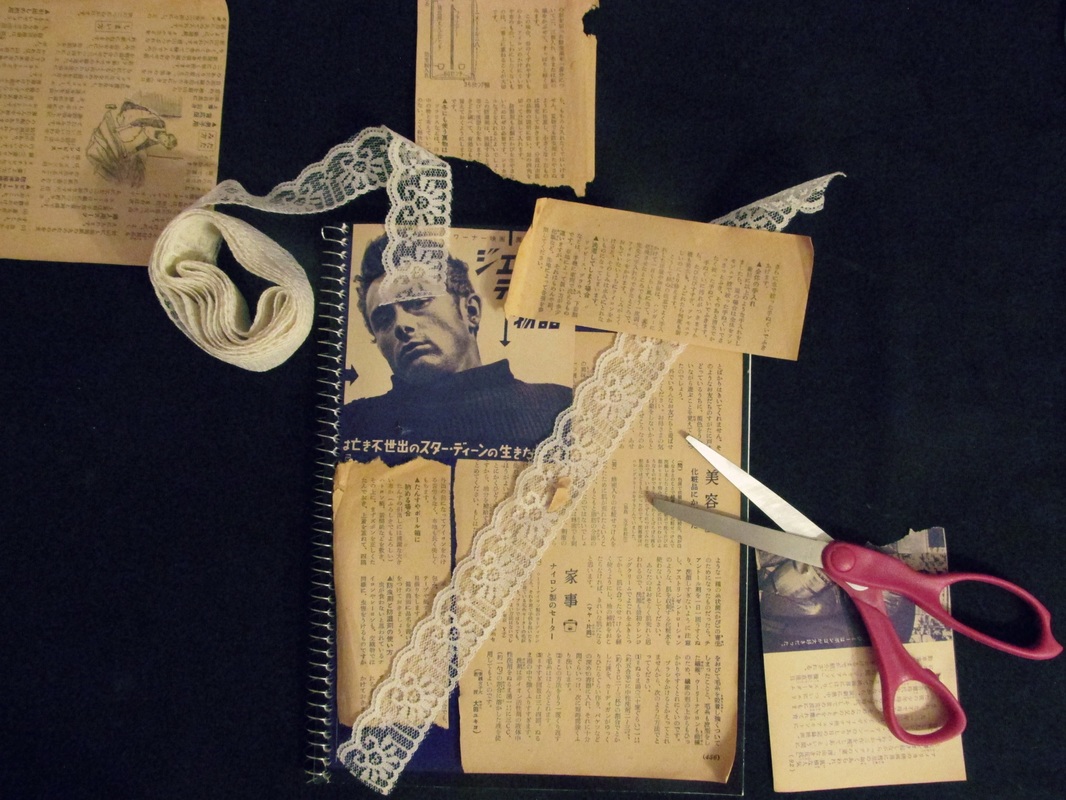
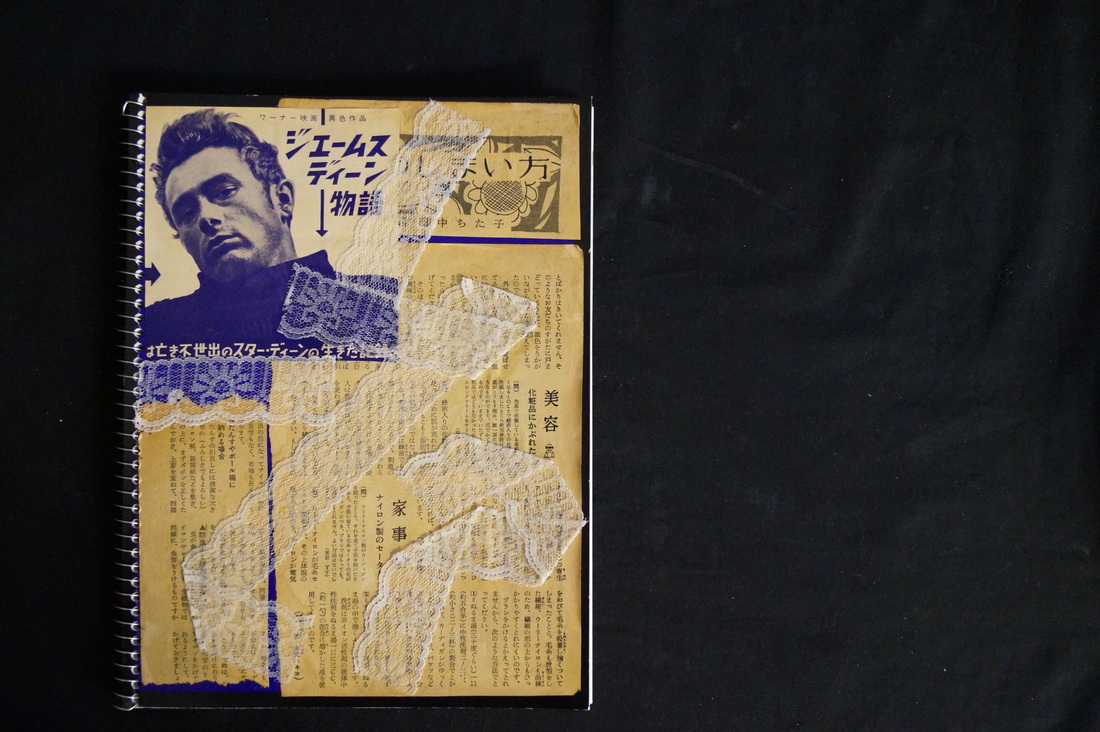
We cut a couple pieces of the table cloth and hung it vertically from the ceiling to hide the living room. We also taped purple and gold plastic tablecloths to the ceiling, and tied it with lace to act as "curtains".
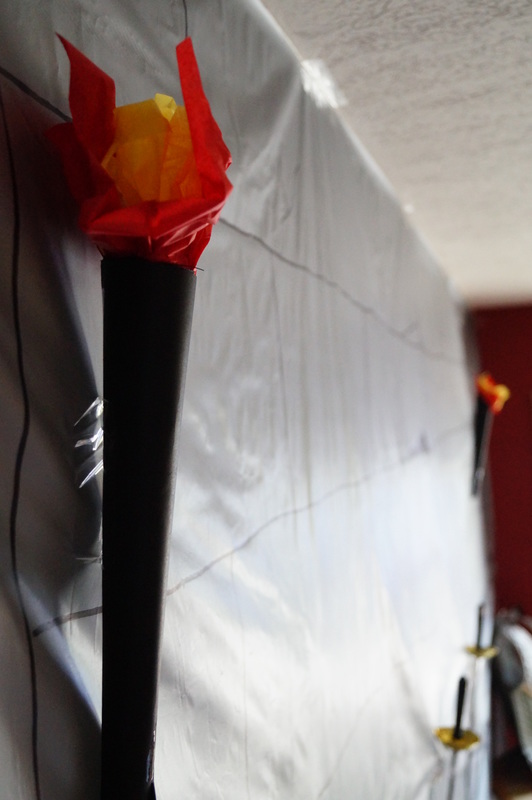
Here are some more of the torches we made! Taped to the interior of the castle walls.
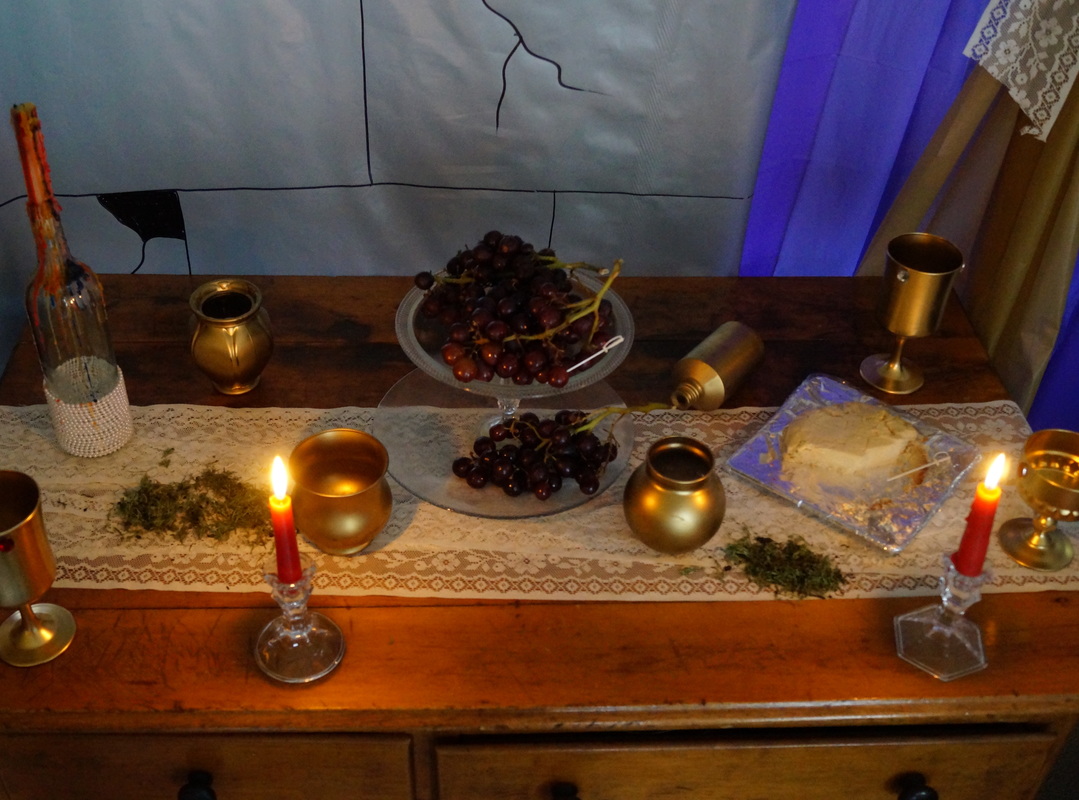
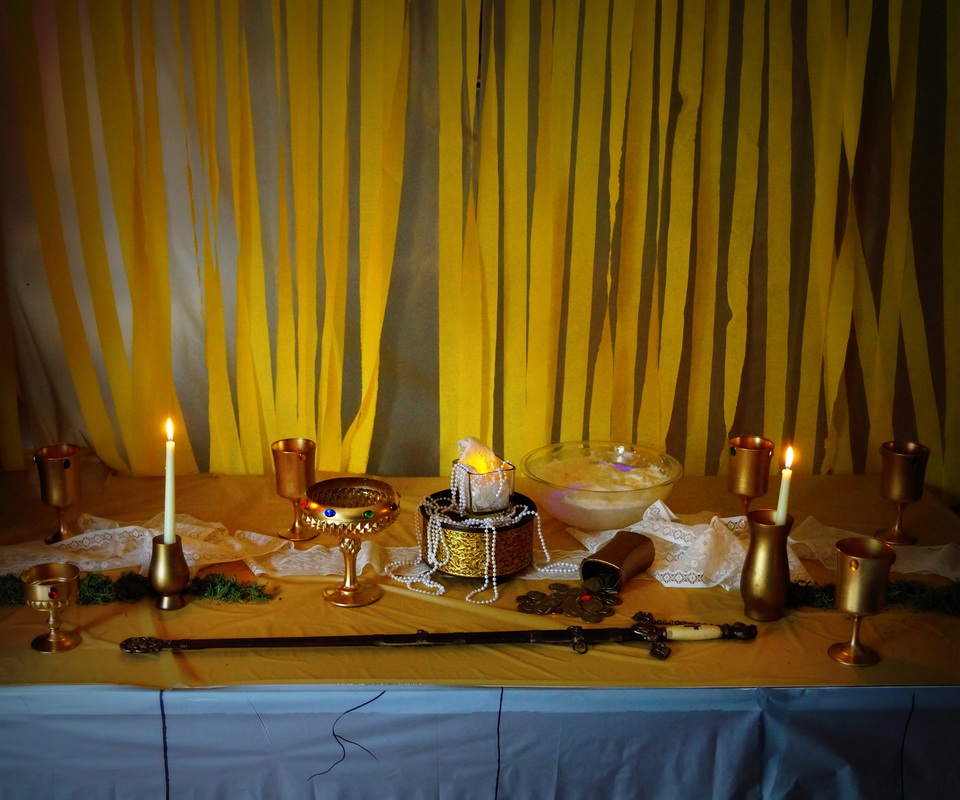
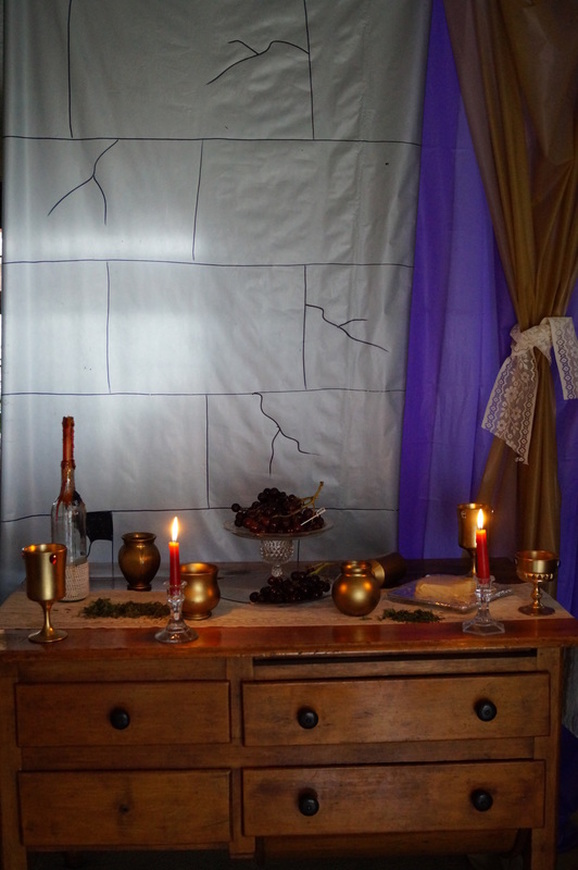
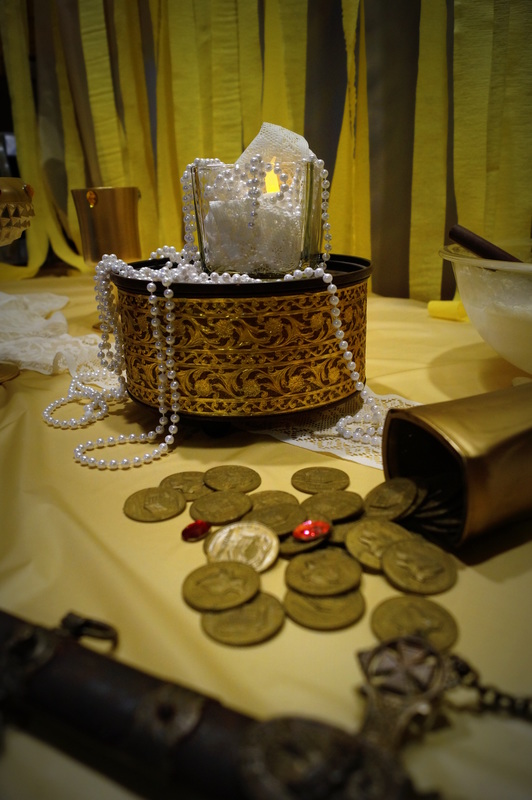
Lots of pearls (from our wedding. You can buy strands of them from Oriental Trade or JoAnn Fabrics), candles, lace (also from our wedding), fake coins and jewels (bought from Dollar Tree for only $1.00 each)! Also, mounds of moss (bought from Dollar Tree!), gold vases (these were from my cousin's wedding. She just spray painted old vases from thrift stores), and golden chalices!
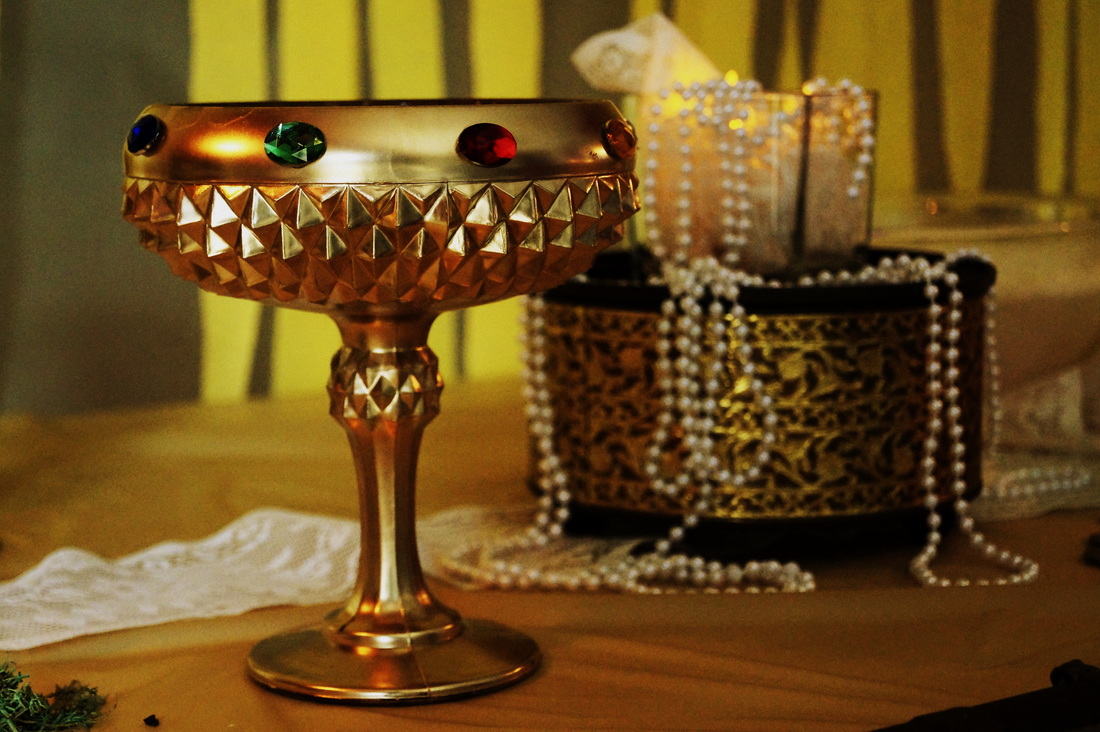
Golden chalices!
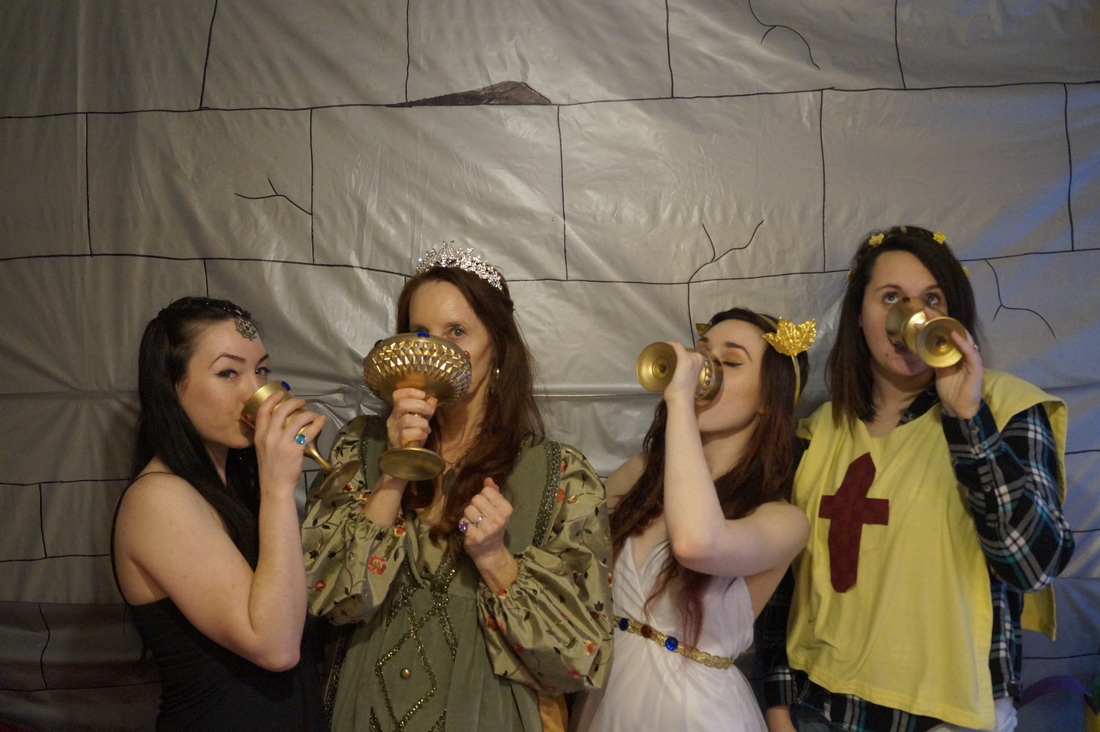
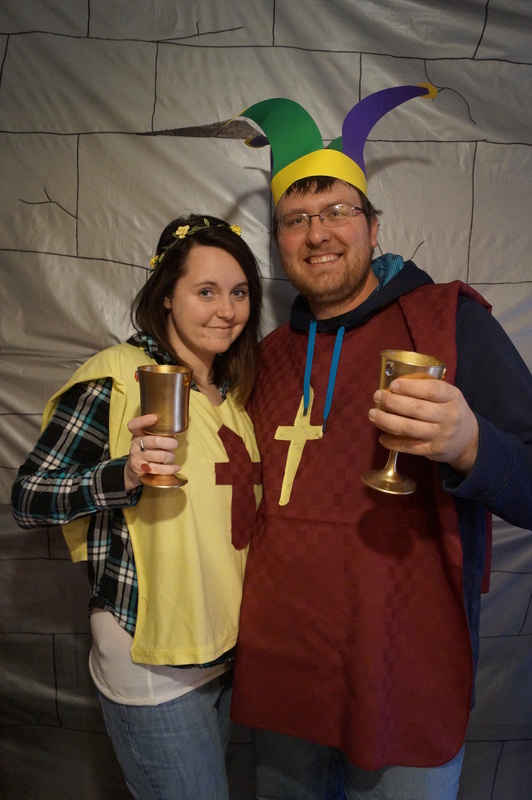
These goblets added great medieval flair! Plus, we made enough for everyone at the party, so everyone got to drink in medieval style, and! Had a great party favor to take home with them!
These goblets added great medieval flair! Plus, we made enough for everyone at the party, so everyone got to drink in medieval style, and! Had a great party favor to take home with them!
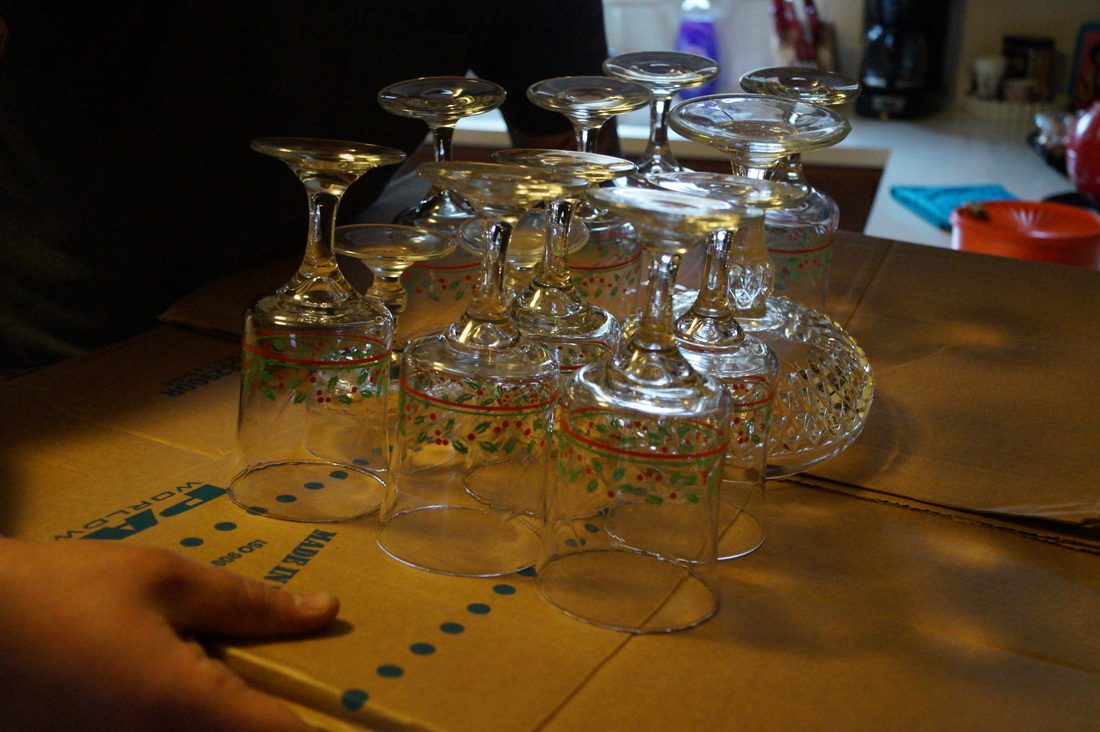
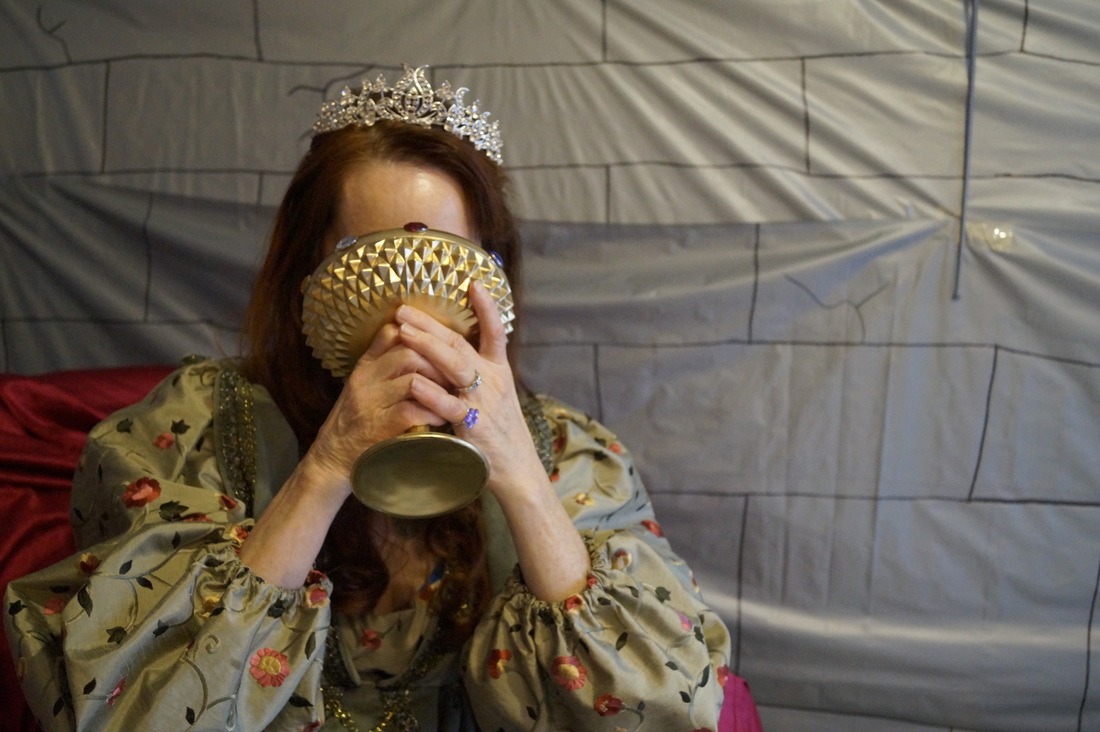
We went to the Salvation Army and bought glass goblets for $.25 each. They were all matching except for my mom's, which was huge and very Queenly!
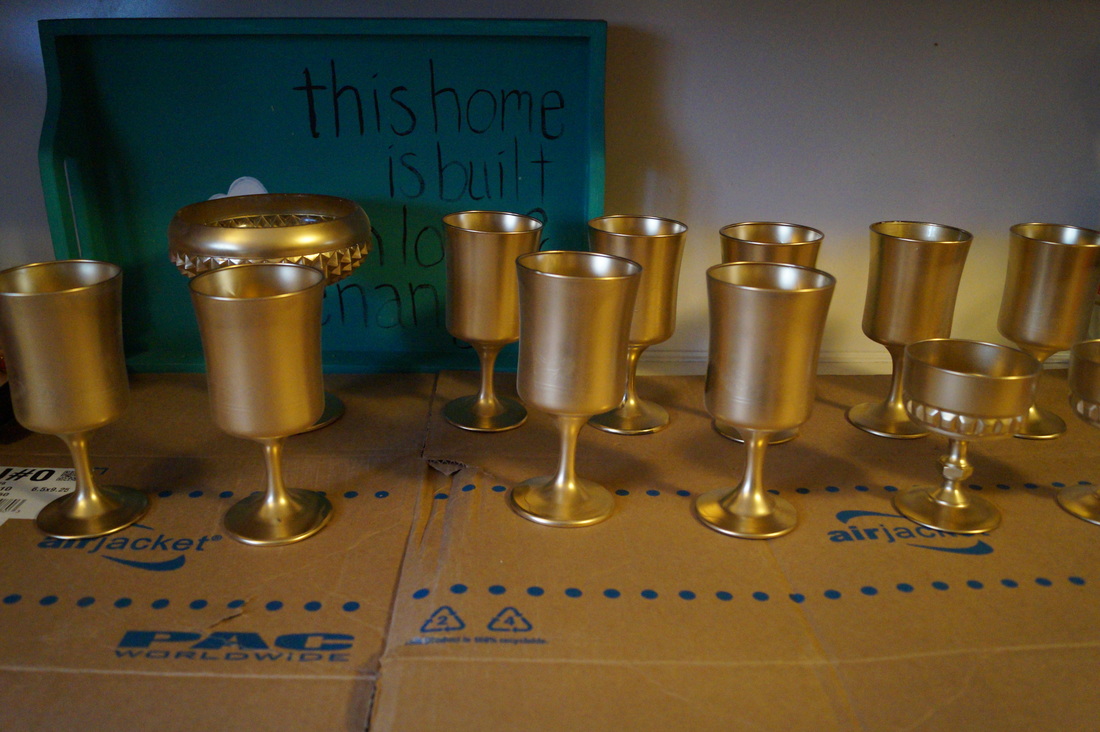
Nick took the glasses outside and spray painted them to perfection with gold spray paint (just don't paint the insides-you don't want your guests drinking paint!).
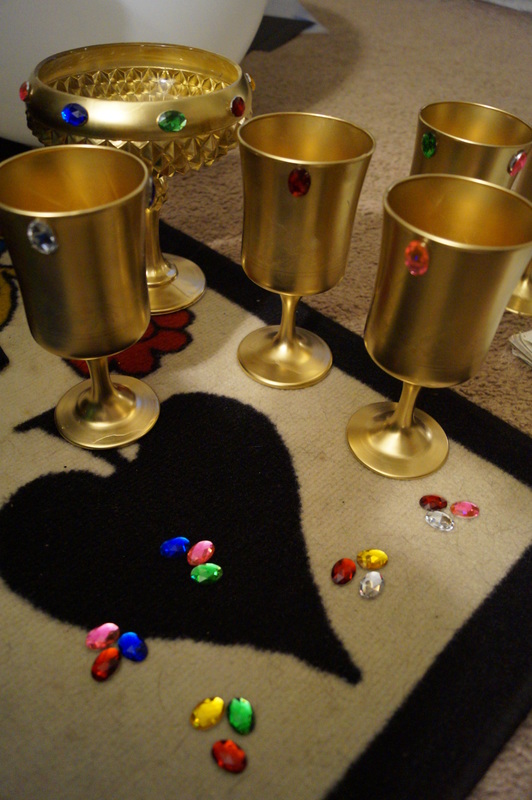
After the goblets dried, I got to work with my hot glue gun, gluing "gems" (we got a bag for $1.00 in the craft section of dollar tree!) onto them!
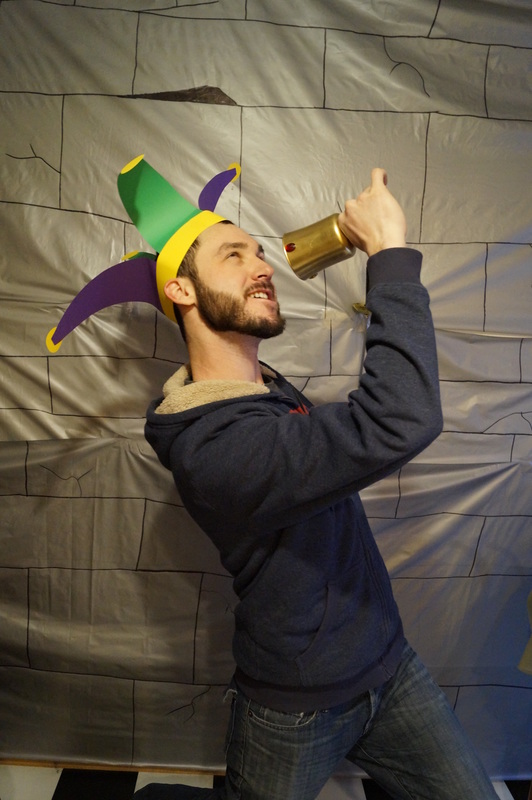
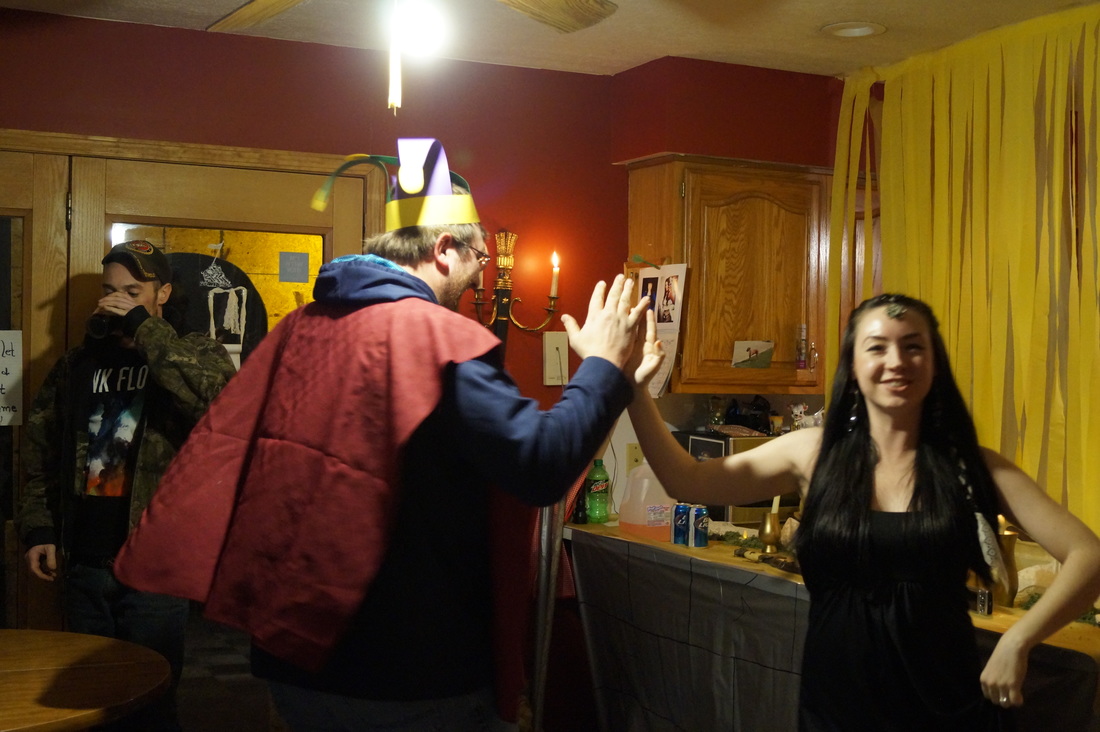
The results of these under $.50 each handmade goblets? Royal, and super fun! Check out how much fun everyone was having with theirs (ok it probably helped that they were filled with booze!)!
|
|
|
|
Well I guess this brings us to the costumes!
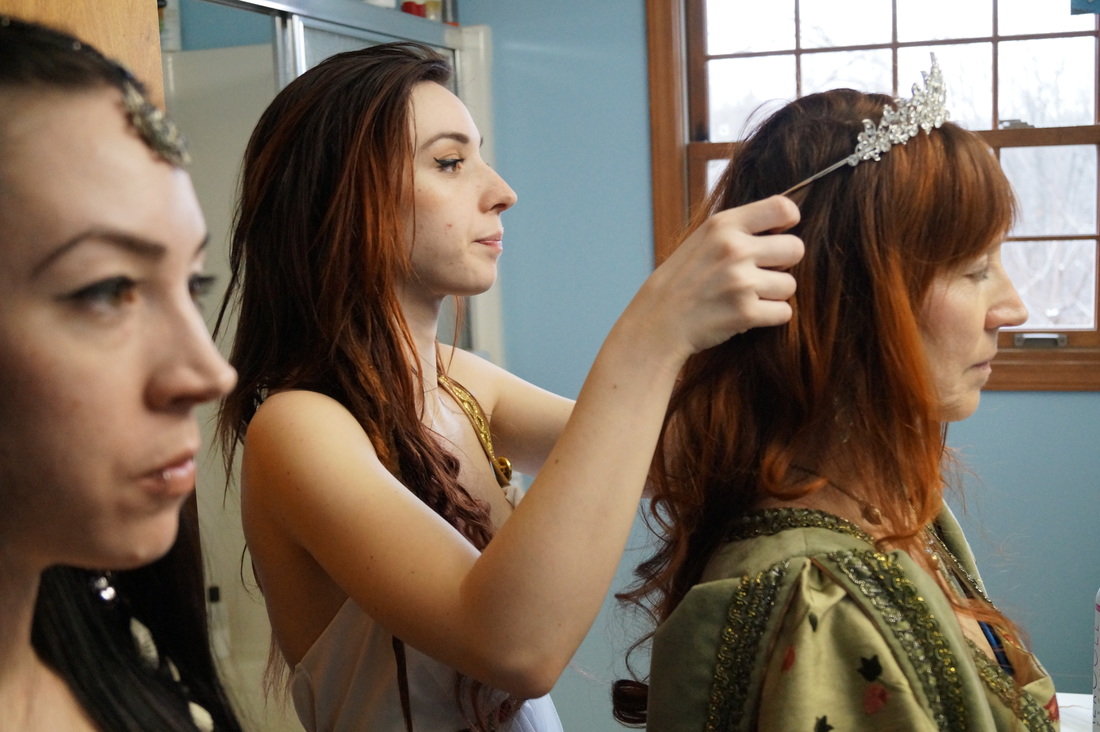
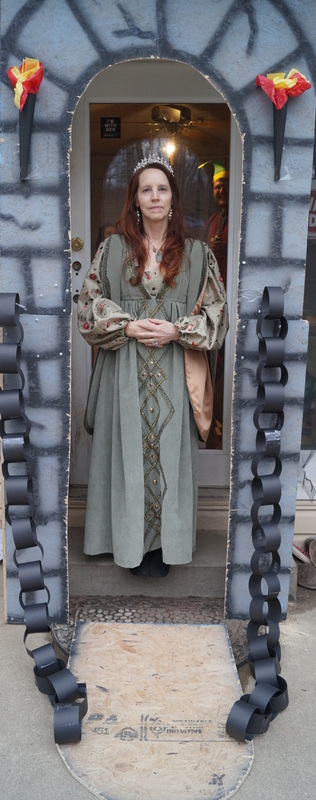
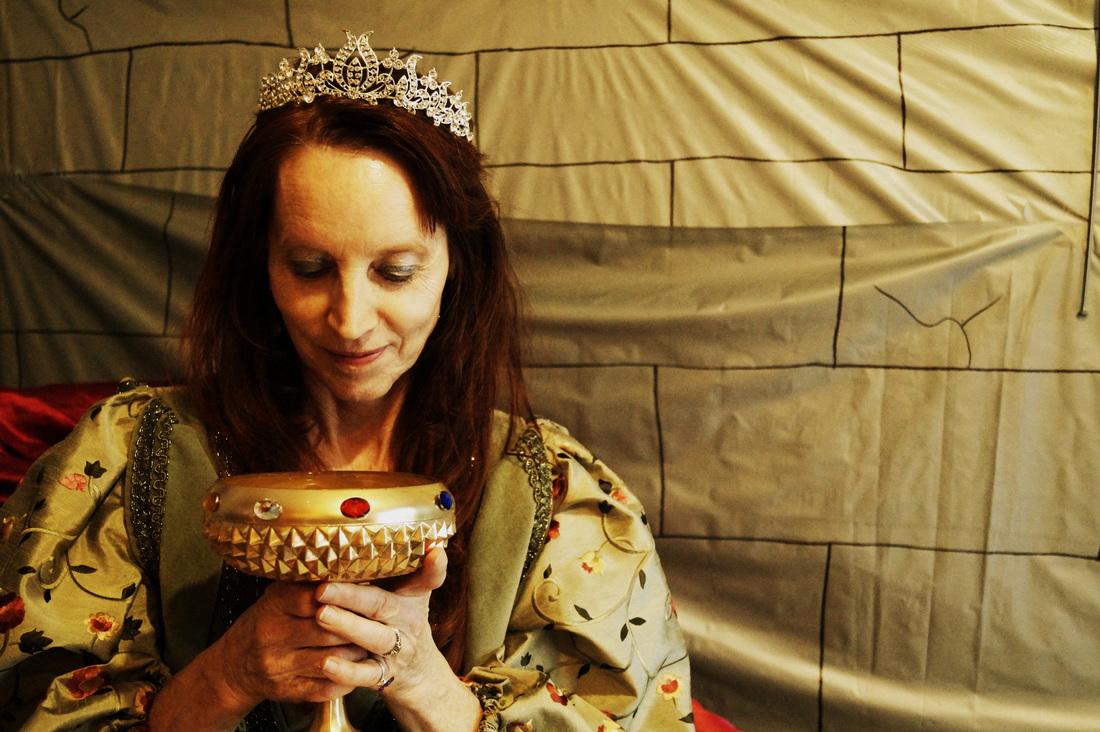
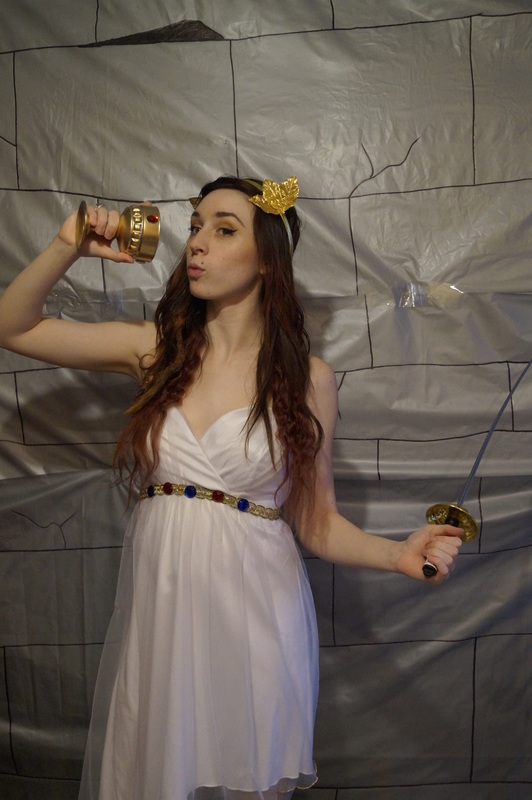
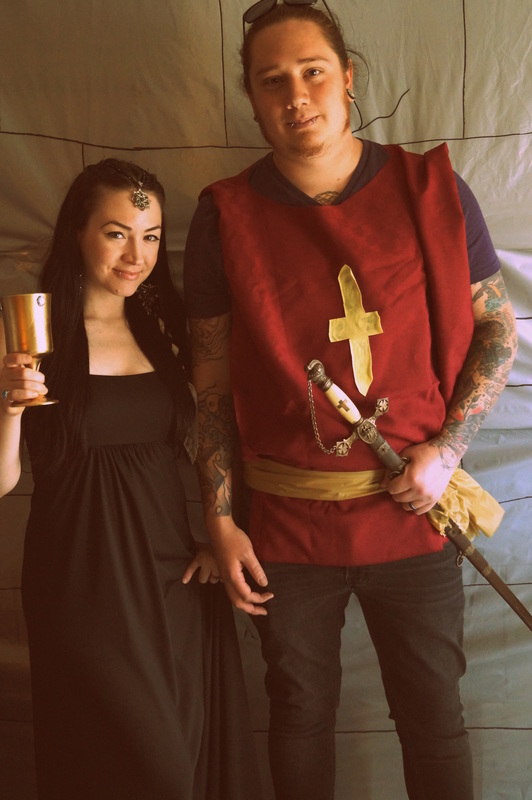
Since I wanted my Mom to feel like the Queen she is, I rented her this stunning Queen dress, complete with this gorgeous tiara! I rented it from an amazing party store in the Canton/Akron area, Akron Design and Costume. This place is the coolest costume store I have ever seen! And it's open year round!
I also gave her beautiful earrings and a necklace, from Eden.
I also gave her beautiful earrings and a necklace, from Eden.
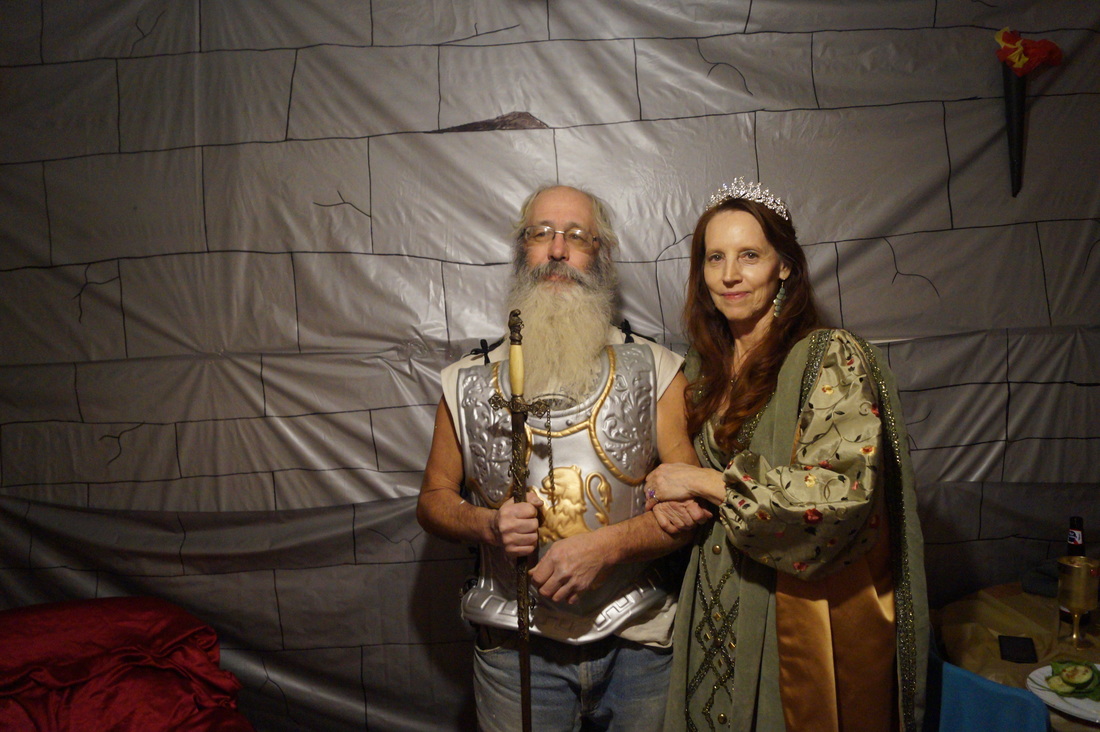
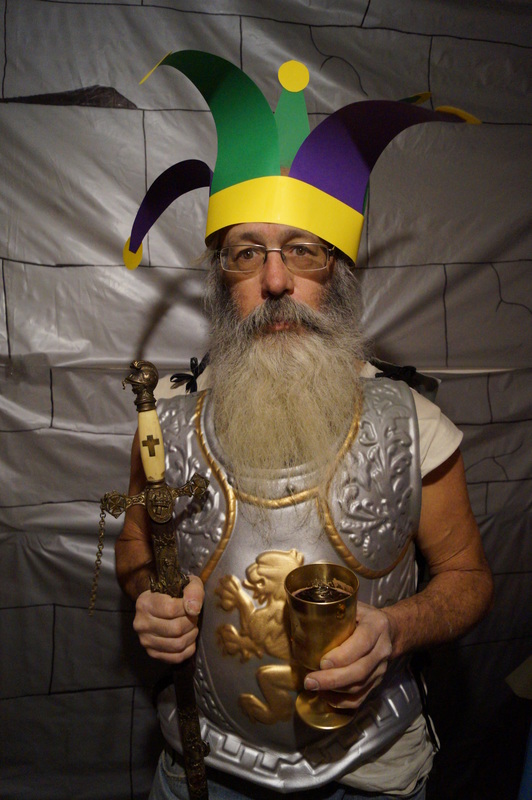
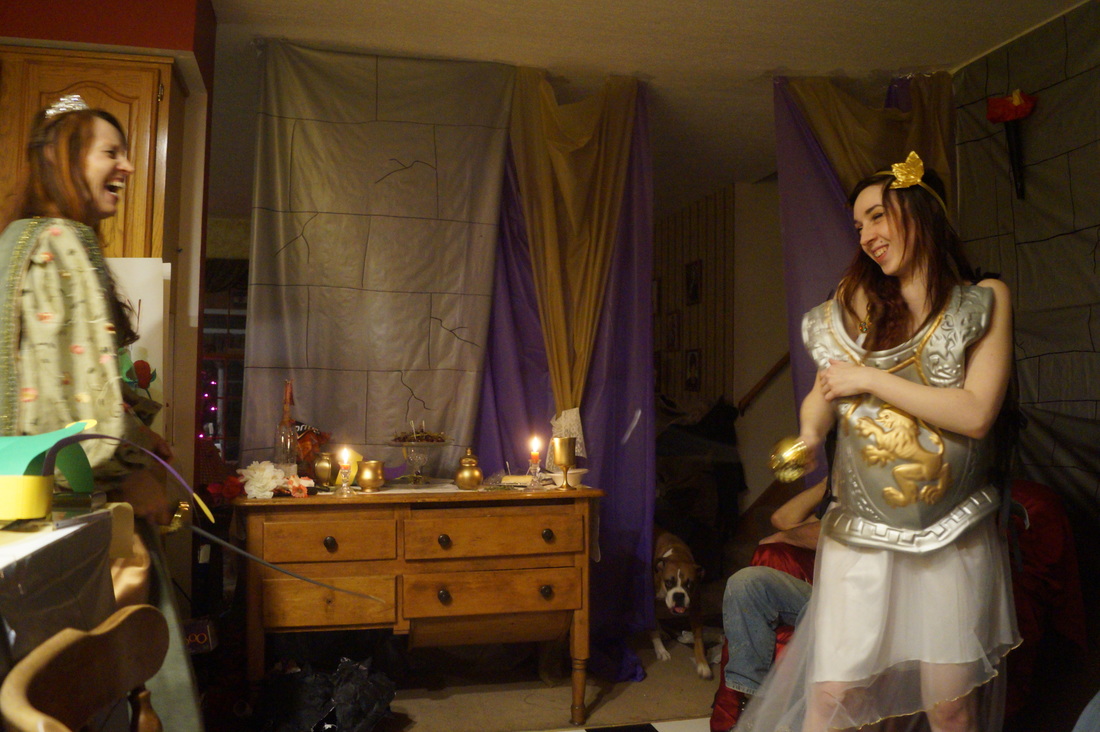
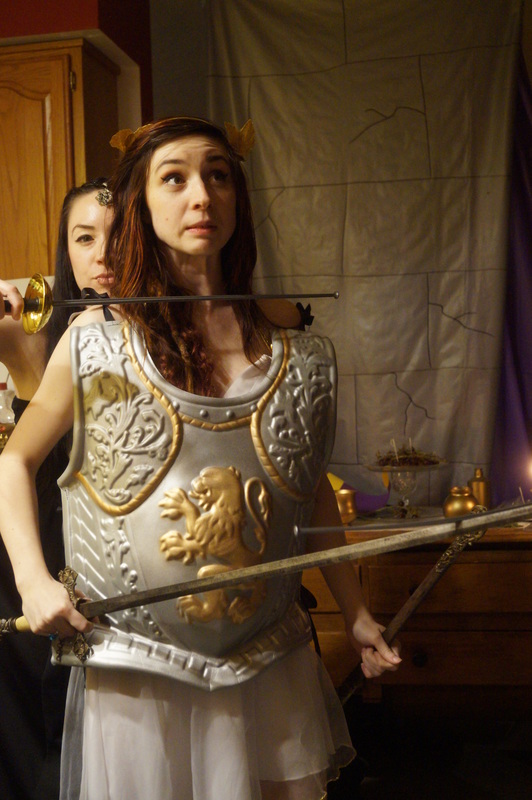
I also bought this Knight's armor vest from Akron Design and Costume for only seven bucks, and forced my dad to wear it for a little bit (look how thrilled he is about it)!
|
|
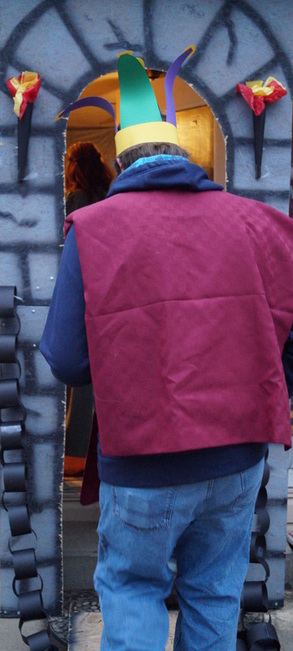
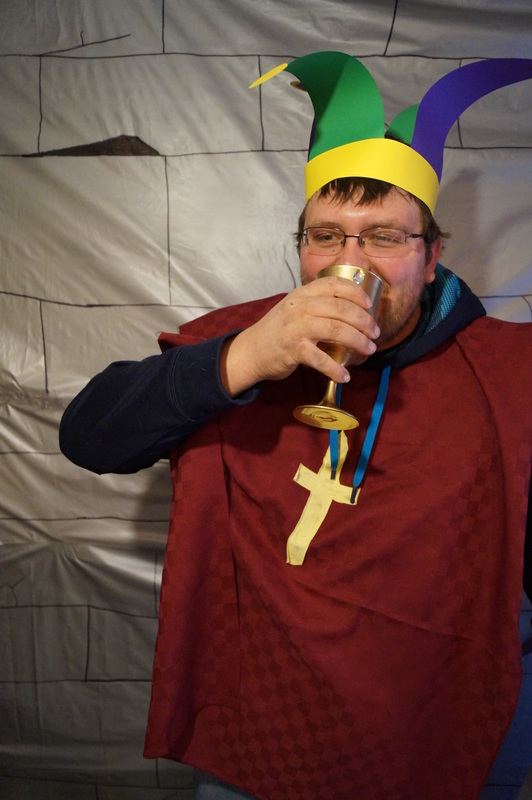
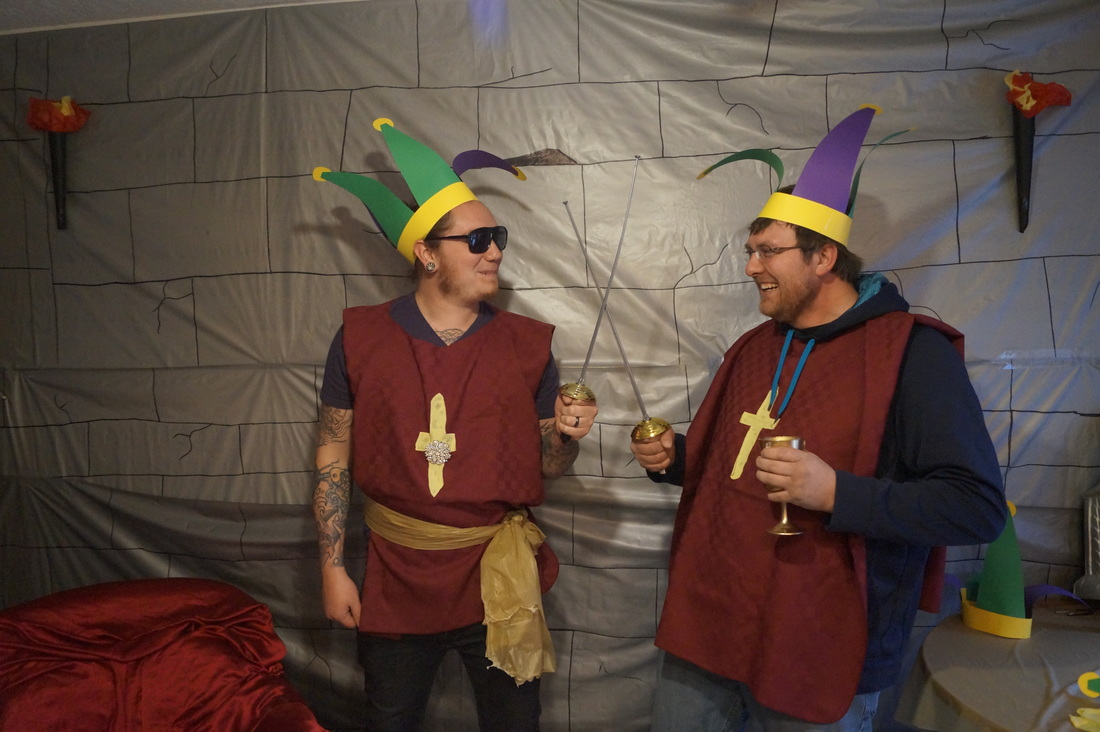
Those great vests and jester hats you see being worn by everyone? I made them so everybody could feel involved with the theme! I was so glad I made these, because it was a blast seeing everyone get dressed up, and get involved in the theme! Here's how to make your own jester hats and vests, for less than $5 for everything!
Let's start with the vests!
|
|
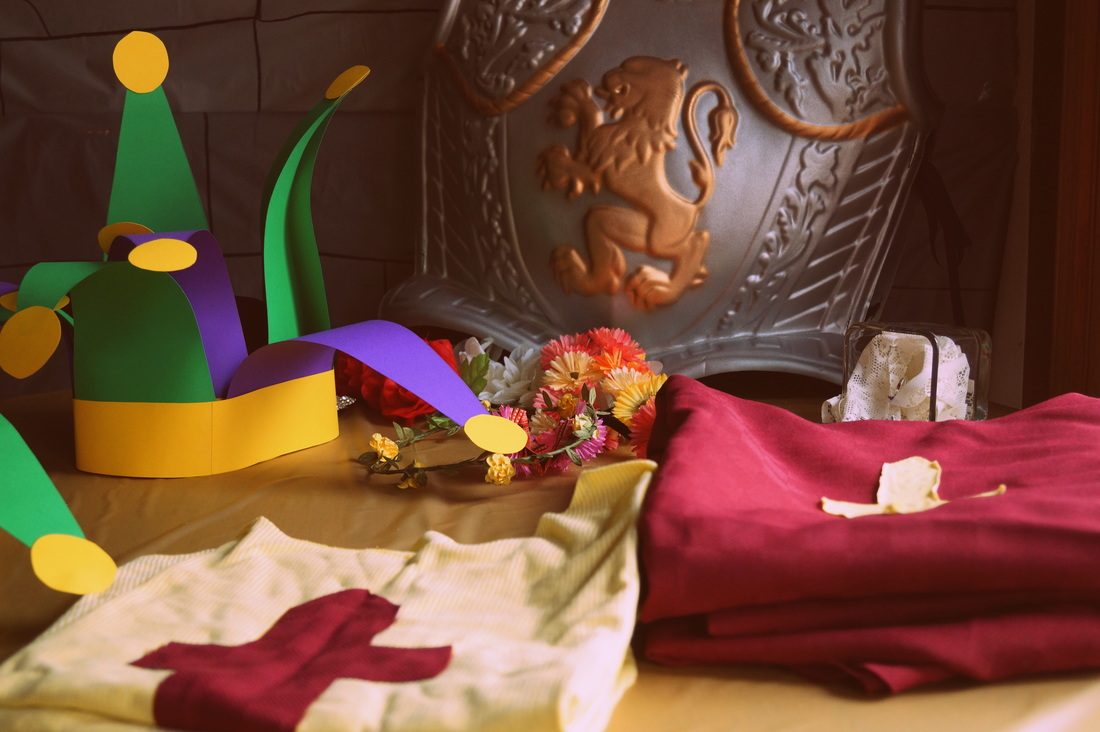
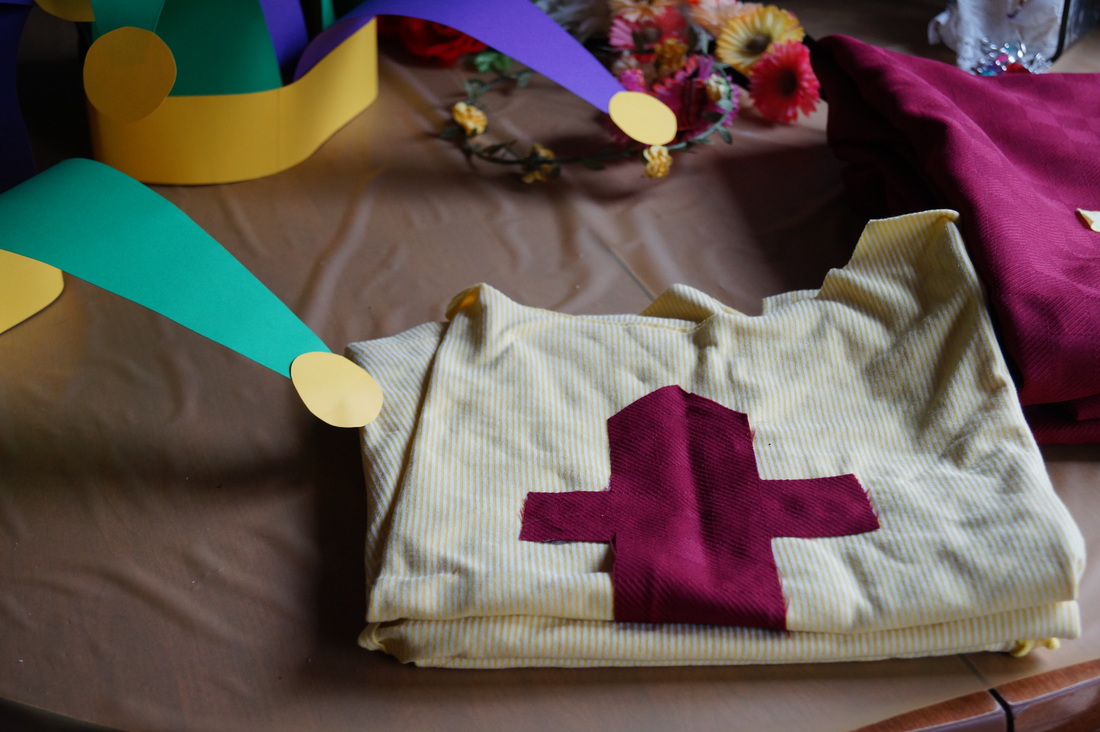
At the Salvation Army (love that store!) I purchased a large red tablecloth, and a large piece of yellow fabric, for only two dollars each.
It's important to get two different colors of fabric, so you can make the crosses on the vests.
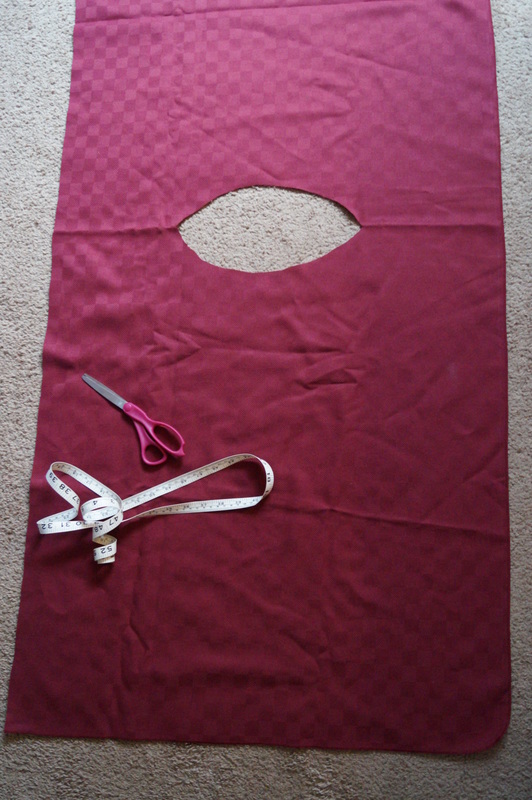
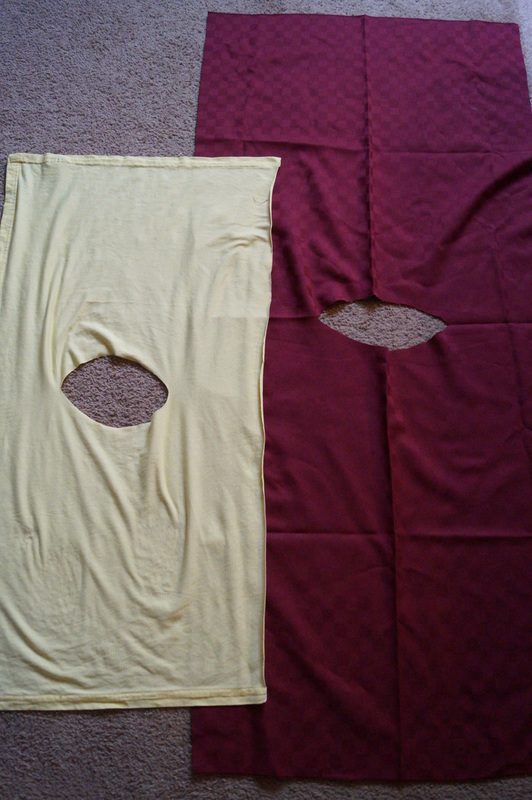
All you need to do is; lay the fabrics out on the floor. Cut the fabric into strips. Make the strips wide enough to go from shoulder to shoulder. You can make them as long or short as you wish. The yellow ones are shorter because they were for the girls, and plus the fabric was shorter. Then measure from top to bottom, and side to side, to get to the exact center of the vest. That is where you cut the neck hole! Just fold it in half, and cut a half circle to make it even. After you have done this to all of the available fabric (except for a couple small strips), it's time to make the crosses!
It's important to get two different colors of fabric, so you can make the crosses on the vests.
All you need to do is; lay the fabrics out on the floor. Cut the fabric into strips. Make the strips wide enough to go from shoulder to shoulder. You can make them as long or short as you wish. The yellow ones are shorter because they were for the girls, and plus the fabric was shorter. Then measure from top to bottom, and side to side, to get to the exact center of the vest. That is where you cut the neck hole! Just fold it in half, and cut a half circle to make it even. After you have done this to all of the available fabric (except for a couple small strips), it's time to make the crosses!
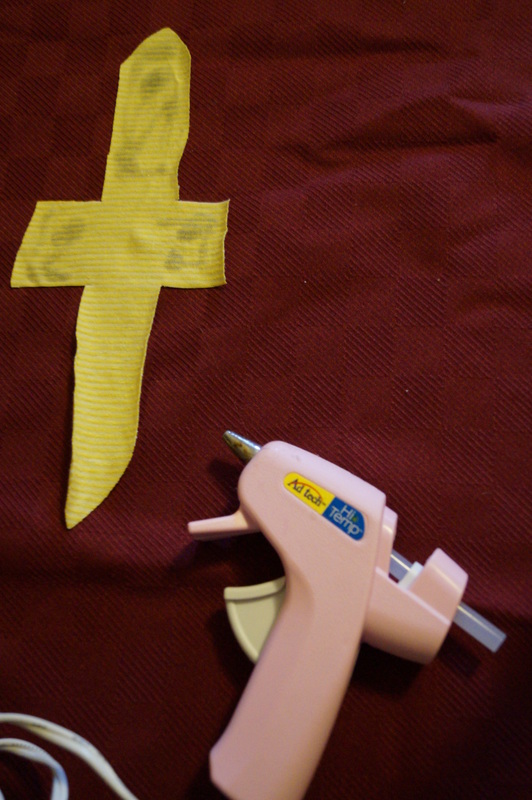
Cut out crosses from each color of fabric, and hot glue (it's faster than sewing!) it to the opposite colored vest!
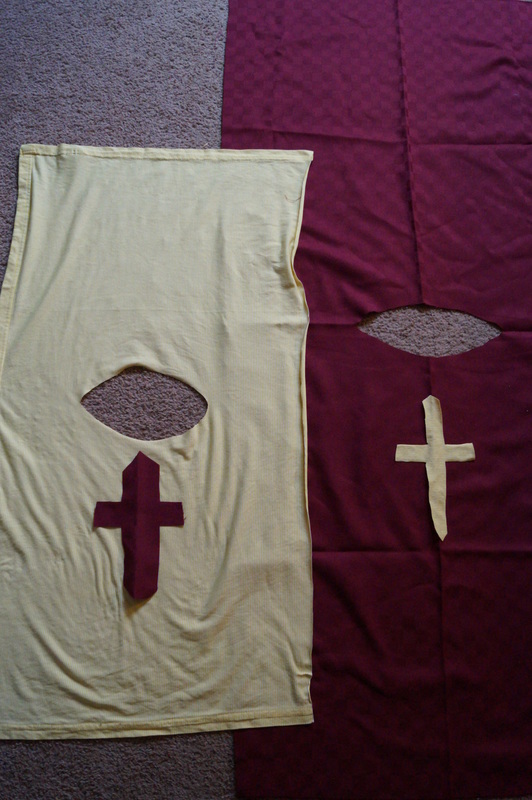
The crosses make such a difference, and really make it look like a knights vest!

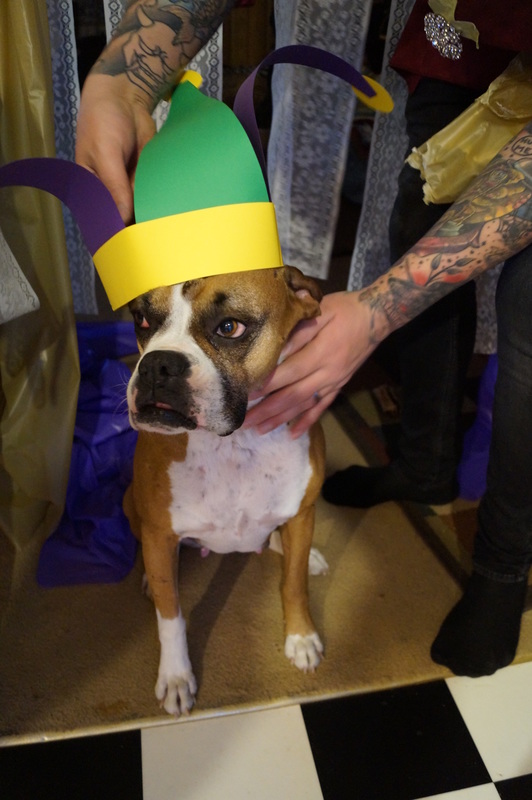
And now for the Jester Hats!
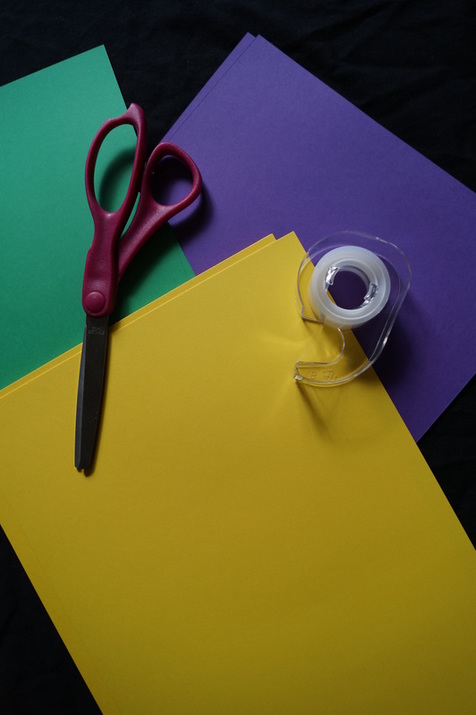
All you need is green, yellow, and purple construction paper (we just bought a large multi-colored pack at JoAnn Fabrics and used that for all construction paper needs!), and scissors and scotch tape!
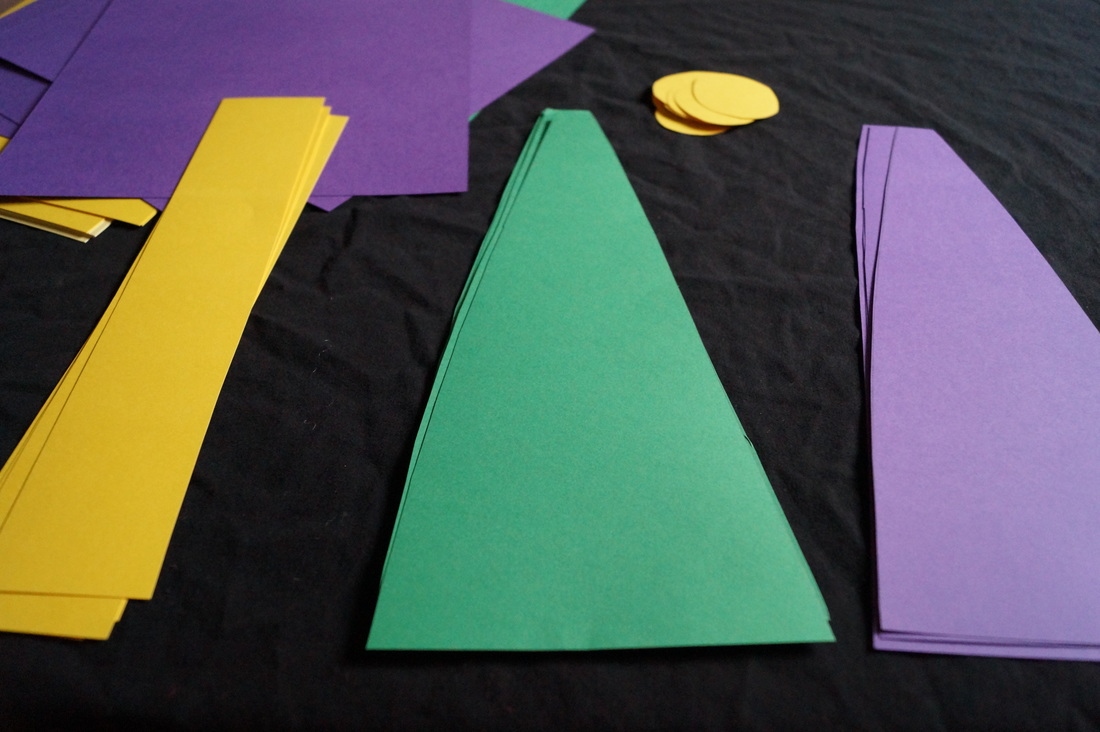
Cut the different colors into shapes shown above. The long yellow strips are for the band. You will need two strips per hat. The green and purple triangles are for the hanging pieces. They do not need to be pointy at the top, because the yellow circles will be taped onto the tops of them. You will need two green and two purple for each hat. You will need four yellow circles per hat.
Tape two yellow pieces together for the band. You can measure your head for reference. I made varying sizes of hats. Then alternately tape the purple and green pieces to the inside of the yellow band. Add the yellow circles to the top. Bend the green and purple pieces slightly, to make them bounce around. They look so cute!
Tape two yellow pieces together for the band. You can measure your head for reference. I made varying sizes of hats. Then alternately tape the purple and green pieces to the inside of the yellow band. Add the yellow circles to the top. Bend the green and purple pieces slightly, to make them bounce around. They look so cute!
Now that your home and your guests all look like they belong in Medieval times, what are you going to do to keep everyone occupied?
Since my mom's birthday was in February and it was pretty cold, we didn't want to do a lot of things outside. So here's what we did for entertainment!
Since my mom's birthday was in February and it was pretty cold, we didn't want to do a lot of things outside. So here's what we did for entertainment!
|
|
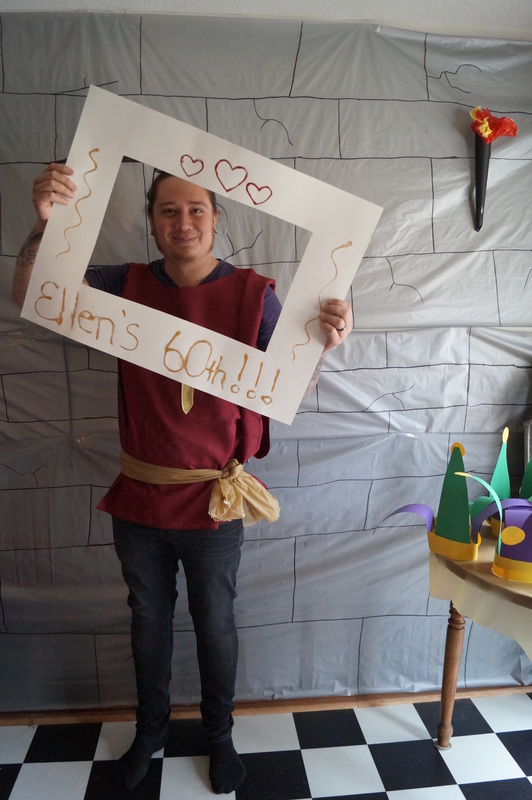
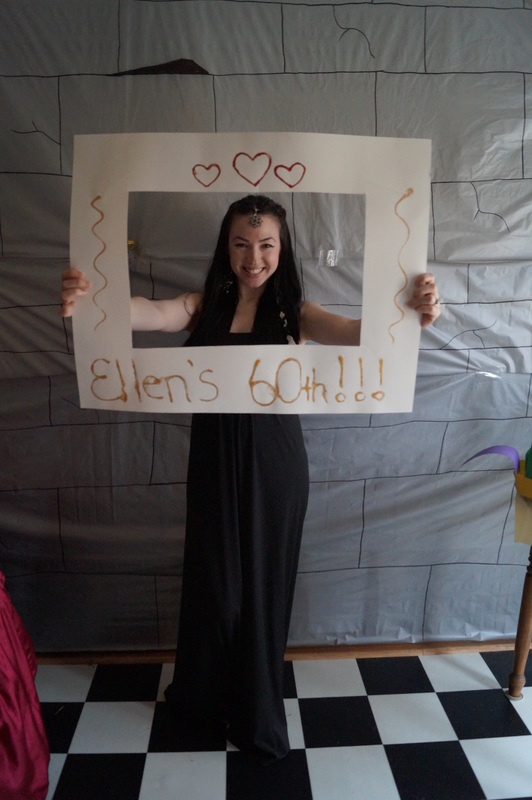
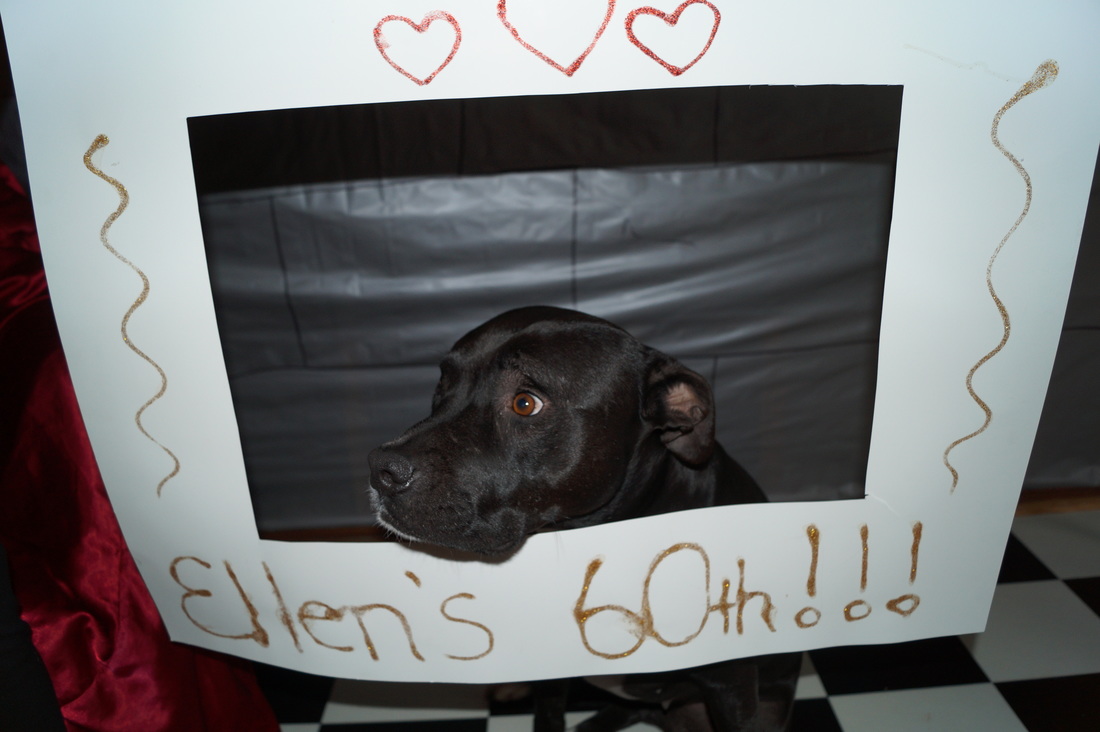
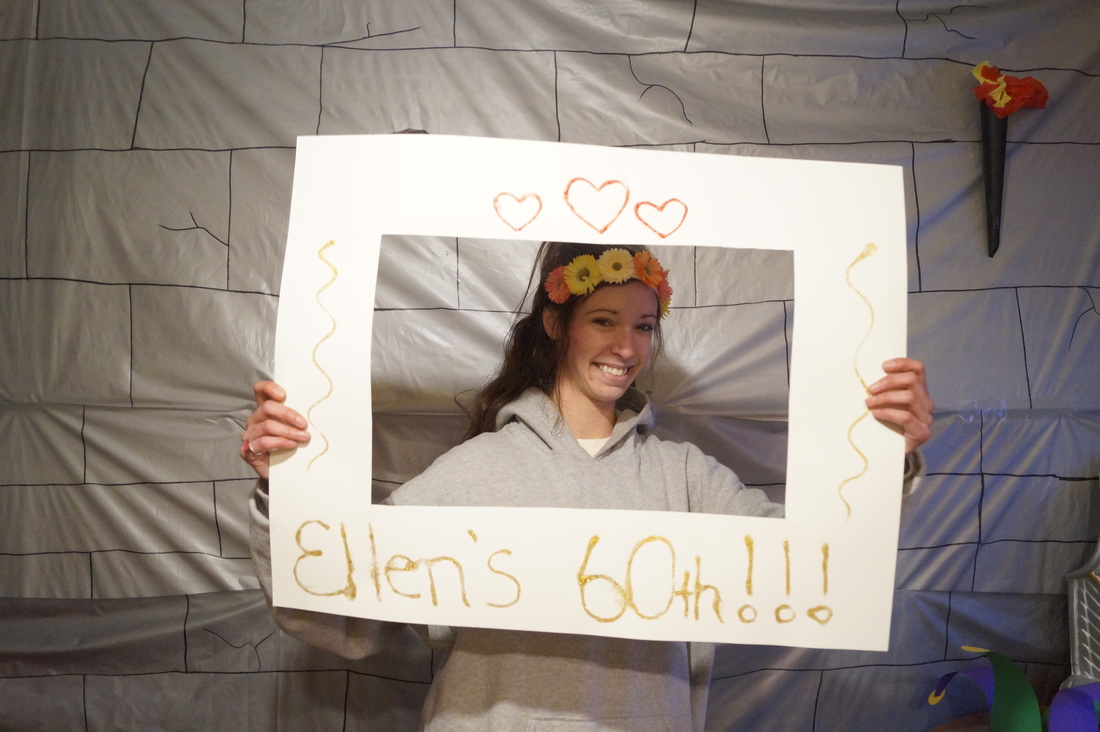
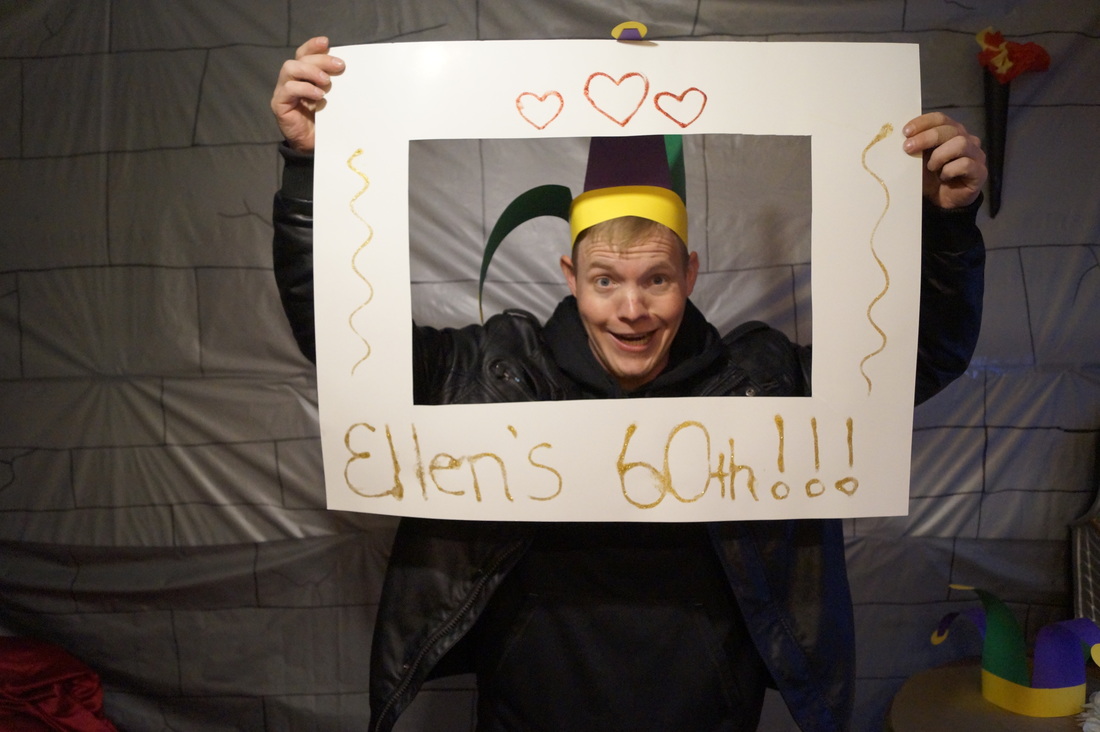
We took pictures of everyone!
I cut the center out of a large poster board that I got for a dollar at Dollar Tree, decorated it, and wrote the occasion on it (Ellen's 60th!). When people came in, and after they put costumes on, we took a picture of them holding the "frame". It was a fun way to get pictures of everyone that came, and turned out super cute!
I cut the center out of a large poster board that I got for a dollar at Dollar Tree, decorated it, and wrote the occasion on it (Ellen's 60th!). When people came in, and after they put costumes on, we took a picture of them holding the "frame". It was a fun way to get pictures of everyone that came, and turned out super cute!

|

|
|
|
The giant mace pinata!
This was also my husband's idea, and he made it perfectly!
This was also my husband's idea, and he made it perfectly!
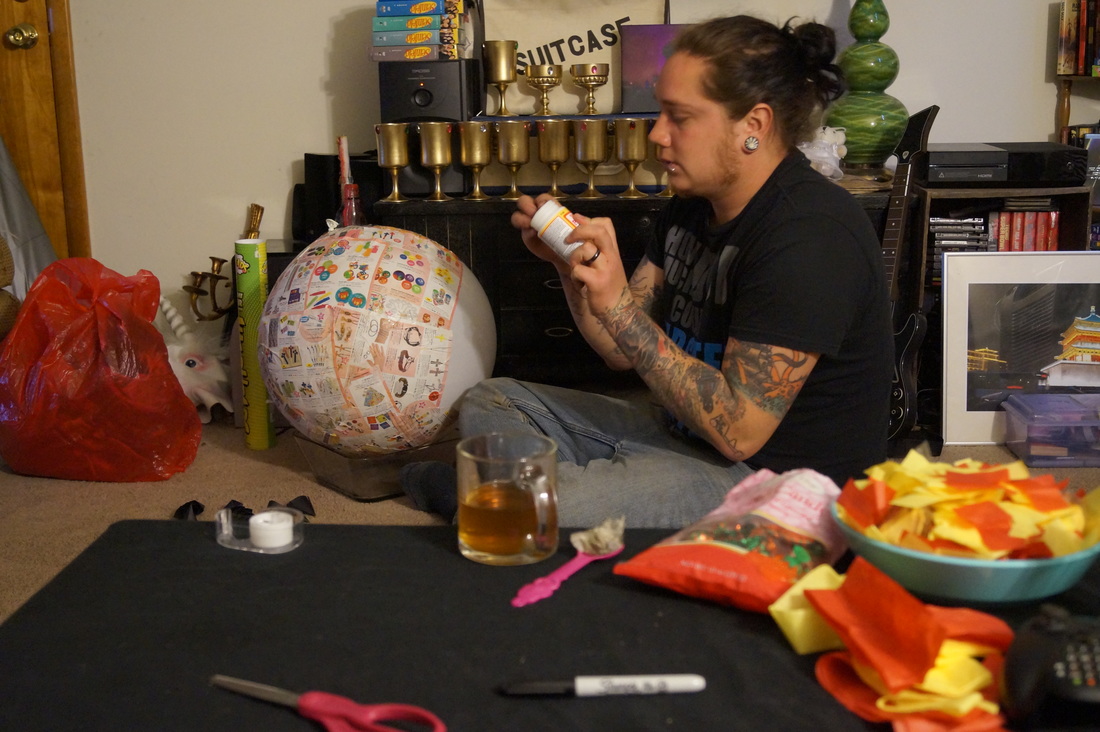
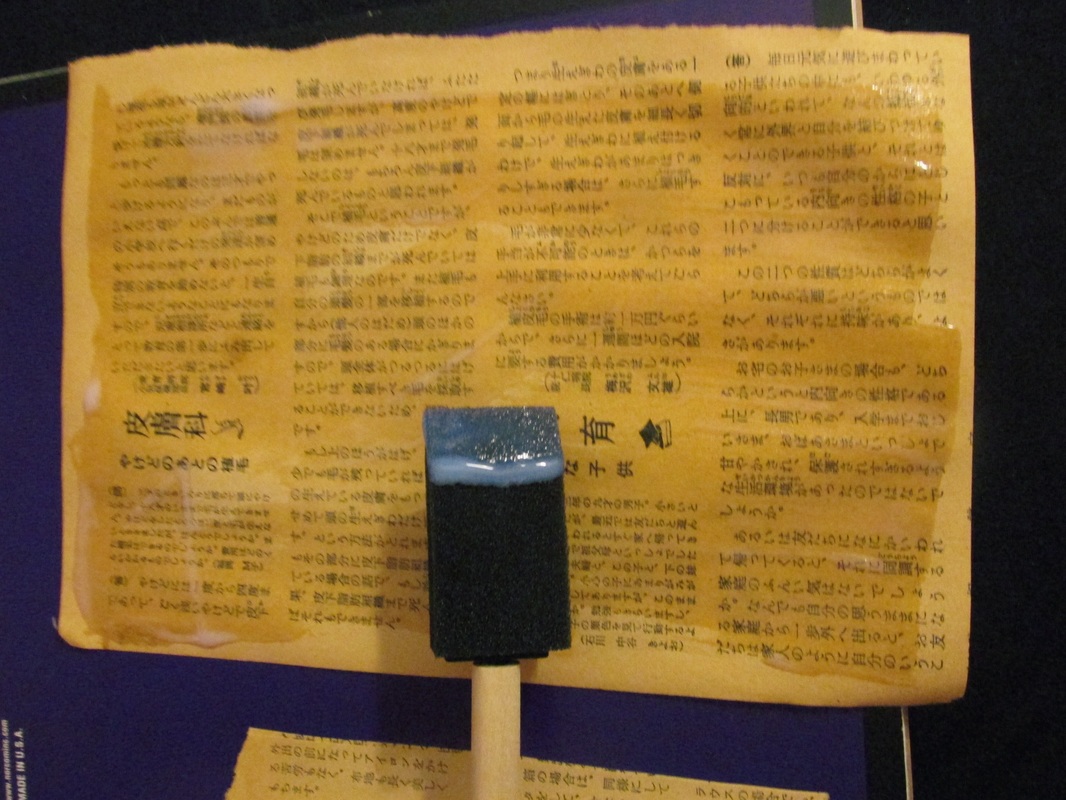
He first blew up a giant balloon we got at Party City, and then mod podged pieces of scrap paper over it. He did one layer, leaving a small space empty at the bottom of the balloon.
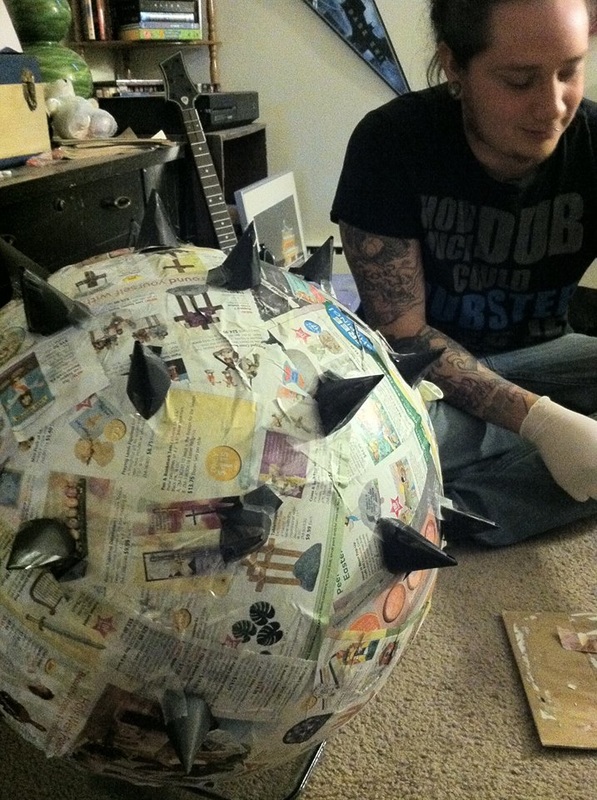
While we left the first layer of paper mache to dry, we made these little spikes you see here. We made them by cutting out, rolling, and taping together, cones of black construction paper. Leaving a small flap of paper to tape onto the balloon. Once all spikes were attached, Nick did a second layer of paper mache, going over the flaps. Once that layer of paper mache is dry, it's now time to pop the balloon, from the small empty space you left at the bottom. Then take it outside and spray paint it black.
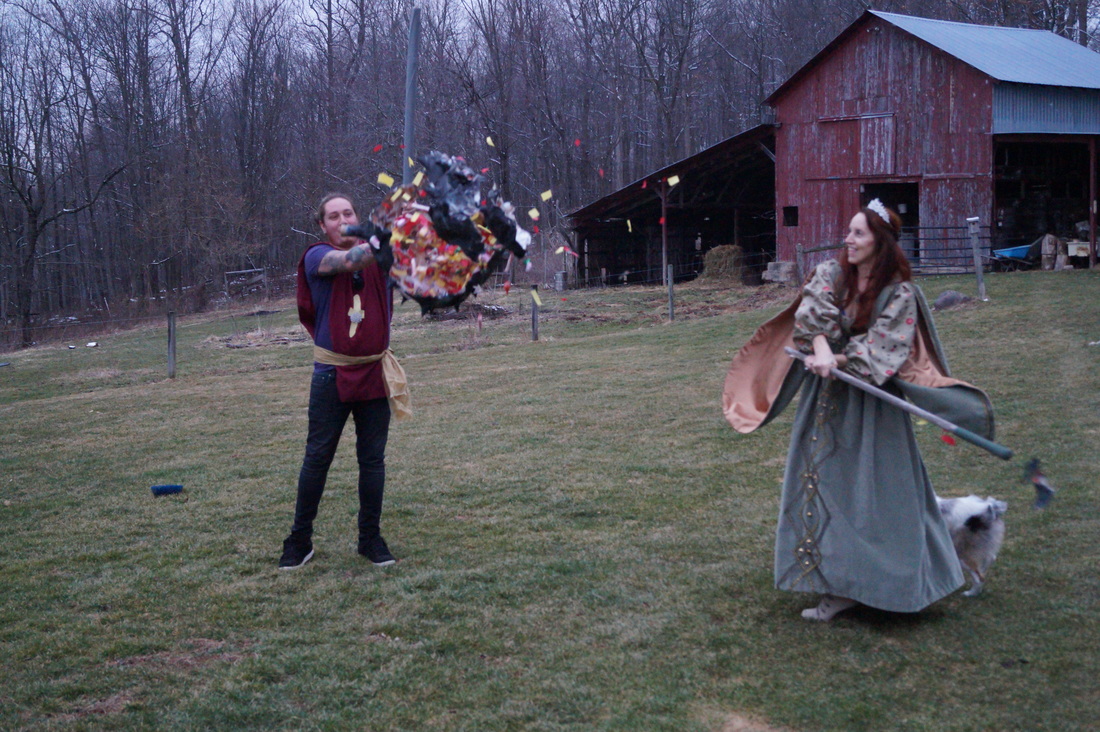
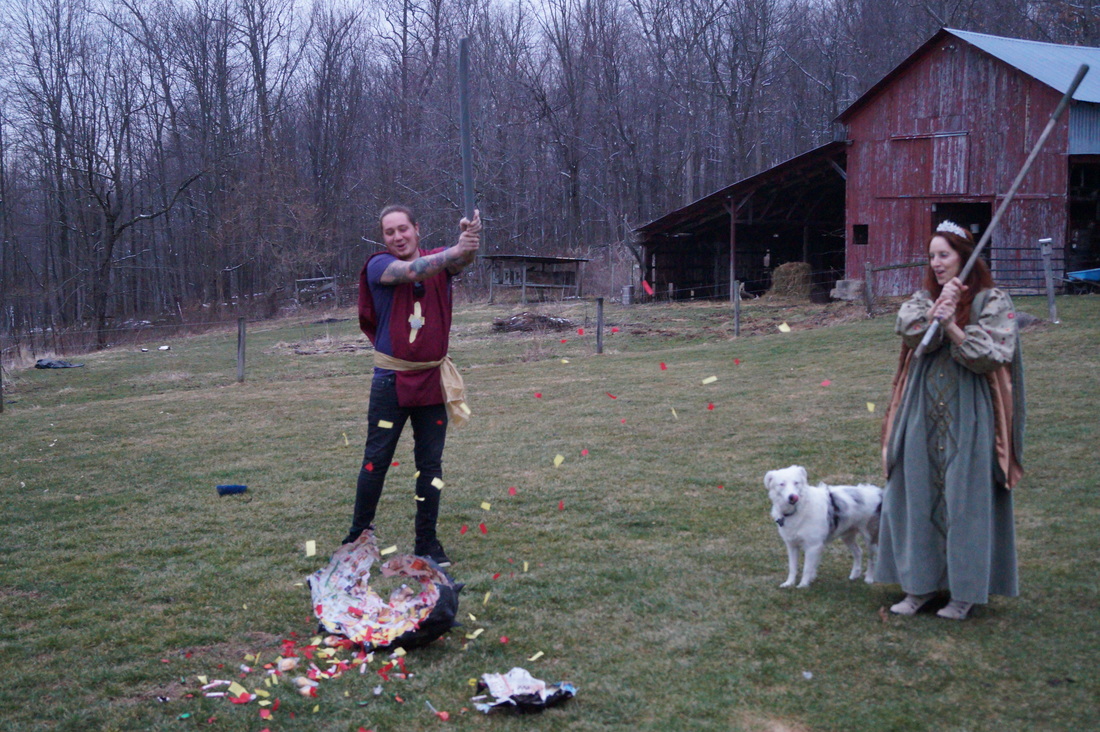
We filled the pinata with cut up pieces of tissue paper (leftover from the torch flames), and plenty of candy and fake gold coins.
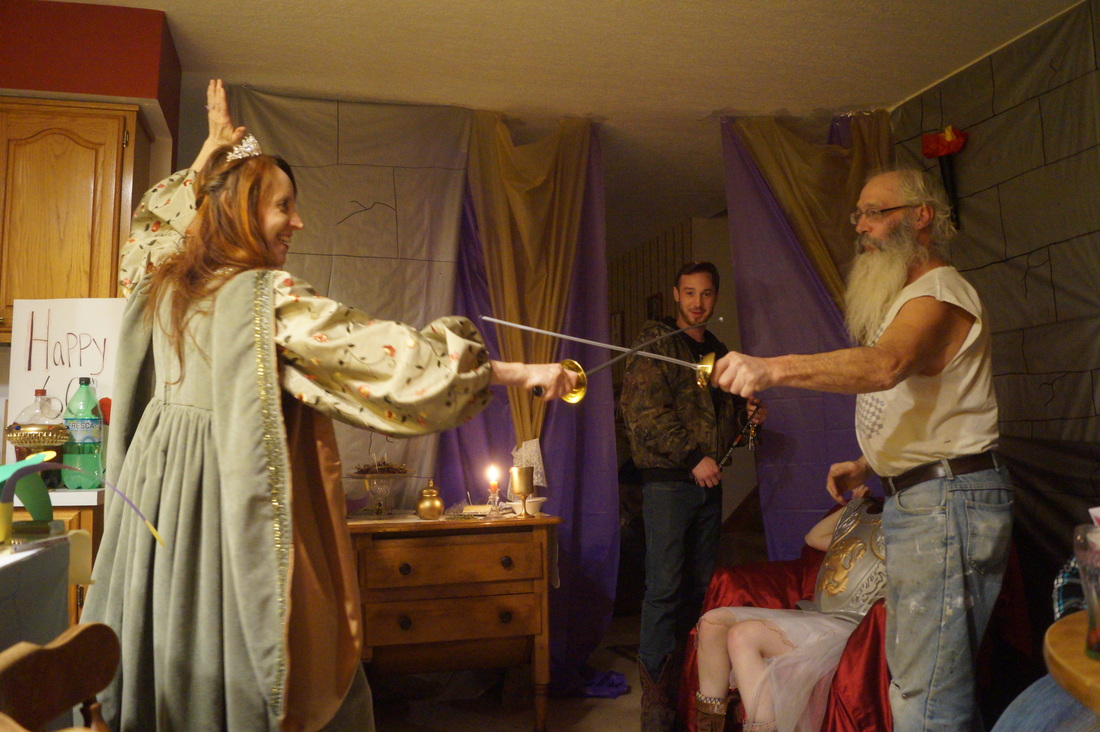
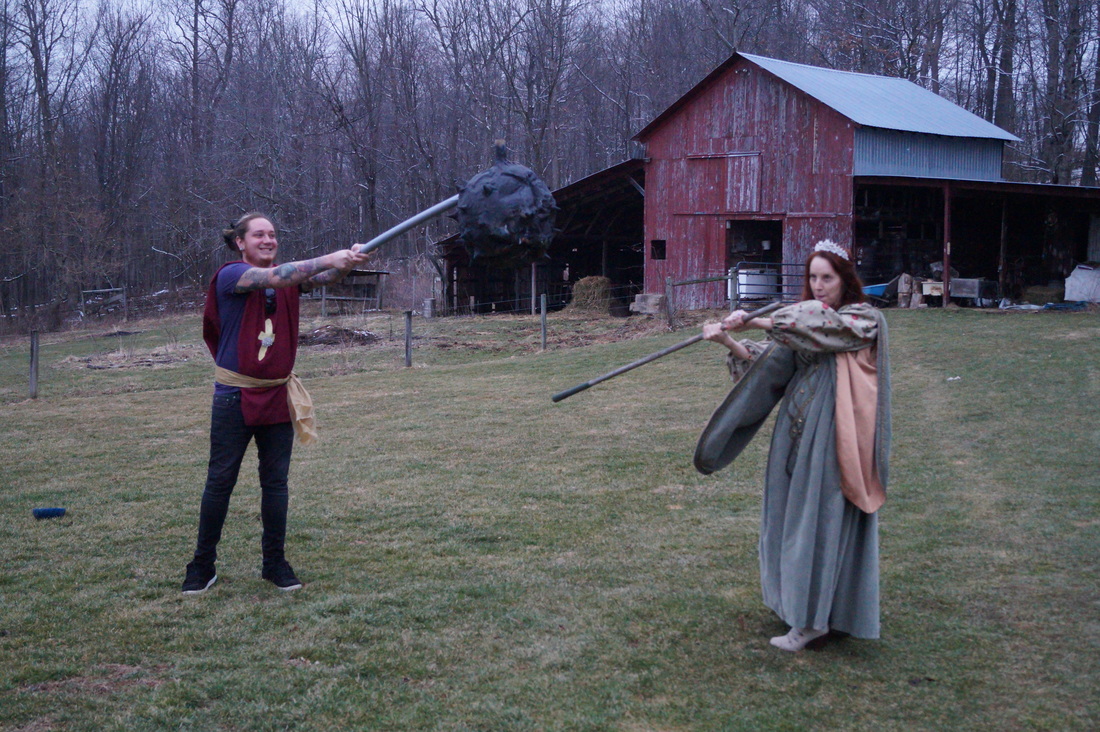
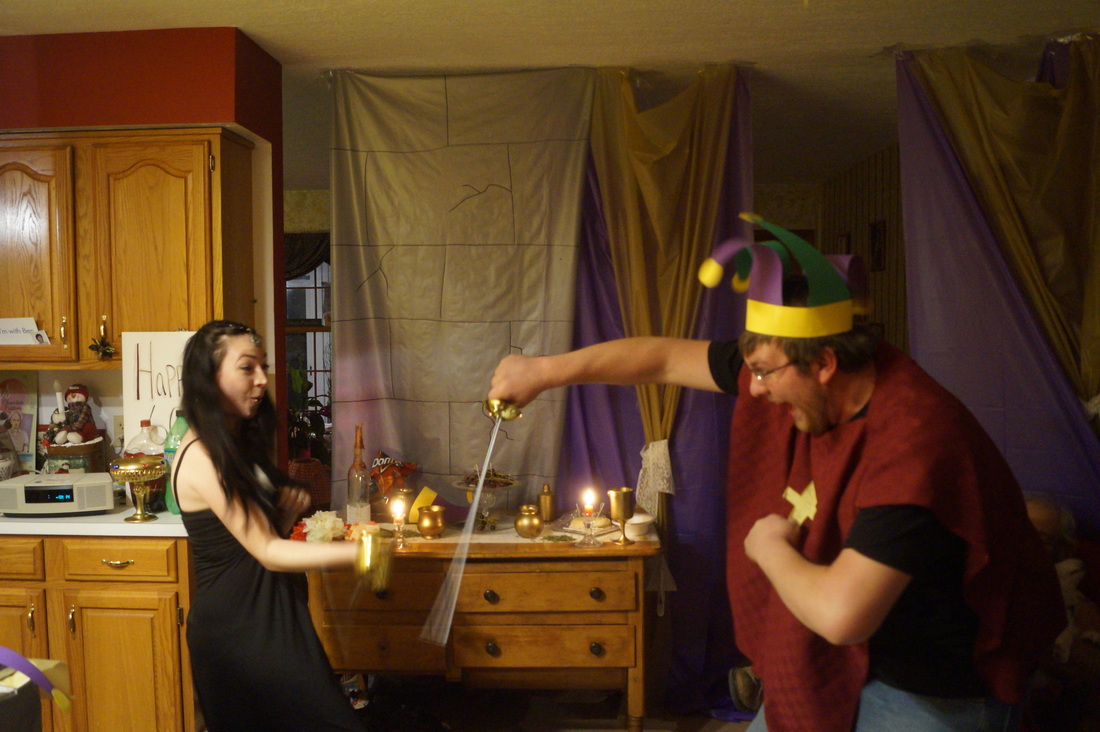
We also had jousting tournaments to keep everyone amused!
We got these great little swords at Party City, and everyone had such a blast fighting with them!
We got these great little swords at Party City, and everyone had such a blast fighting with them!
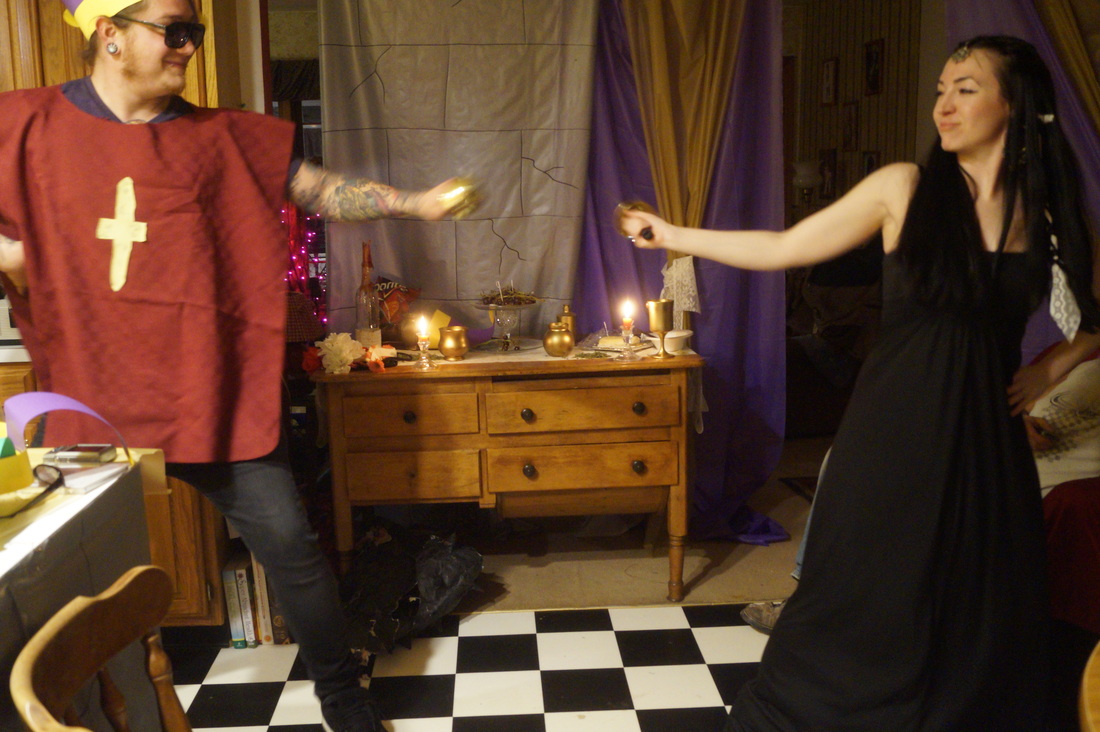
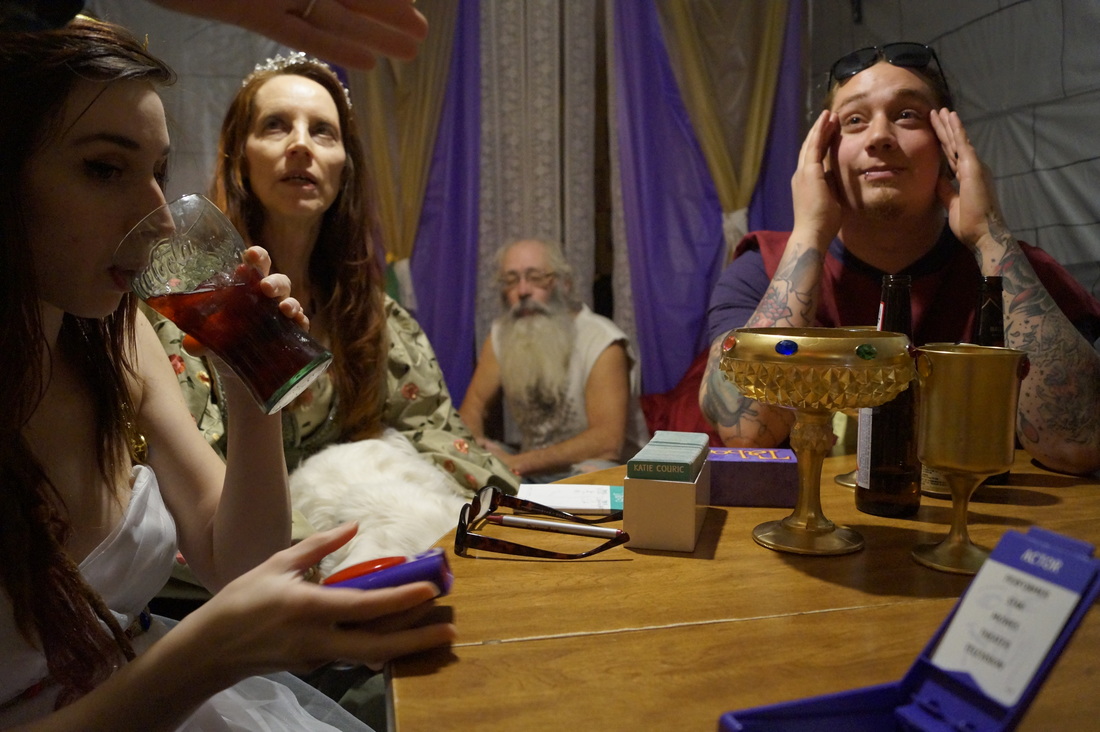
Other activities included; dancing to medieval music (just look it up on youtube!), and playing Taboo (cuz Taboo is just awesome!).
Here are more photos of the party.
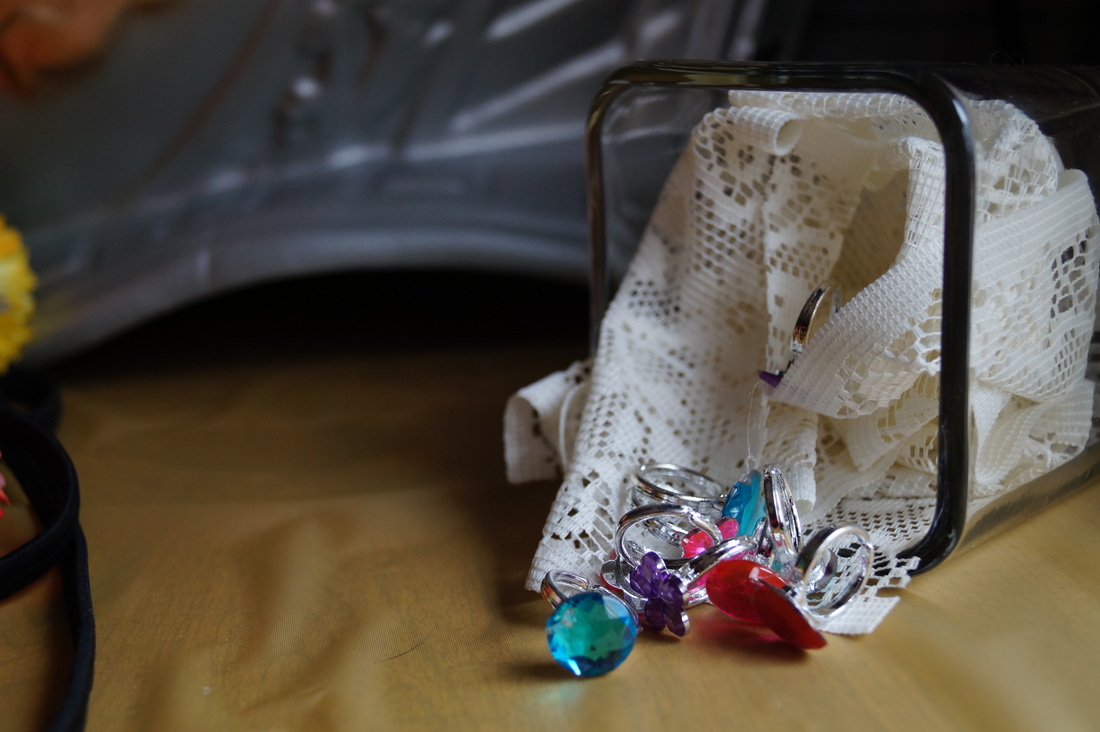
"Jewels" for everyone. We got them at Dollar Tree.
"Jewels" for everyone. We got them at Dollar Tree.

To make this throne, we just wrapped my silk bed sheet around an armchair.
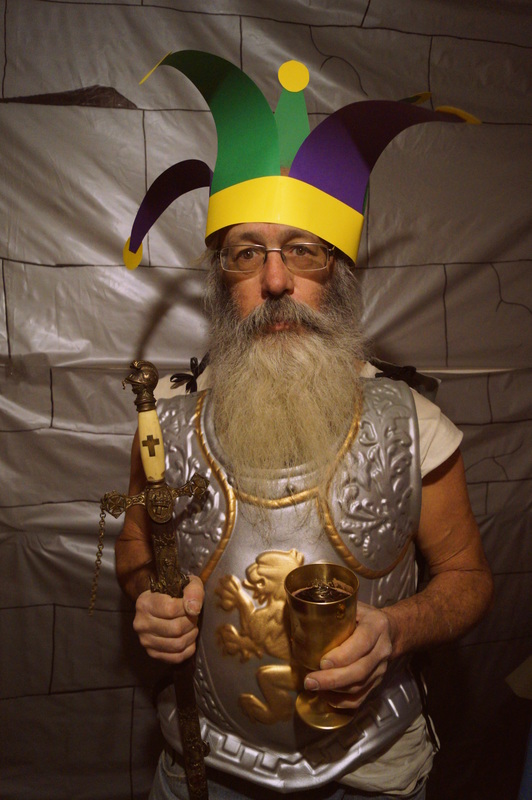
Hahaha my Dad is the greatest.
I hope you enjoyed looking at our Medieval Party Pictures! We sure had a blast doing it, and so will you!
Peace Love and Medieval Times
Jess <3
More articles you might like...
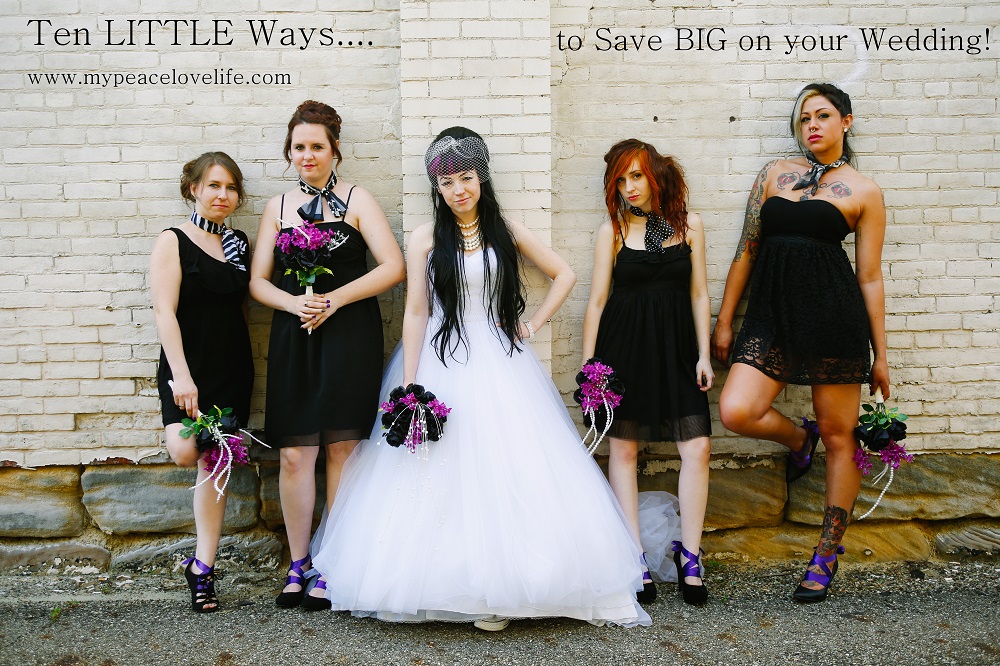
10 Little Ways to Save Big on Your Wedding
|
How to Host a 50's Dinner Party
|
How to Host a Victorian Tea Party
|
Like us on Facebook to keep up with the latest blog posts!


