Life and Travel with Jessica
  • Home
  • Blog
  • Shop
  • About
  • Work With Me
  • Travel
  • Bucket List
  • Contact

The Munsters Halloween Costumes

10/31/2016

1 Comment

 
Picture
Happy Halloween to all!
I hope you all had a fun, and a safe Halloween weekend, and a great actual Halloween today! If you're looking for more Halloween fun, you can check out all of my Halloween posts today, since you probably won't for another year!
So who's dressed up for work today? Well I'm not, because my Monday job is this blog, and I'm sitting at home in my pajamas :) 
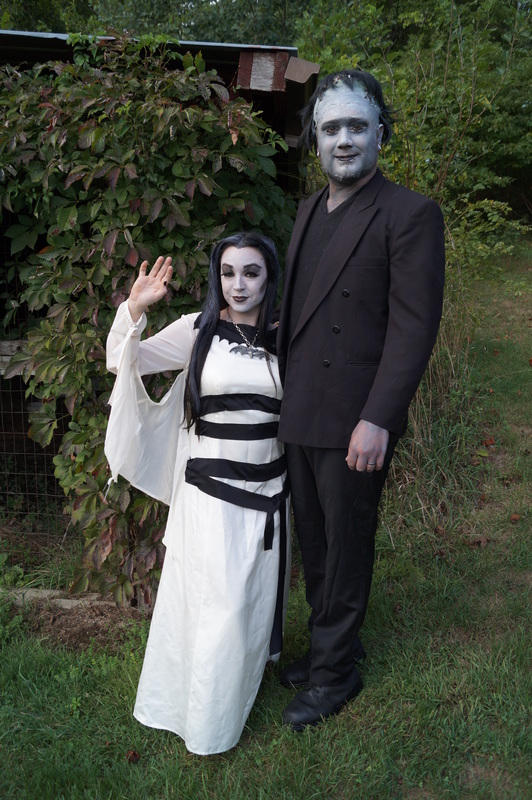
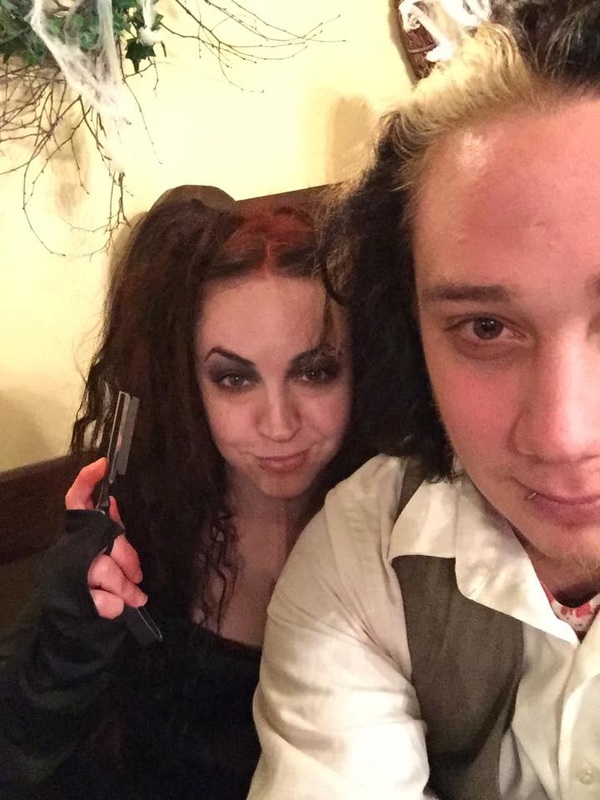
If you follow me on Instagram or Facebook, you'll probably have seen me and the husband's Halloween costumes this year, they were a huge hit! Here's some pictures of us...
​
Picture
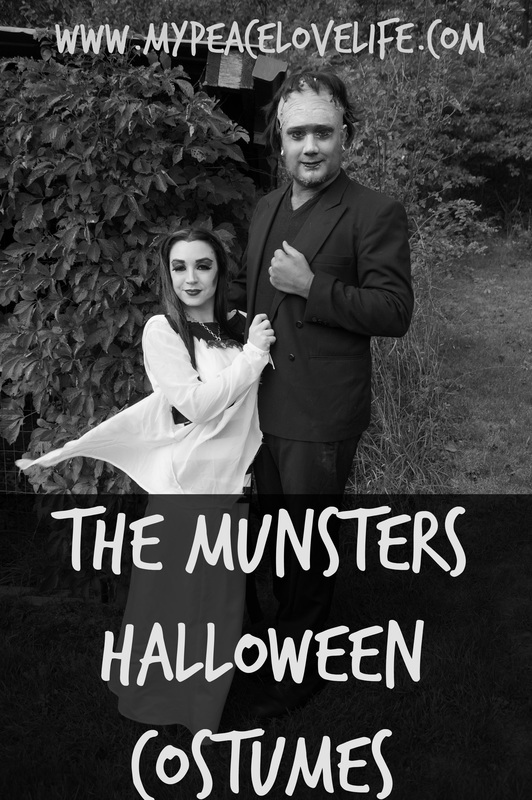
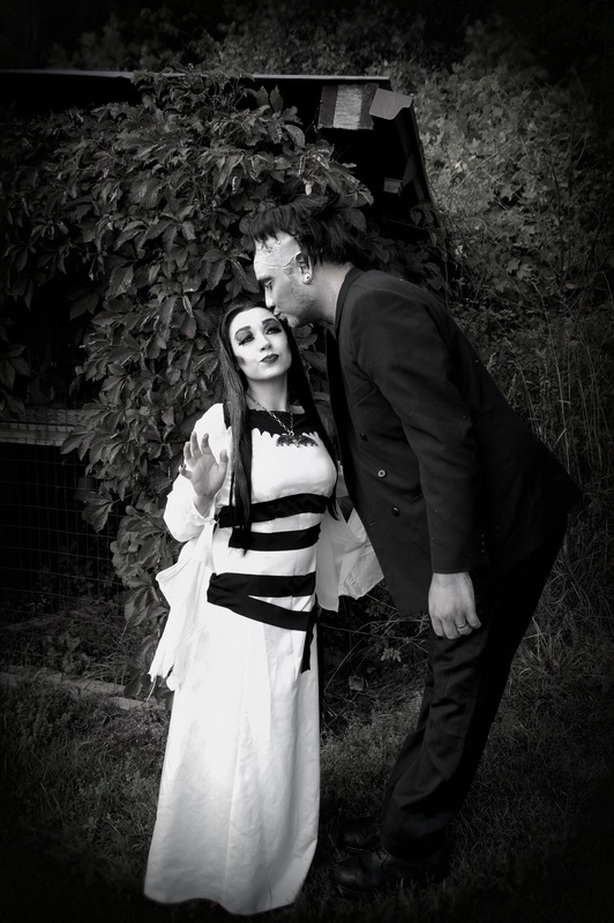
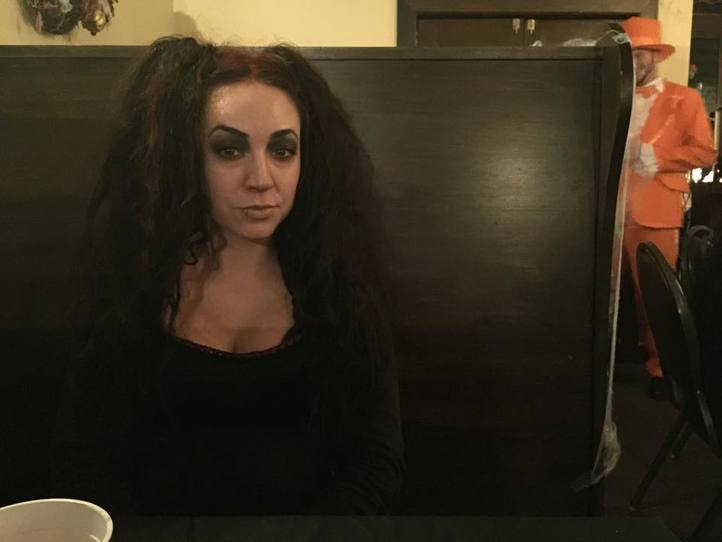
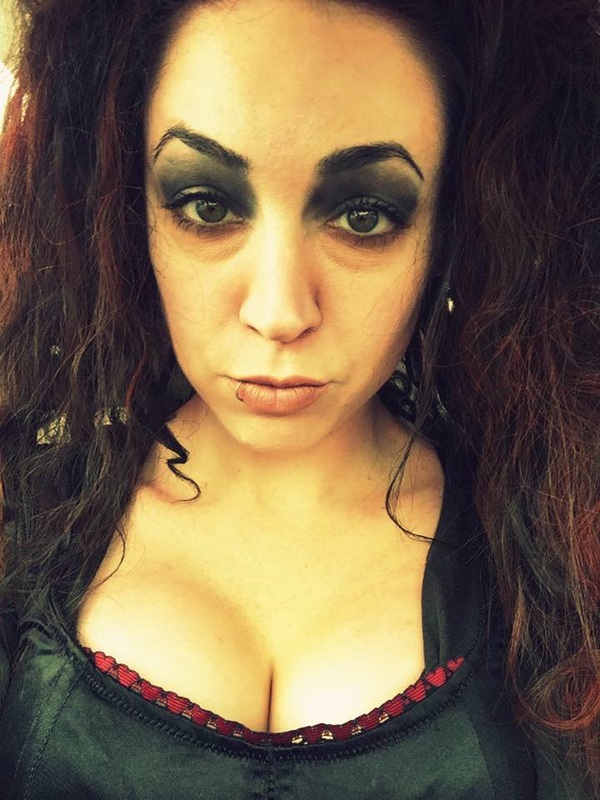
We dressed up as Lily and Herman Munster, from the 1960's tv show, The Munsters.
If you've never watched it, we highly recommend it! It is now on Netflix, so there's no excuse to not watch it!
​
Picture
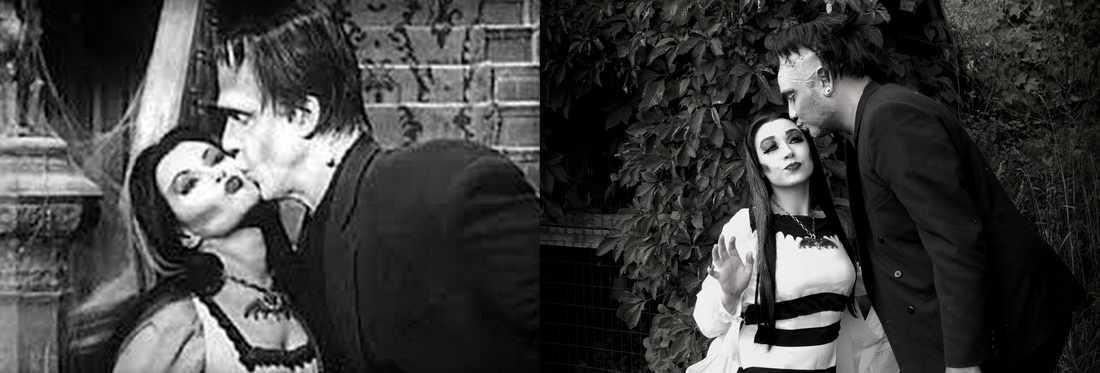
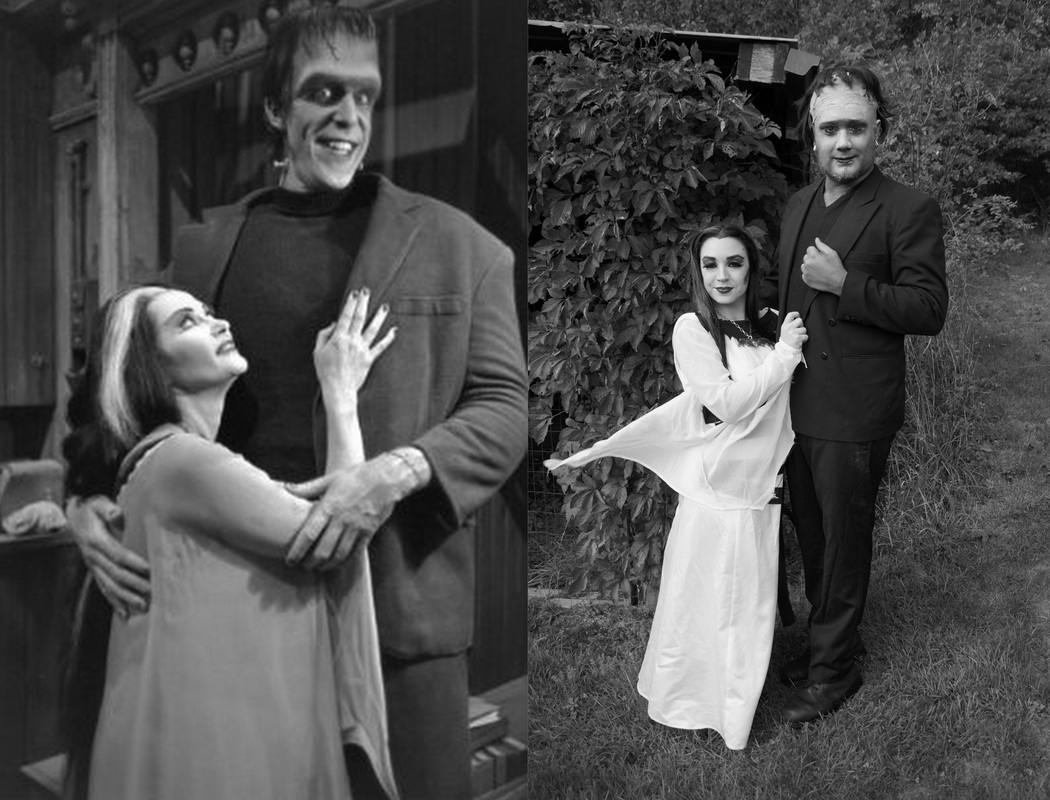
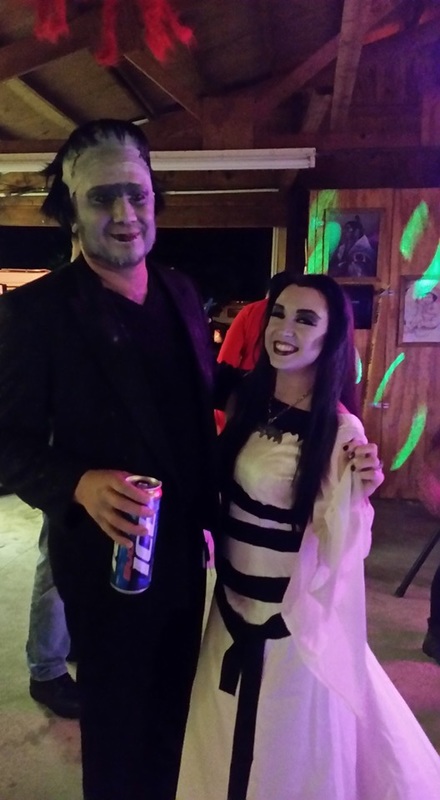
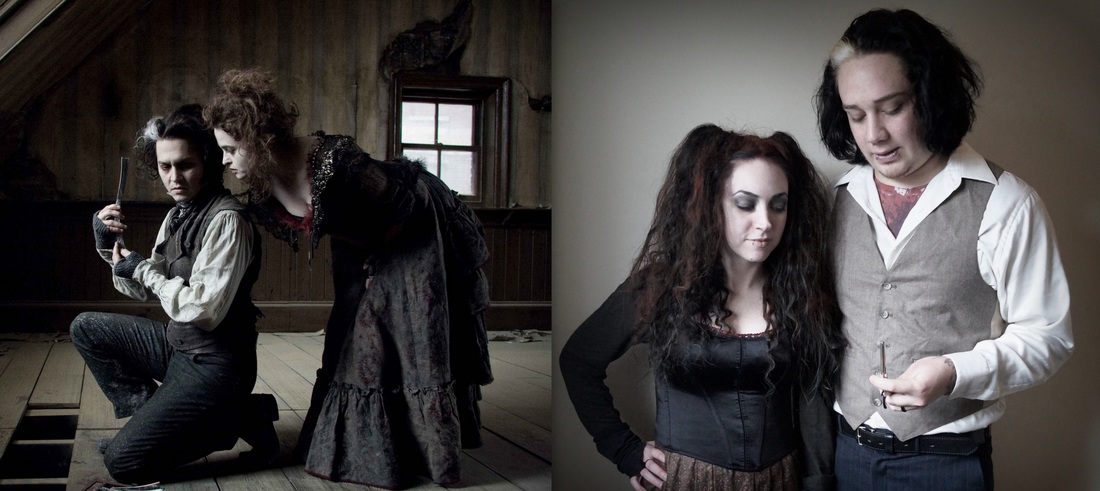
Here are some more pictures, just for fun's sake!

Picture
Picture
We went with the black and white version, since that's the version you see on the show, since it is in black and white!

Picture
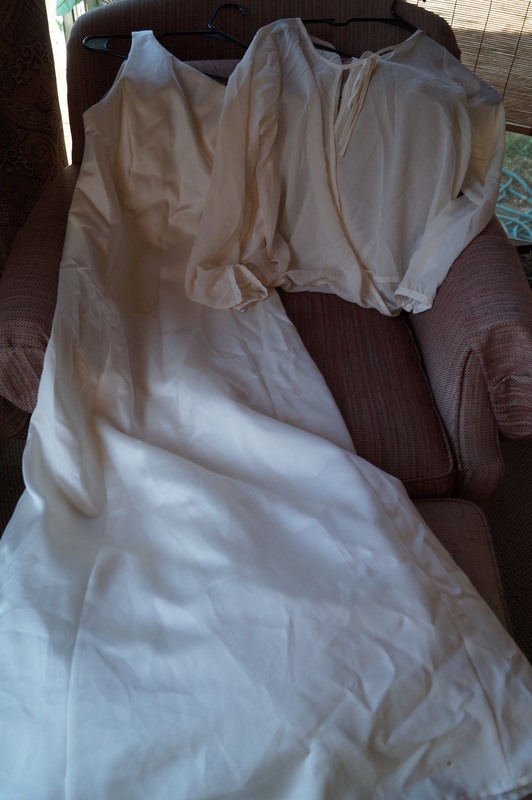
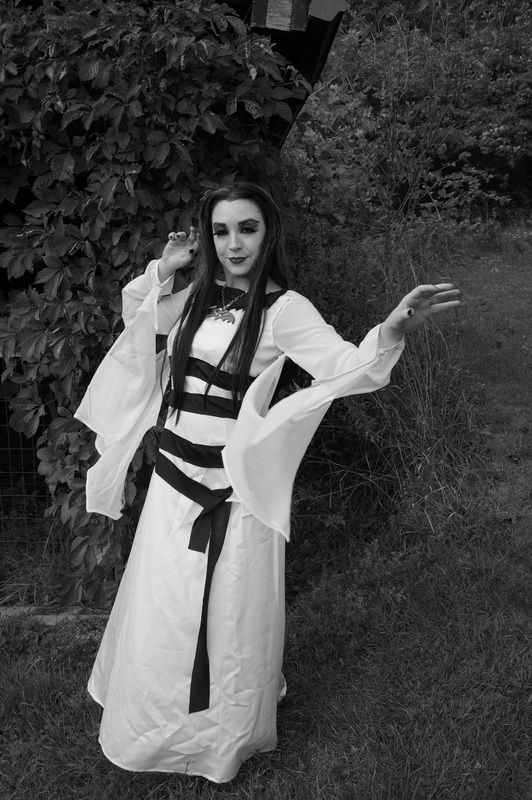
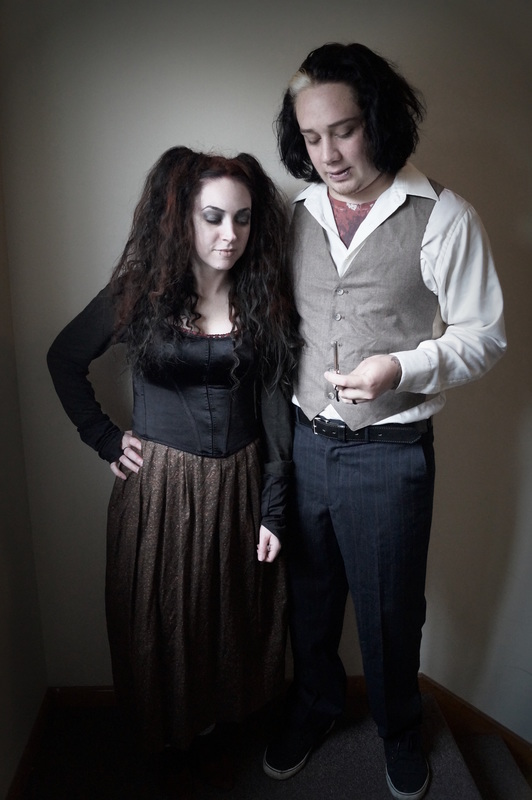
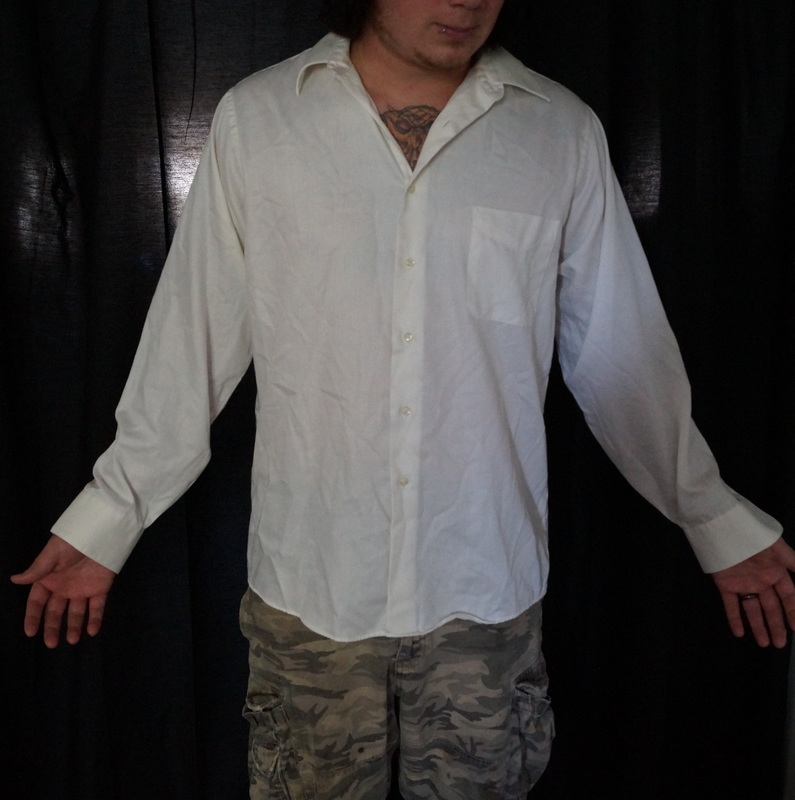
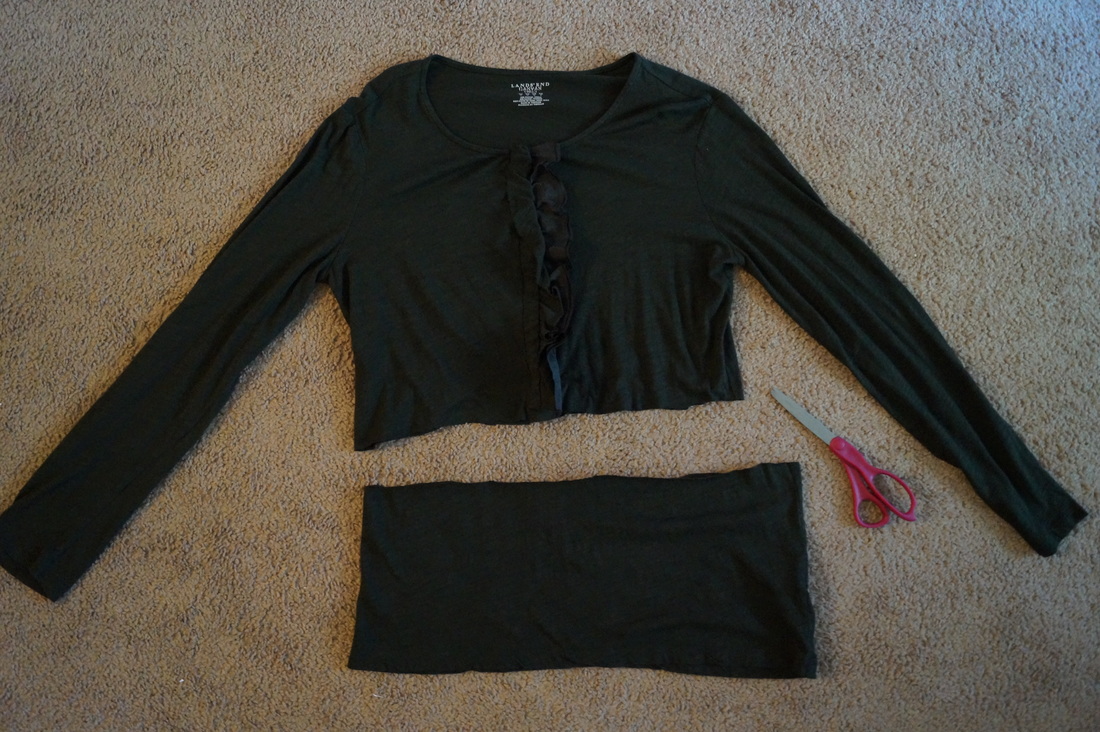
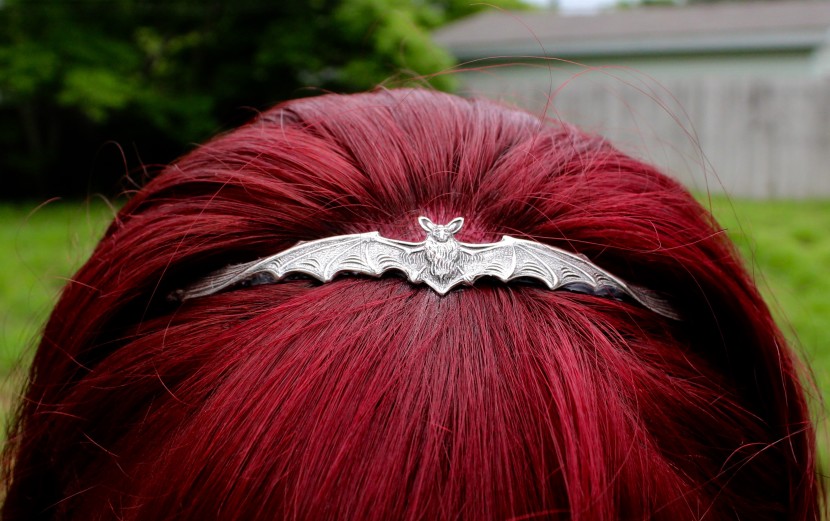
Here's how I made my dress! I bought this dress (I think it was an old wedding dress) from Salvation Army, and this sheer blouse also from Salvation Army. I cut the sleeves from the blouse and attached them to the dress, then cut up the rest of the blouse, to make the "wings" that you see hanging from the sleeves. I had some black fabric laying around (any self respecting crafty lady does!), so I cut it up and sewed it to the dress, and voila! This gorgeous Lily Munster dress! I already had the bat necklace (because why wouldn't I).
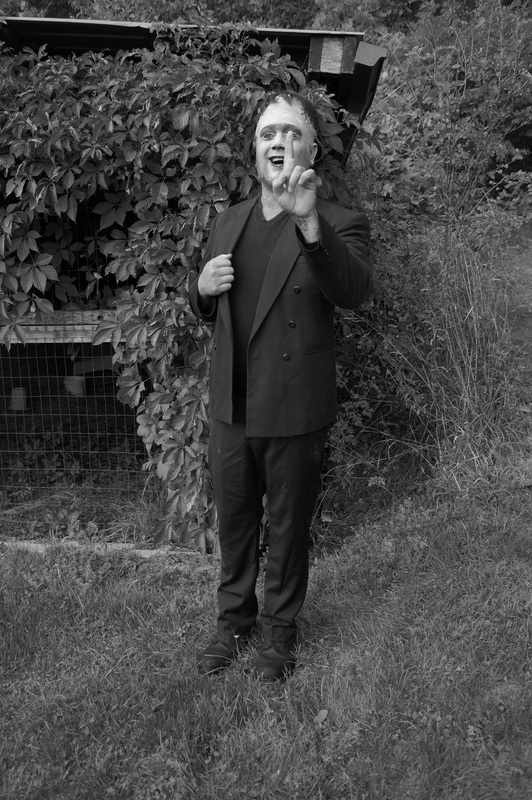
Nick's costume was pretty easy. He already had the black pants, and we bought the sweater and jacket from Salvation Army (of course!). His head is a plastic piece that we bought from a local Halloween store, that he attached with latex.
​
Picture
Picture
Picture
Happy Halloween loves!!!
Peace Love and The Munsters
Jess <3
​

1 Comment

DIY Sweeney Todd and Mrs. Lovett Couples Halloween Costume

10/3/2016

1 Comment

 
DIY Sweeney Todd and Mrs. Lovett Couples Halloween Costume
Happy Halloween you guys! I hope you've been enjoying the Halloween theme going on here, all over my Instagram, and over at my Etsy Shop also! Just in case you missed it, last week I posted a guest post from The Haunted Housewife about how to make your own Halloween inspired hair candies. Likewise, she featured my post, 7 ways to make your home Halloween ready on her blog! 
I will be continuing the Halloween madness today, with this post about  how to do Sweeney Todd and Mrs. Lovett hair, makeup, and outfits, for your couples Halloween costume this year!


Makeup
We're going to start with the makeup! Here is a tutorial I did, about how to do both Sweeney Todd, and Mrs. Lovett makeup.
​
DIY Sweeney Todd and Mrs. Lovett Couples Halloween Costume
The finished makeup for Sweeney Todd and Mrs. Lovett!
​And now on to the hair, because let's face it, the hair basically makes Sweeney Todd! 
​
DIY Sweeney Todd and Mrs. Lovett Couples Halloween Costume
Sweeney Todd Hair
We were lucky, because Nick's hair was just perfect for Sweeney Todd hair. And yes, that is his real hair! His hair is super thick and wavy naturally, so we didn't have to do a lot to it. Just teased it a bit, until it sat exactly so. We pinned the top part back, so it wouldn't fall over. If your man's hair isn't thick and wavy enough, curl it, and do some serious teasing. We also bleached a section of his hair, so he actually had the blonde strip in his hair. He loved it and actually kept it for almost a year!


DIY Sweeney Todd and Mrs. Lovett Couples Halloween Costume
Mrs. Lovett Hair
My hair also worked pretty good for Mrs. Lovett hair. It was a little bit longer than hers, but I didn't sweat it.
The night before, I put my hair in really tight curlers. You want tight curls. The next morning after taking the curlers out, I positioned my hair into two high ponytails. Position them a little lower than the height I have them. Once both ponytails are in place, get a large hair clip, and flip the ponytail over the top of your head, then clip it at the base and over a bit, so the ponytail will fall over the clip, and it will cover the ponytail holder, and looks like the above hair. Then you are going to tease your ponytails like crazy. Mrs. Lovett has crazy curly hair. Once it's teased to perfection, hairspray to hold. If you have red hair, lucky you! You're done. If not, you need a red spray in color. These are very easy to find during Halloween.


DIY Sweeney Todd and Mrs. Lovett Couples Halloween Costume
I used this stuff from Hot Topic for my hair, and i would never use it again, and never recommend anyone to use it! Ever! The color turned out fine, as spray in colors go, but this stuff was a complete disaster. It got onto everything. I washed my hair three times and it still wouldn't come out, so I had to wash it a couple times with dish soap! Then, my shower had a red tint to it for weeks, until I finally had to bleach it to get it off! It stained the seat in my car, my bathroom counter, and the shirt my husband wore! Disaster! *Ok, end rant!*
​
DIY Sweeney Todd and Mrs. Lovett Couples Halloween Costume
The clothing
I admit it, I thought the clothing would be very hard to find, but it turned out to be so simple! It really just takes some imagination. I took some time studying various outfits worn by both Sweeney Todd and Mrs. Lovett, and formulated what I thought would be great costumes for us. We used a couple things we already owned, and found the rest at the Salvation Army during their 50% off Wednesday. You can't get cheaper Halloween costumes!
​
DIY Sweeney Todd and Mrs. Lovett Couples Halloween Costume
Sweeney Todd Outfit
Nick's Sweeney Todd outfit was beyond simple. He started with a white t-shirt he already owned, that looks like it has blood splatters all over the neck (I believe he got it at Hot Topic a long time ago), it was perfect. Over that, he wore this long sleeve, collared, white button-up that we got at Salvation Army for a couple dollars. You want it to be a little baggier, especially over the arms. Over that, he wore a really good-looking brownish/greyish vest that we also found at Salvation army for a couple dollars. He still has this vest because it's so nice! Finishing up his look, he wore a pair of black pin-striped dress pants that we got at (you guessed it) Salvation Army, for (you guessed it) a couple dollars!
​
DIY Sweeney Todd and Mrs. Lovett Couples Halloween Costume
Mrs. Lovett Outfit
Mrs. Lovett's costume is a bit trickier, but just as do-able as Sweeney Todd's. In the movie she has a couple different outfits, so I kept those in my mind when we went to the Salvation Army and found exactly what I needed to make my own version of all her outfits. The skirt and the corset are the focal points of her outfit, so I was so glad to find this perfect skirt at the Salvation Army. It was the perfect color, design, and length.
​
DIY Sweeney Todd and Mrs. Lovett Couples Halloween Costume
I found this great top, complete with ruffles, at the Salvation Army, and cut the top off, because I didn't want the bottom part to bunch under the corset. 
​

DIY Sweeney Todd and Mrs. Lovett Couples Halloween Costume
I then layered a black corset I already owned (and an extreme push-up bra!) over top of the long sleeved shirt.
​ 
DIY Sweeney Todd and Mrs. Lovett Couples Halloween Costume
And to complete my look, I couldn't believe my luck when I found these shoes at The Salvation Army! How perfect are they?!

DIY Sweeney Todd and Mrs. Lovett Couples Halloween Costume
Oh, and we found this straight razor at Sally's Beauty Supply. It added a little something don't ya think!
​

DIY Sweeney Todd and Mrs. Lovett Couples Halloween Costume
What are you going to be for Halloween this year?!
​
Picture

​Peace Love and Sweeney Todd
Jess <3

1 Comment

Guest Post; DIY Haunted Hair Candy

9/26/2016

0 Comments

 
DIY Haunted Hair Candy
​"Behold, DIY haunted hair candy for those of us that adore that spooky-chic look all year round."
Hello everyone! Today I am very excited to be teaming up with my blogging friend Samberlina Rodriguez, over at The Haunted Housewife! She's super cool, and I absolutely love her blog, which is full of Halloween inspiration all year round! You can find out more about her at the bottom of the post, but for now, let's get to crafting!


"As much as I love Halloween, the hair goodies and jewelry that you find during peak season are plastic, and not meant to last more than one night. I’m also not a fan of the color orange, especially right next to purple and black. Am I the only one? Anyway, moving on."
​
What You'll Need
Affiliate links, please view the disclosure policy!

-hot glue gun (or soldering iron if you like to live on the edge. We’re playing with metals on metals today, so I think it could work. Solder at your own risk!)

For the bat headband:

-headband blanks, $4 for 12 of them.
-bat charm, $2.85 each.

For the spider pin:

-bobby pin blanks, $5.58 for 10 of them
-spider charm"
​

What You'll Do
DIY Haunted Hair Candy
"This tutorial is incredibly simple, and is as easy as gluing your charm onto your blanks. Take your headband blank (or blanks), the ones I’ve chosen came in a pack of 12 from amazon. For the bat ornament, you’ll need to curve it to match the headband’s curvature. If it’s not curved enough, it will likely pop off after you glue it in place. Soldering ensures it’s there to stay forever, but solder at your own risk! Today, I prefer to glue it and see how that works out for the long haul. Glue your headband to the bat, you’re done! It took me a couple tries to get it right. Be patient! When you’ve succeeded, you’ve got a beautiful bat headband (or several bat headbands) to wear all year round!"
DIY Haunted Hair Candy
​"How epic is this headband? Comes out to $3.18 each!!!"
​

DIY Haunted Hair Candy
"Now for the spider pin, you need to pick up some bobby pin blanks that have an area for you to glue your spider on to. These I found on amazon as well and were an add-on to my order and super cheap."
DIY Haunted Hair Candy
​"Then, I picked my favorite spider charm from a seller on Etsy, and that’s when the magic happened. Simply glue and go! The spider pins come out to an awesome $4.51 each. They cost more than the headband, but this spider is my favorite and worth the extra cost, in my opinion."
​

DIY Haunted Hair Candy
​"THESE ARE SERIOUSLY SO EASY AND AWESOME. YOU COULD MAKE THESE TO GIVE OUT TO YOUR FRIENDS WITH THE SAME STYLE, OR EVEN SELL THEM. I’VE SEEN THESE HEADBANDS GO TO $25 ON ETSY, WHICH IS OUTRAGEOUS IF YOU’RE A CHEAPSKATE LIKE I AM. I COULD MAKE NEARLY 8 OF THEM FOR THAT PRICE! ENJOY!"

Yay! Wasn't that great?! Thank you so much Samberlina, for that great post! You can read her original post here.
​
Picture
And today over on The Haunted Housewife, she will be posting a guest post from me, called "7 Ways to Make Your Home Halloween Ready". Go check it out!

Picture
​"Samberlina Rodriguez is the creep behind The Haunted Housewife (http://www.thehauntedhousewife.com); a blog dedicated to the strange and unusual with a feminine twist. When she isn't haunting her humble abode, she's busy obsessing over beauty products, out chasing kitties, or making a mess with glitter. You can find her on Instagram, @hauntedhousewife."
​

​Peace Love and Haunted Hair Candy
Jess <3


0 Comments
<<Previous
      
    ​
    Picture

    I'm Jessica!

    I've traveled all over the world, but Ohio is where I call home. I'm a lifestyle & travel blogger, and author. I love setting goals, reading, and snuggling up with my fur babies. I can usually be found at my local thrift store, or in the hammock in my backyard.

    About Me
      
    Picture
      
    Picture


    Popular Posts

    Picture
      
    Picture
      
    Picture
      
    Picture
      
    Picture
      
    Picture
      
    Picture
      
    Picture

    Categories

    All
    Asia
    Atlanta
    Beauty
    Blogging
    Bucket List
    Caribbean
    Changing The World
    China
    Christmas
    Coffee Break Retro Style
    Diy
    Fashion
    Food
    Goals
    Guest Bloggers
    Halloween
    Health
    Home Decor
    Inspiration
    Money
    Music
    My Favorite Posts
    My Life
    North America
    Oceania
    Ohio
    Parties
    Sponsored Posts
    Support Small Businesses
    Volke House
    Wedding
    World Traveler
    Zero Waste

    Archives

    March 2023
    December 2022
    August 2022
    July 2022
    June 2022
    May 2022
    January 2021
    December 2020
    September 2020
    August 2020
    July 2020
    June 2020
    May 2020
    April 2020
    March 2020
    February 2020
    January 2020
    December 2019
    November 2019
    October 2019
    September 2019
    August 2019
    July 2019
    June 2019
    May 2019
    April 2019
    March 2019
    February 2019
    January 2019
    November 2018
    October 2018
    September 2018
    July 2018
    June 2018
    May 2018
    March 2018
    February 2018
    January 2018
    December 2017
    October 2017
    September 2017
    August 2017
    June 2017
    May 2017
    April 2017
    March 2017
    February 2017
    January 2017
    December 2016
    November 2016
    October 2016
    September 2016
    August 2016
    July 2016
    June 2016
    May 2016
    April 2016
    March 2016
    February 2016
    January 2016
    December 2015
    November 2015
    October 2015
    September 2015
    August 2015
    July 2015
    June 2015
    May 2015
    April 2015
    March 2015
    February 2015
    January 2015
    December 2014
    November 2014
    October 2014
    September 2014
    August 2014
    July 2014
    June 2014
    May 2014
    April 2014
    March 2014
    February 2014
    January 2014
    December 2013
    November 2013
    October 2013
    September 2013
    August 2013
    July 2013
    June 2013
    May 2013
    April 2013
    March 2013
    February 2013
    January 2013
    December 2012
    November 2012
    October 2012
    September 2012
    August 2012
    July 2012
    June 2012
    May 2012

    *Disclosure; This blog is a personal blog written by me. This blog accepts forms of paid advertising and sponsorship. The compensation received may influence the advertising content, topics or posts made in this blog. That content, advertising space or post will be clearly identified as paid or sponsored content. Even though I receive compensation for some posts or advertisements, I will always give my honest opinions, findings, or experiences on those topics or products. The views and opinions expressed on this blog are purely my own.*
    Picture
Powered by Create your own unique website with customizable templates.