Life and Travel with Jessica
  • Home
  • Blog
  • Shop
  • About
  • Work With Me
  • Travel
  • Bucket List
  • Contact

7 Ways to Make Your House Halloween Ready!

10/5/2015

2 Comments

 
Picture
Hello ghouls and ghoul-etts!
The Halloween Season is upon us!
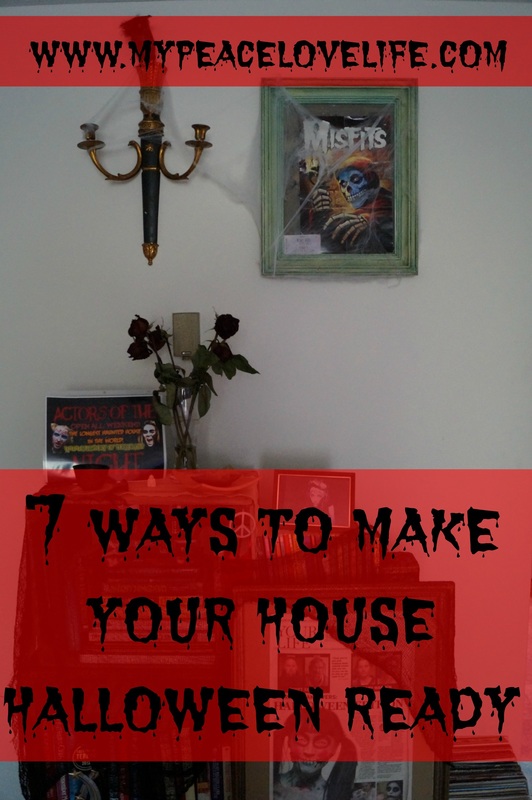
Cult Classic Horror Films, the Monster Mash, Blood, and Haunted Houses are here! I am so excited!!! Is your house ready? Well, here I have for you my 7 tips for making your house Halloween ready! Yaaaay!
​
Get your House Halloween Ready!
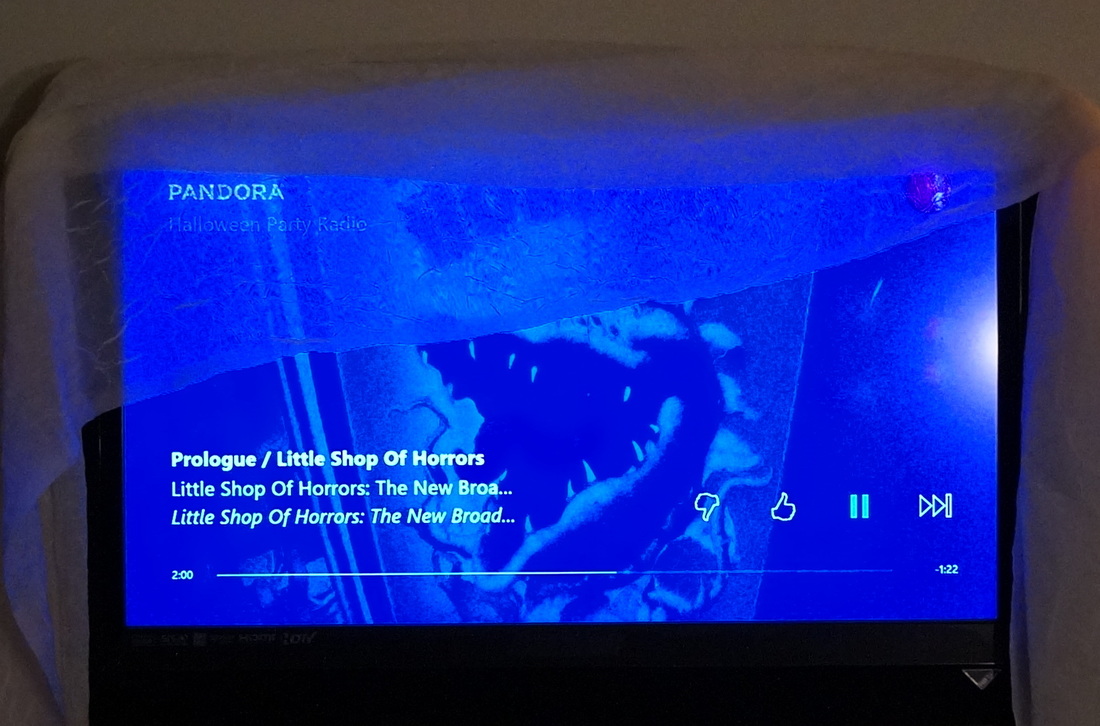
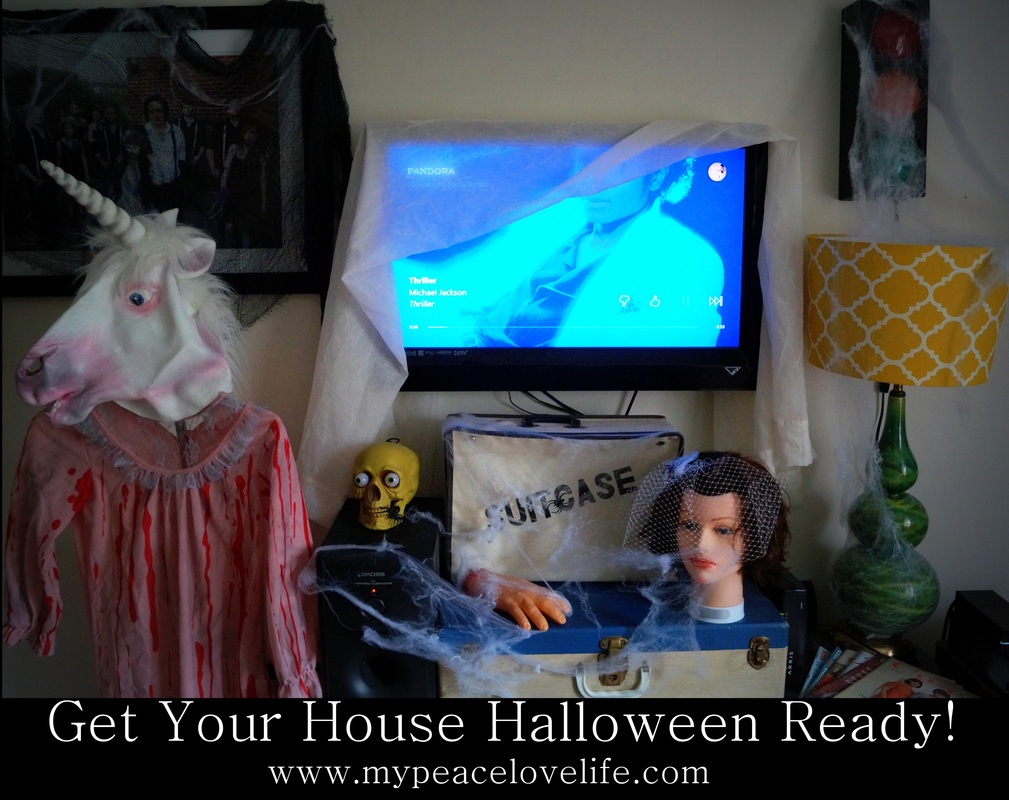
Before you do anything, first you must turn on Pandora, and turn it to "Halloween Party" Radio! This is the greatest collection of Halloween, and creepy music! Coin Operated Boy, Thriller, Nightmare Before Christmas, even Witchy Woman by the Eagles, and I Want Candy by Bow Wow Wow, how cool! And of course, Little Shop of Horrors!
So turn on the music, get in the Halloween Spirit, and start decorating!
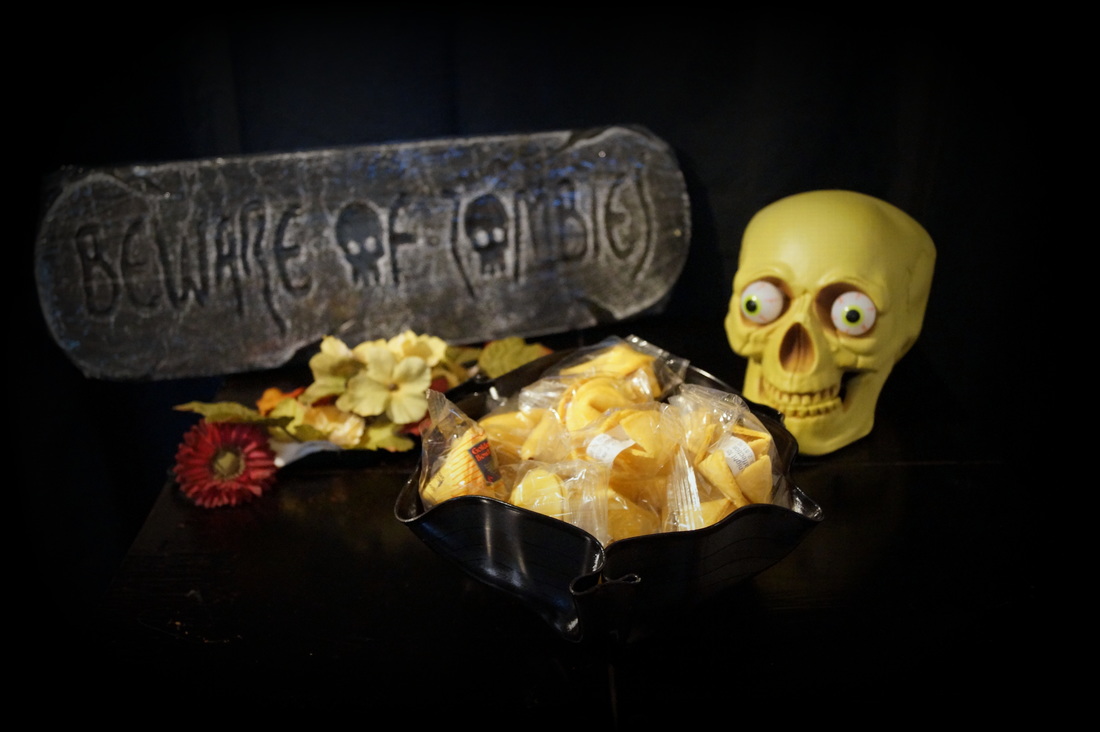
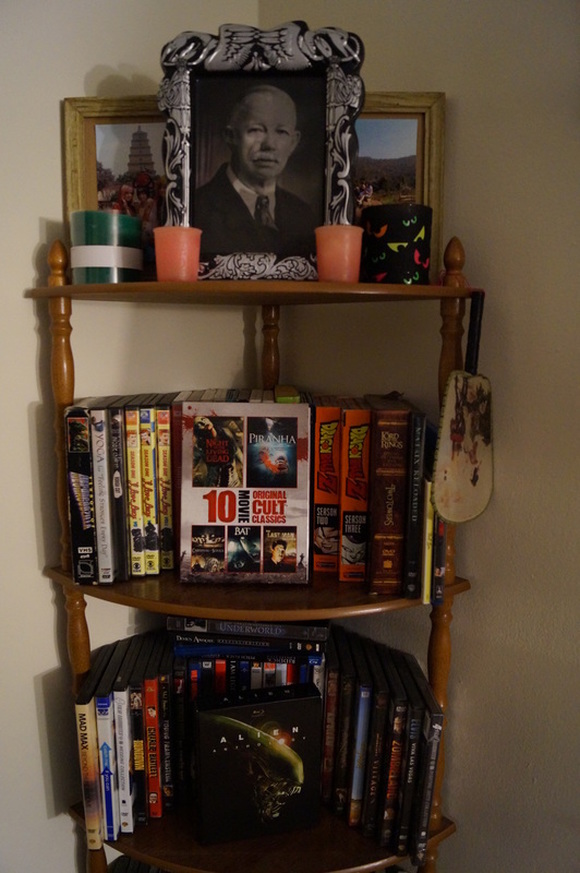
​
Get your House Halloween Ready!
Candy Dishes.
During Halloween you absolutely must have at least one candy dish sitting around!
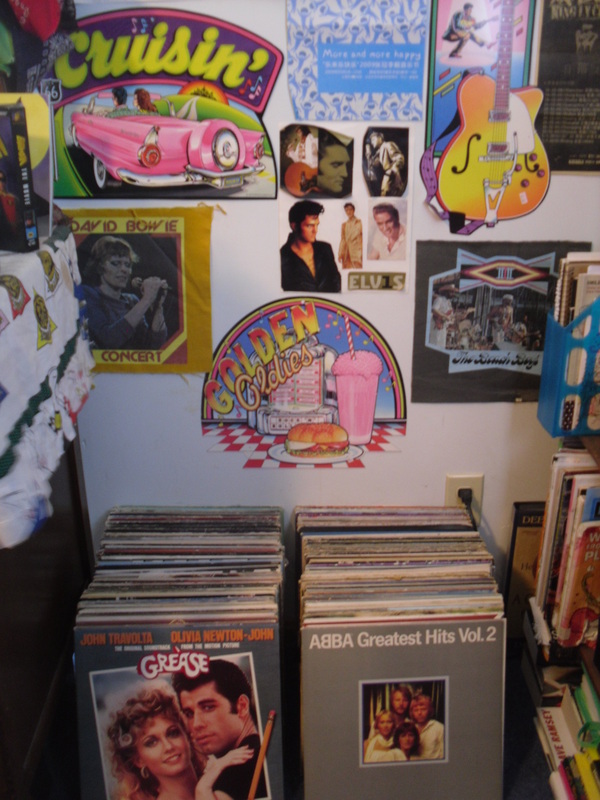
For something very different and cool looking, I use record bowls! 
Check out how groovy they look!
​

Get your House Halloween Ready!
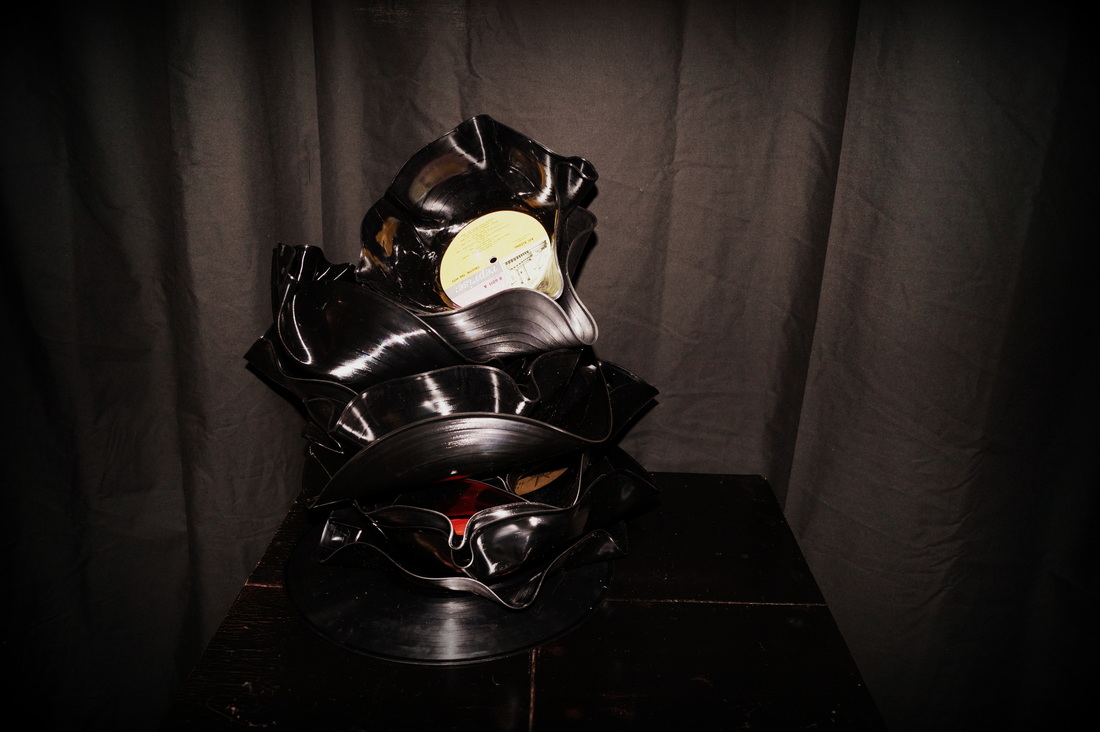
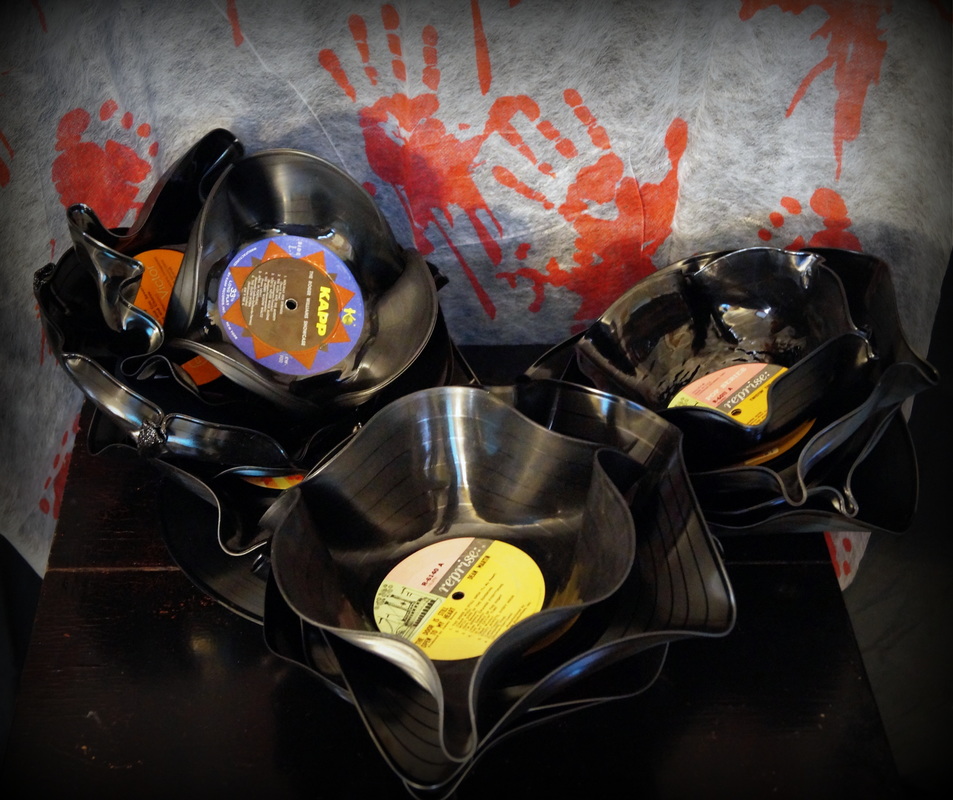
I actually make these awesome record bowls, and you can buy them on my Etsy Shop, only $13.99 for a set of five!

Get your House Halloween Ready!
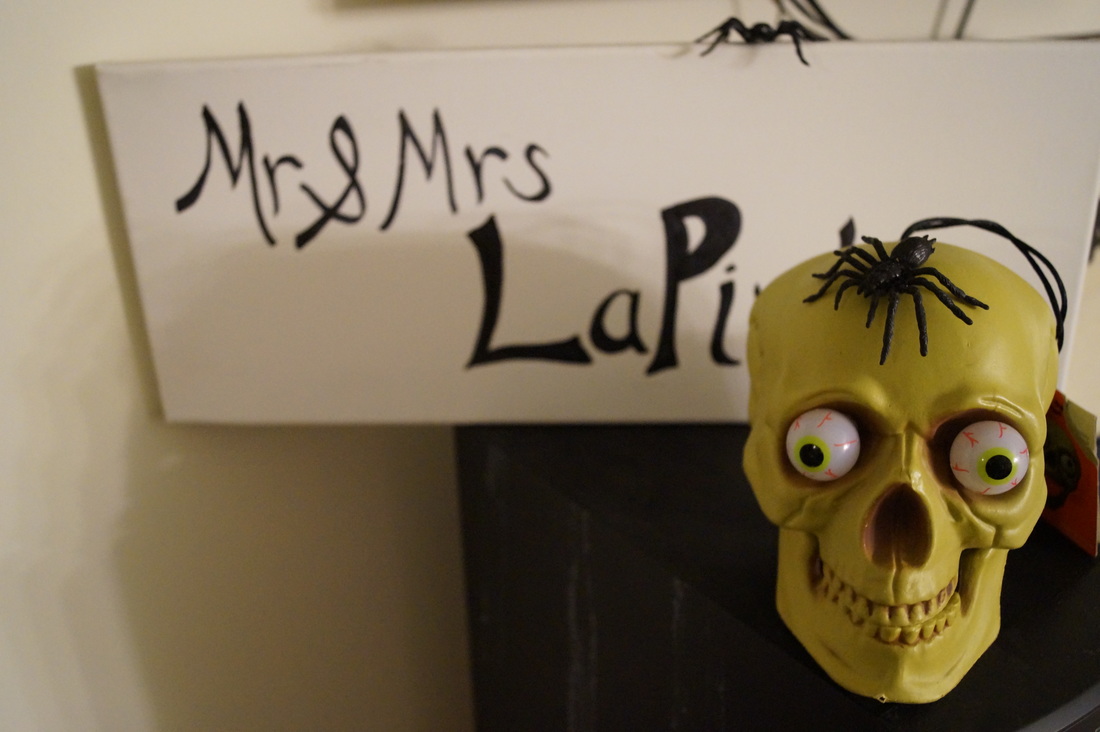
Fake spiders and skulls!
Fake spiders and skulls are great, inexpensive ways to add a little spooky-ness to your house! 
I bought this skull (the eyes light up and change colors!) at Dollar General a couple years ago after Halloween was over, for only $5.00, and my husband bought a pack of fake spiders this year at Dollar Tree for only a dollar!
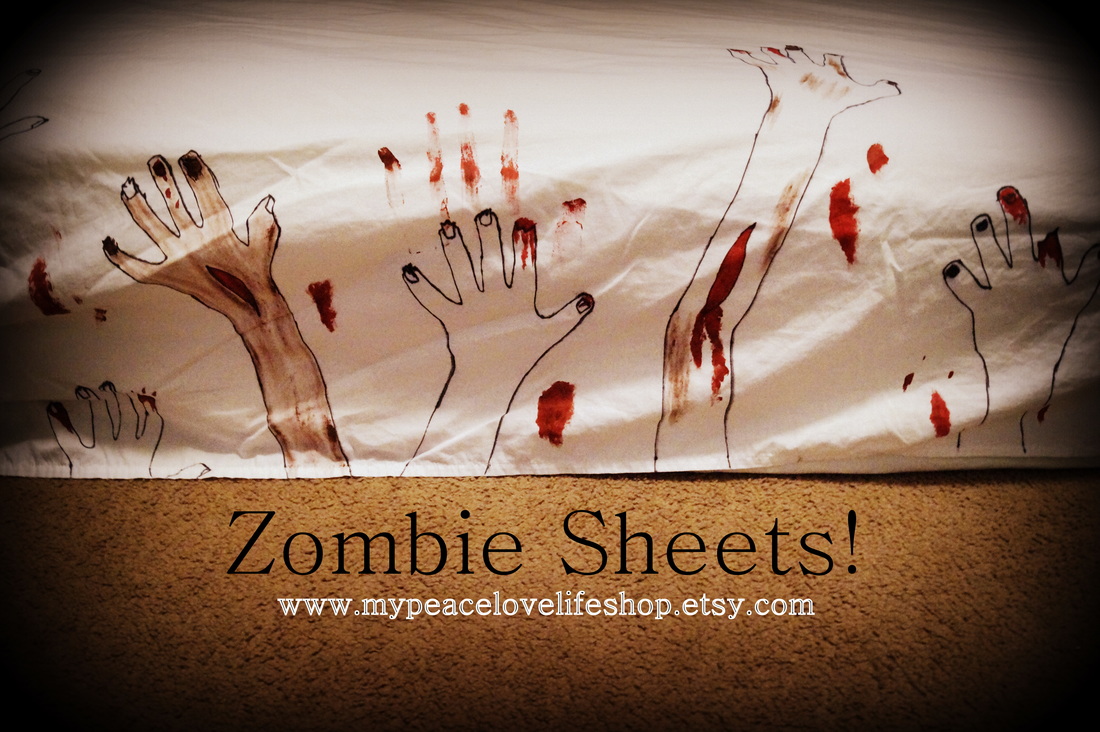

Get your House Halloween Ready!
Zombie Sheets!
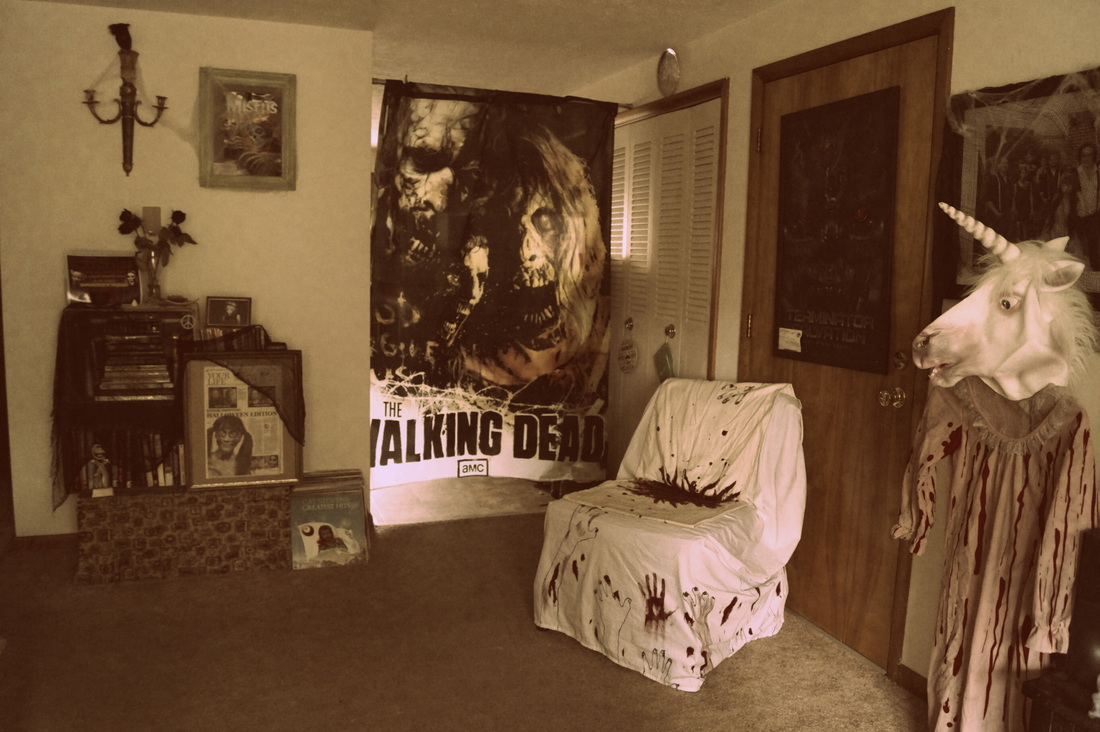
This is one of my favorite way to decorate for Halloween, because they are so versatile! You can put them on your bed, on your couch, or even on a chair! Take a look!

Get your House Halloween Ready!
We used the sheet and two pillowcase set and arranged them on a chair, to get this chair to be the focal point of our living room!
​

Get your House Halloween Ready!
Throw the Zombie Sheet over your couch to get this simple and awesome look! 

Get your House Halloween Ready!
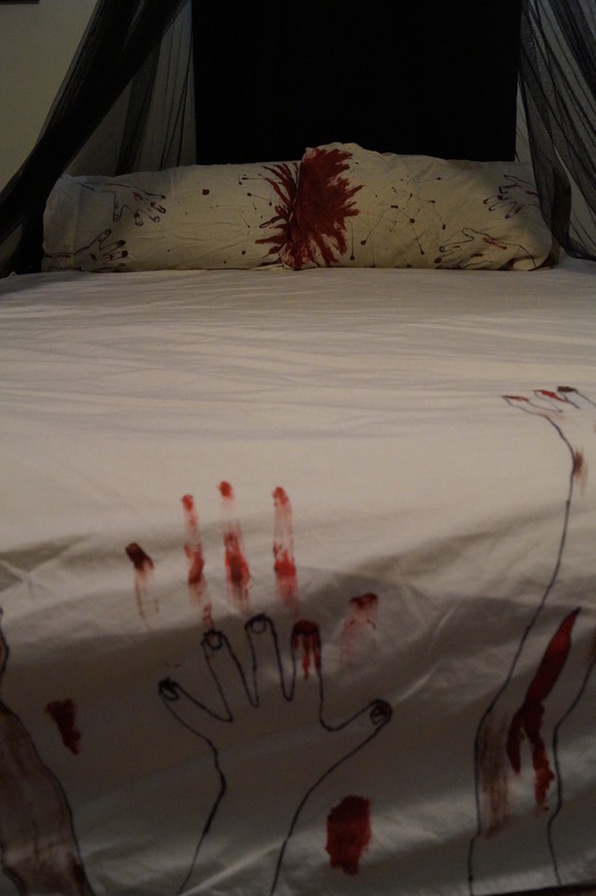
And here are the sheets on an actual bed!
I hand paint these great sheet sets, and you can purchase them starting at only $49.99!
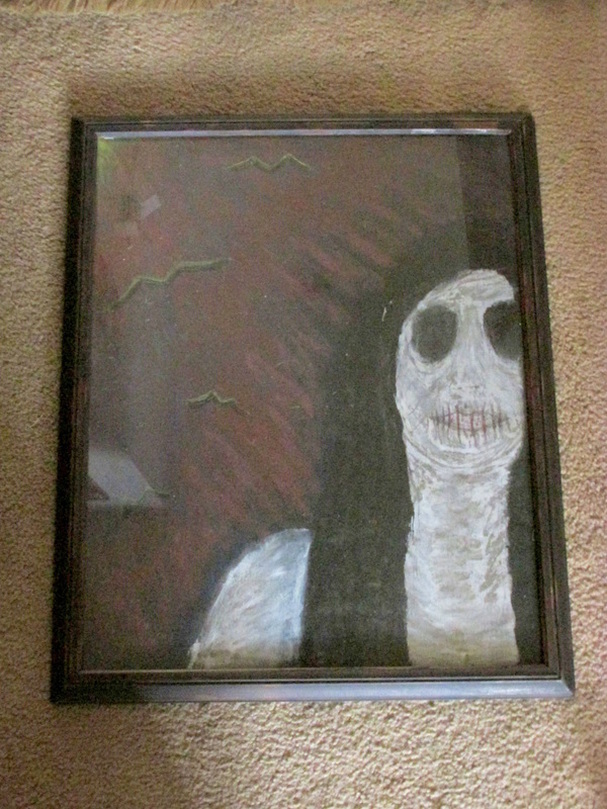
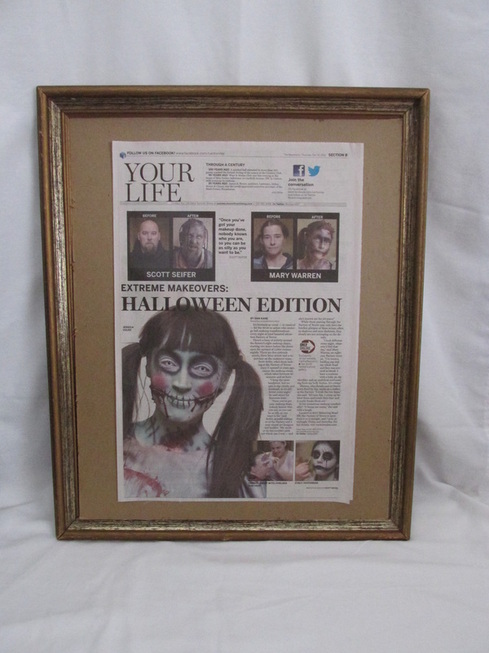
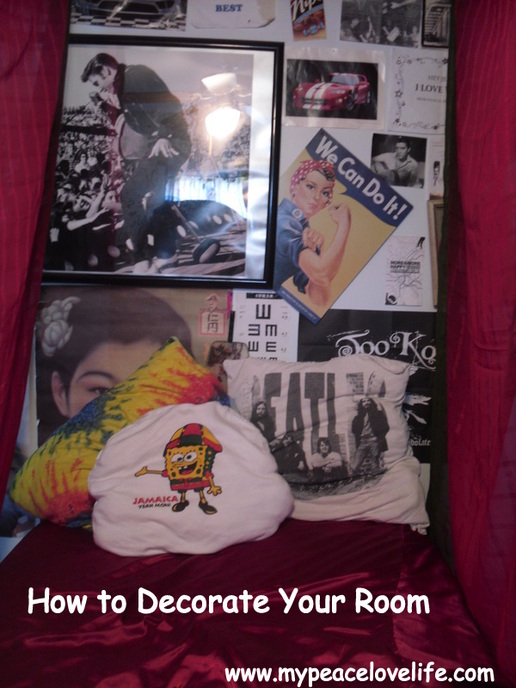
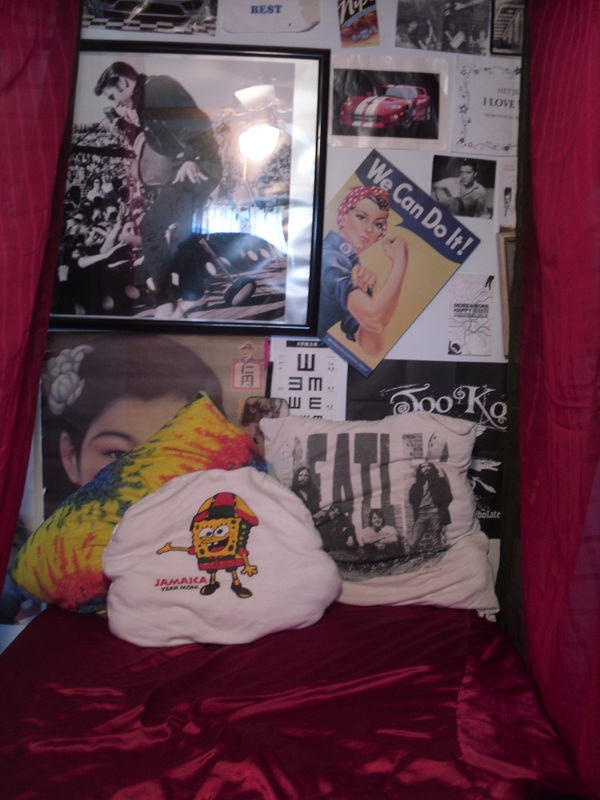
​
Get your House Halloween Ready!
How to Make Your Home Halloween Ready!
Creepy Pictures.
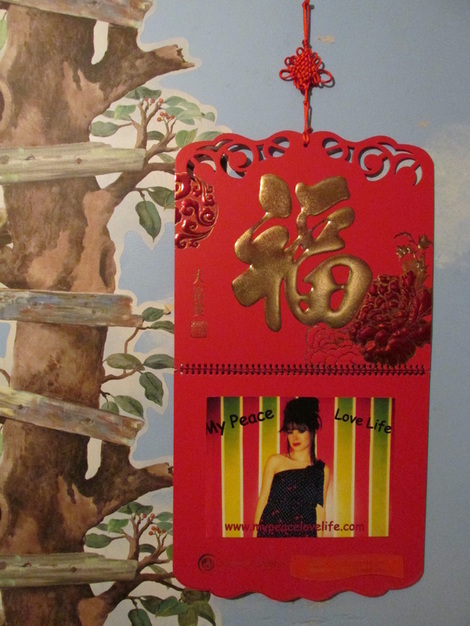
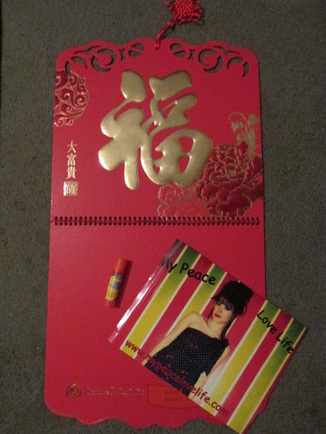
​Holographic Halloween Photos!
I don't care if these things are cheesy, I love them!
We have three of these in our house! We bought two of them at Dollar Tree for a dollar each, and I bought the other one at a flea market.
Etsy is also great place to find creepy paintings and prints! 
​
Picture
Get your House Halloween Ready!
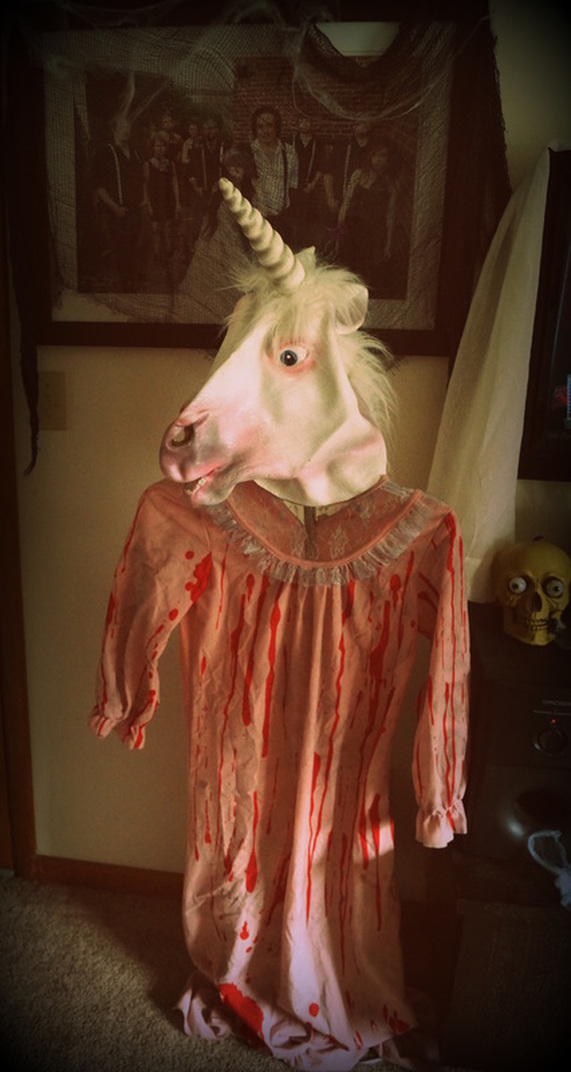
How to make a creepy standing figure.
I love this little guy! He's super creepy, and super cool!
​
-Get a tall lamp stand, and take the light bulb and shade off of it.
-Get a long dress or nightgown (I had this when I worked at the Factory of Terror. I got it at Goodwill for a couple bucks after Halloween was over a couple years ago).
-Leave the dress on the hanger, and hang it over the lamp stand.
-Get any mask that you have laying around (believe it or not, we already had this mask!), and place it over the top of the lamp stand, so that it covers the hanger.

And there is your super cool and super creepy standing figure!
​
^^^Having trouble finding Halloween decorations you like? Check these out!!! ^^^
​

Get your House Halloween Ready!
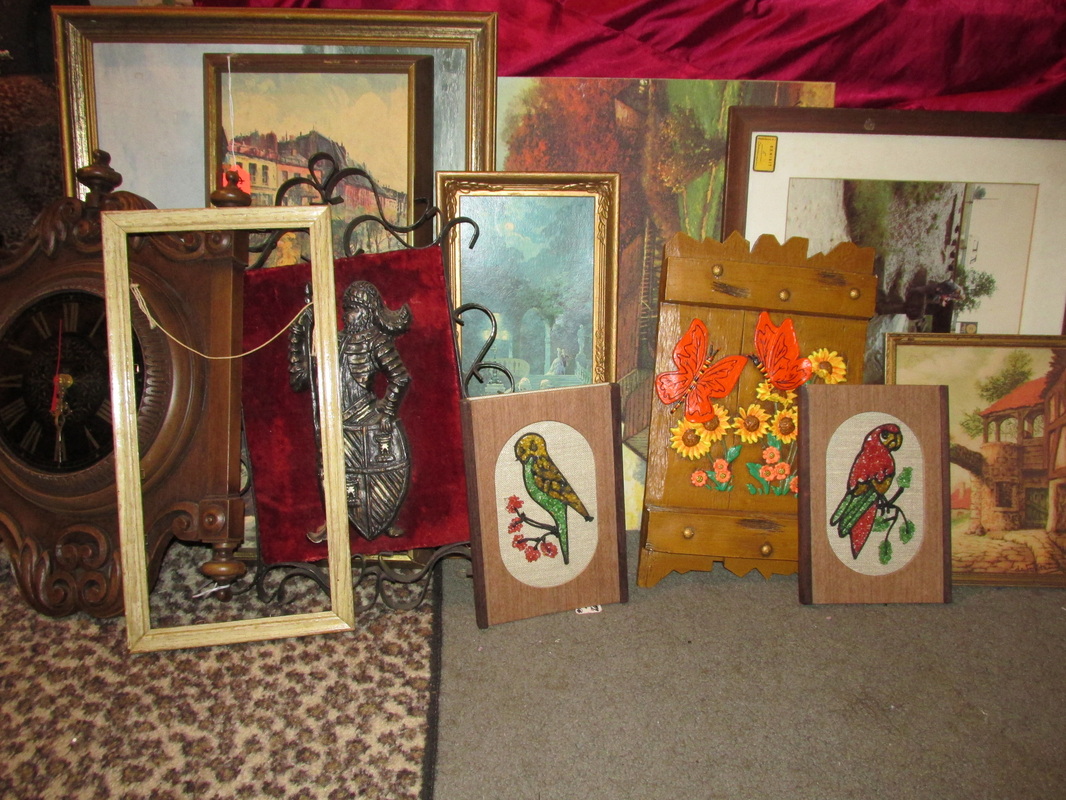
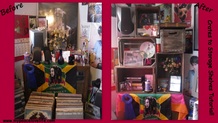
Take a look around your house for things you can re-purpose and make into Halloween Decorations.
Me and my husband are both very kooky people, so we used a lot of items that we just happened to have laying around; they weren't even originally for Halloween decorations!
So take a look at some of the things we found and used for our decorations, and see if you have anything similar laying around that you can use, or think of your own original and crazy ideas!
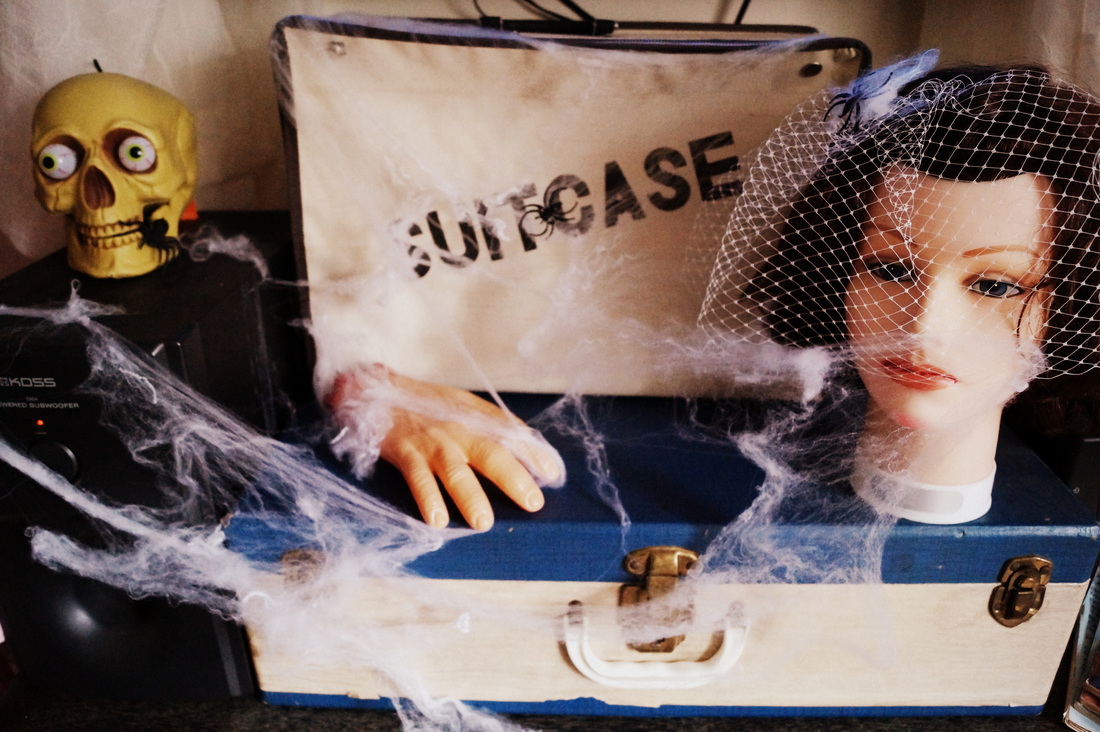
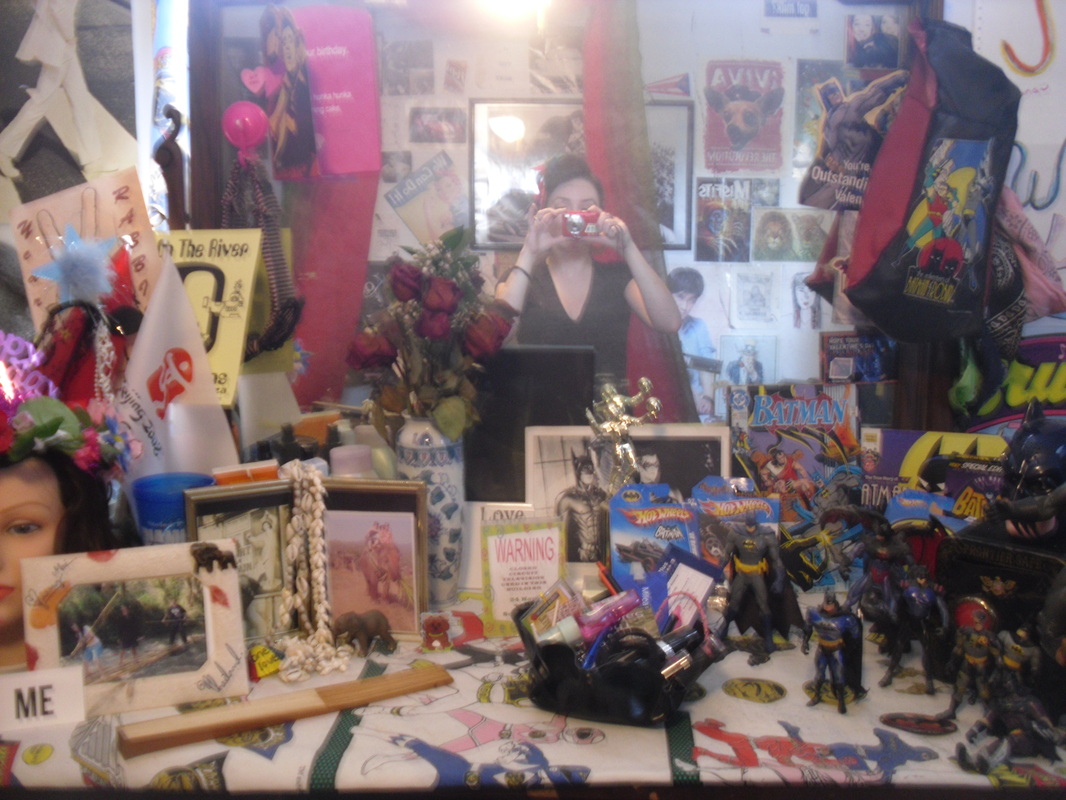
​
Get your House Halloween Ready!

-Mannequin Heads
I own two mannequin heads. Don't ask me why, but I love them! I use them when I'm vending at a festival to show off my headbands, and I just leave them around the house 'cuz I think they look cool!
You can find mannequin heads at beauty supply stores, or get one from someone who attended cosmetology school. 
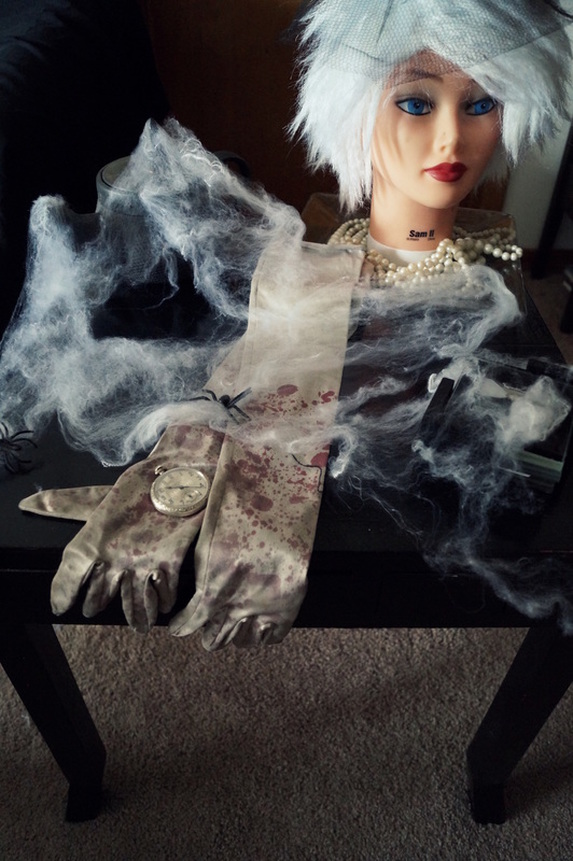
-Old Suitcases
I got mine at a thrift store, and my sister bought me one from a vintage store. They were already out in my living room, so I just put a mannequin head, a fake hand, and some fake cobwebs on it to make it look creepy and old.

-Fake Cobwebs
There is no easier way to Halloween-ify a room than with fake spiderwebs! We bought a pack at Dollar Tree for only one dollar! And that one pack went far! Just pull it apart, and put it everywhere!
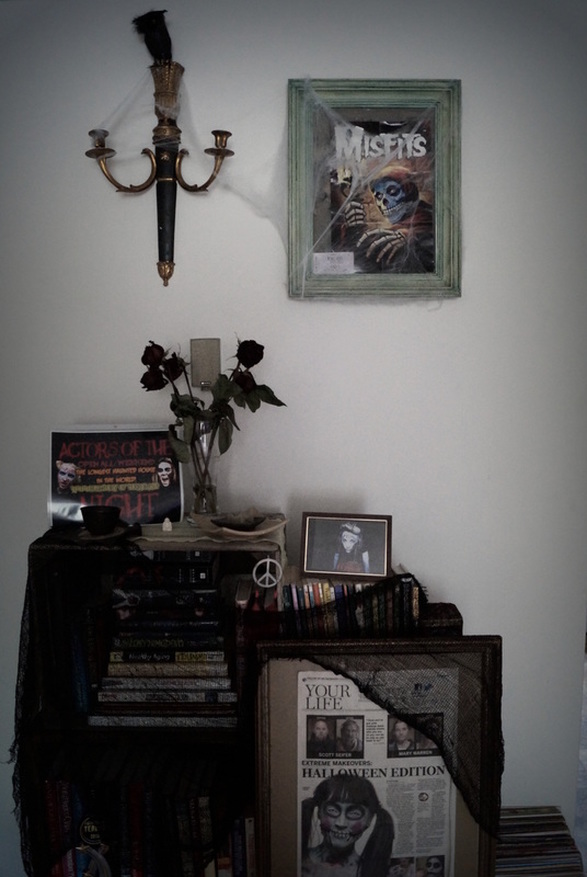
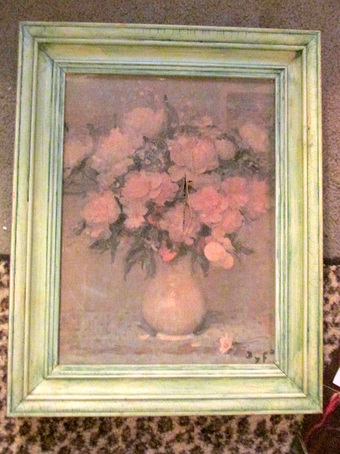
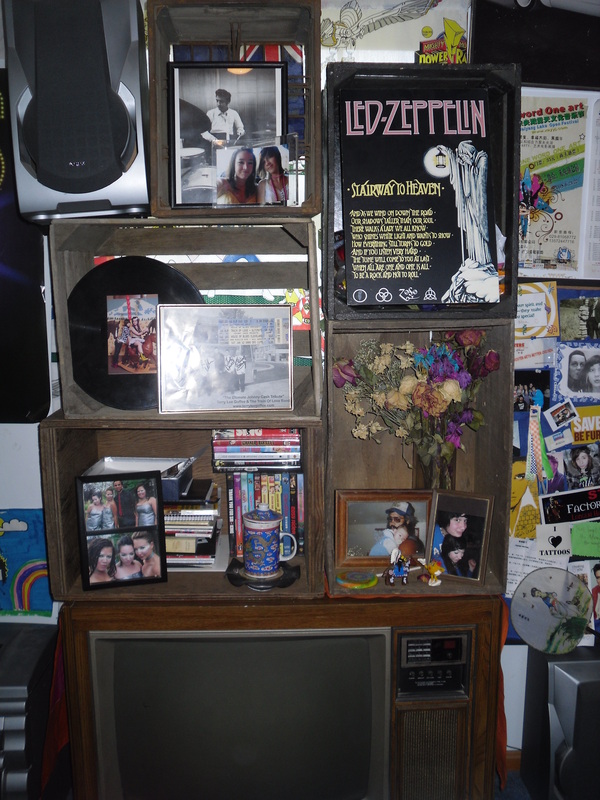
-Old dried roses
I dry all the flowers that my husband gets me, and they look great put into a vase and set out with all your Halloween stuff.

-Black Roses
We used fake black roses for our wedding, so we just dug out those!
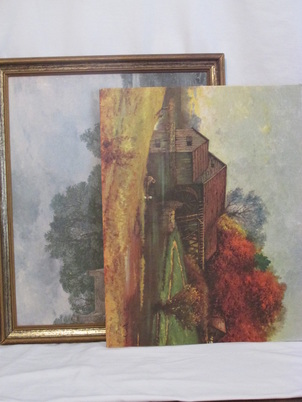
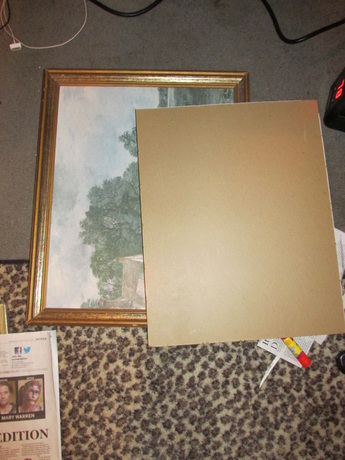
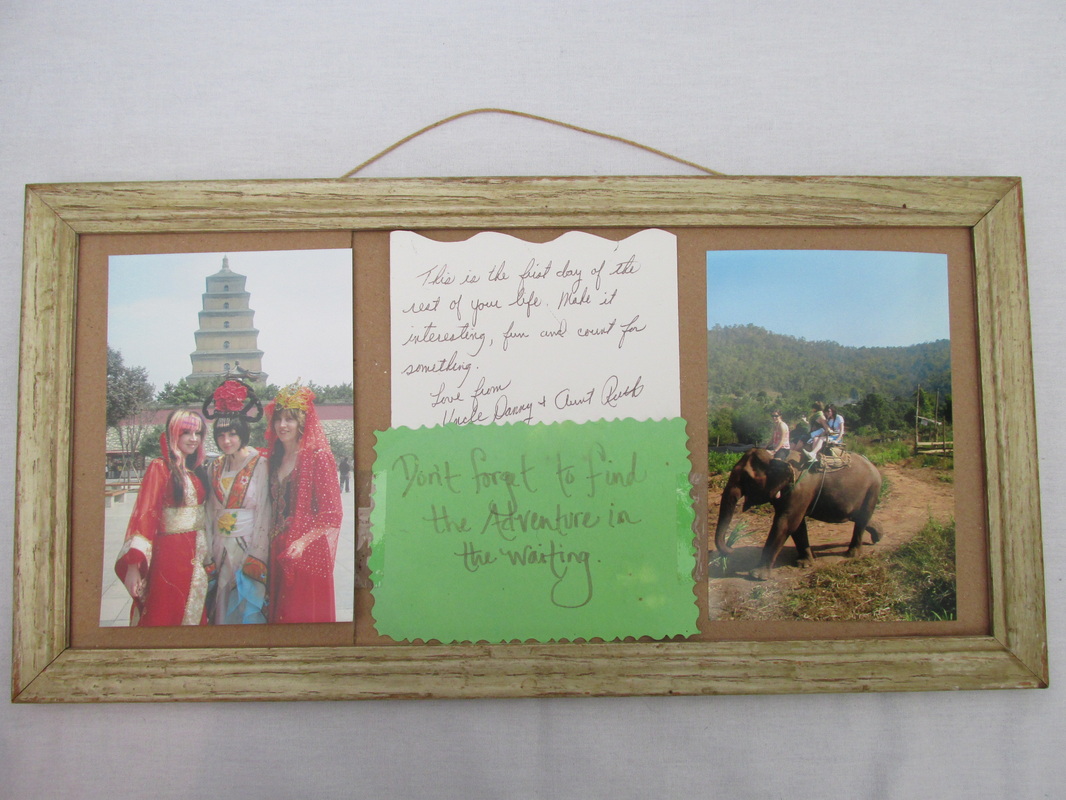
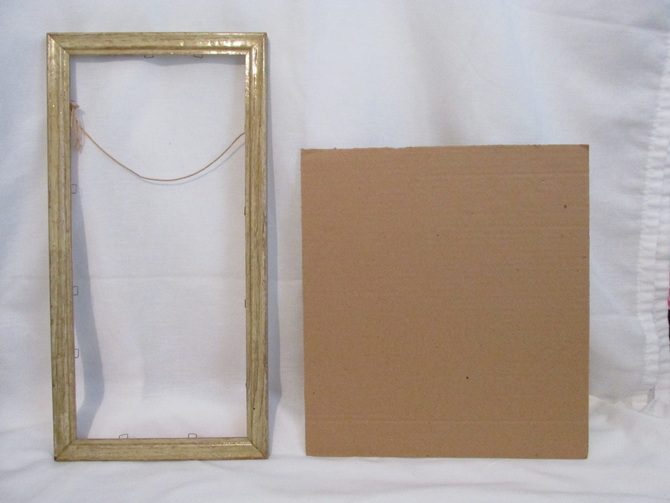
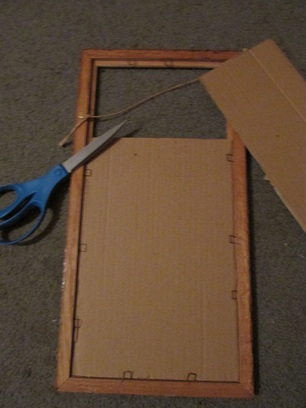
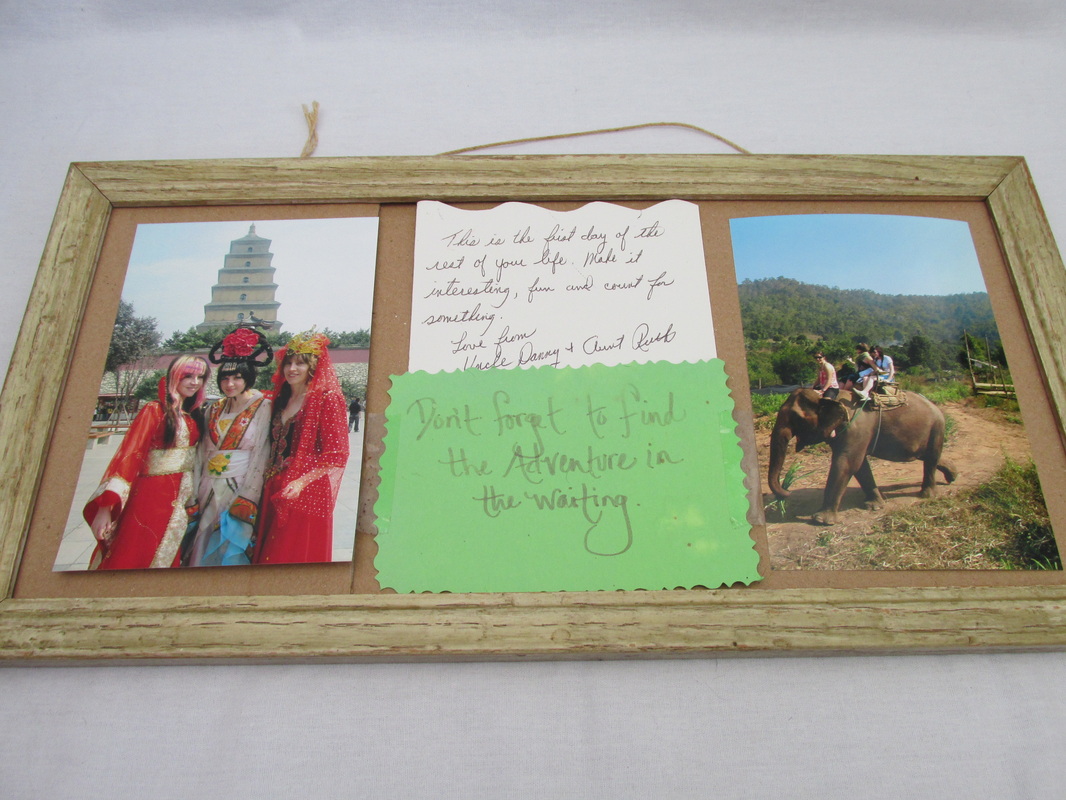
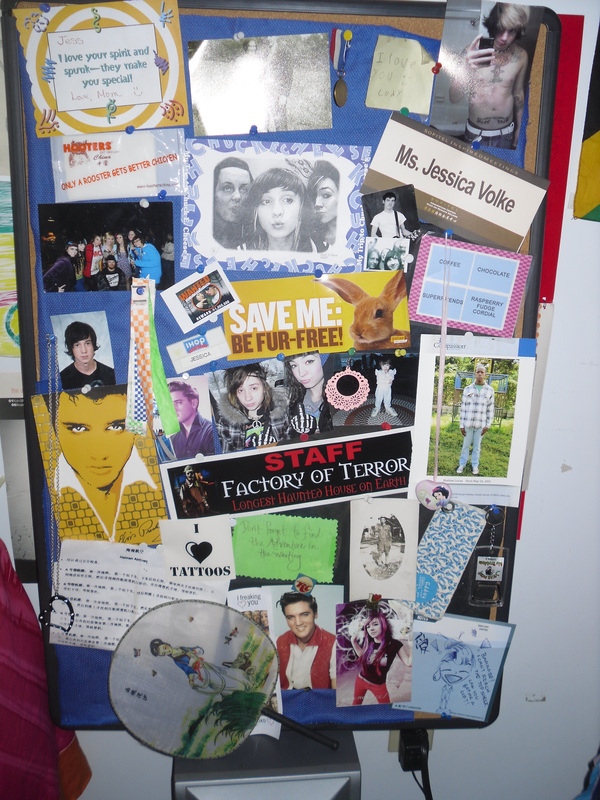
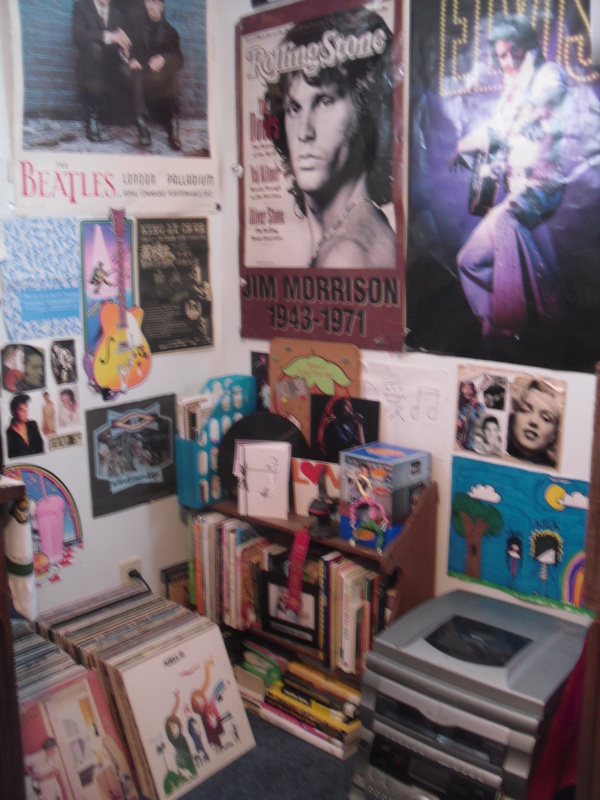
-Old Pictures

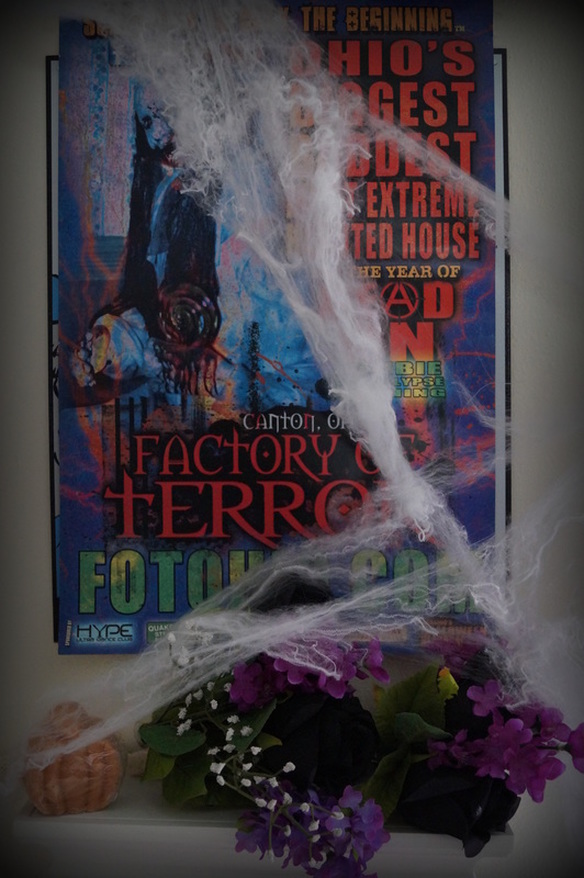
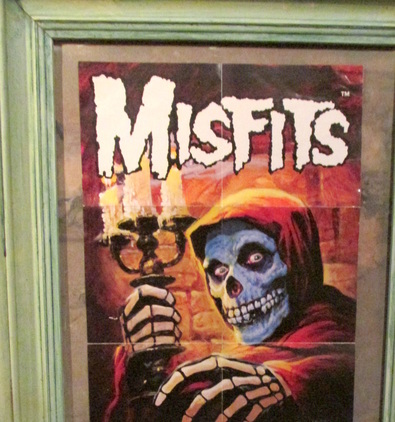
-Posters from haunted houses, bands, and concerts. 
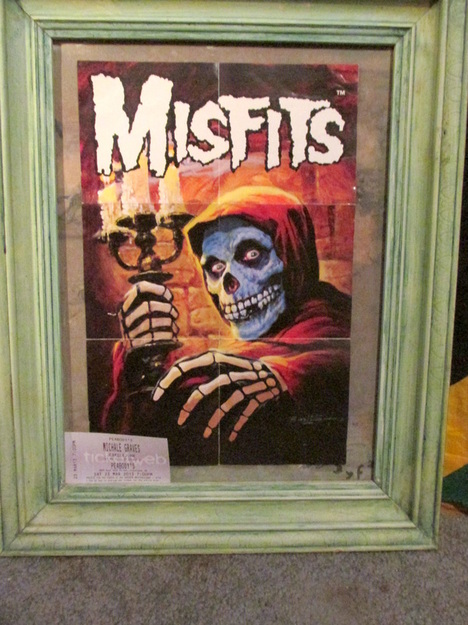
I have posters from when I worked at a haunted house, and my Misfits poster that I mounted on an old frame.
​
Get your House Halloween Ready!
Now get to thinking of your own terrifying creations!
Have a blast!

​
Get your House Halloween Ready!
Picture
Tattoo Blanket; Tattoo Cover

​Peace Love and Halloween
Jess <3


Follow my blog with Bloglovin
 
2 Comments

4 Creative Cheap Ways to Frame Your Life

6/4/2014

2 Comments

 
Picture
Hello every one of my fantastic readers! Thank you all so much for patiently awaiting my next post as I've been quite busy since my return from vending at this year's Abbey Road on the River.
I've just been bursting to tell you all about my time in Kentucky, and I will have that post up for you next week, but until then, I hope you enjoy this wonderful post I've been saving for a rainy day such as this!

Today I am going to show you four creative, cheap, and adorable ways to recycle old frames from thrift stores, vintage shops, and even your attic, into pieces that you can center your entire home around!
Picture
The idea for this post all started when I went into one of my favorite vintage stores, The Retro Ward, and bought a miscellaneous box that she just wanted to get rid of, for $10. Inside that box, was everything you see here! Lots and lots of random things, but most important were all the random picture frames! So to start these projects, go to your local Thrift Store or Vintage Shop, Garage sales, or even rummage around in your own basement or attic, and see what you can find! 

Picture
1. The "I'm with the Band" Poster.
Turn an old band poster, and a ticket to their show into a fun work of art that you can display in your home! Even if you're not with the band!
Picture
This was a very old (but beautiful) picture frame. The picture itself was ripped, and not to my liking. So I made it into this wonderful band poster!
What to do:
-Find yourself a poster of a favorite band, and if you're really cool, a ticket stub from their show!
Picture
-Use a glue stick, or double-sided tape to attach the poster and ticket directly onto the picture. P.S It looks extra cool if there's some of the original picture sticking out around the poster, like so.
Picture
Picture
2. The "I'm Famous, I'm in the Newspaper" Frame.
If you or someone you know found their way into the newspaper, this is the perfect way to show it off to the world!
Picture
What to Do:

-Lay the framed picture face-up on the ground.

-Take the un-framed picture (or piece of cardboard), and lay it face-down on top of the framed photo. This should be the exact size as the photo inside of the frame, so it should fit perfectly on top of it!

-Super glue this piece onto your other piece, so you now have a framed blank picture!


-Cut your newspaper clipping out, and glue stick that onto the center of the cardboard, and there ya go! I was also thinking that this would be really nice to do a collage picture too! Hmmmm!


What you Need:
-One of those big, ugly, old paintings that has a built in frame on it that you can't take off.

and

-A big ugly old painting that doesn't have a frame, and has a nice plain backside (or just a big piece of plain cardboard the same size as the framed picture)


Picture
Picture
That's me!:P

Picture
3. The "Miss March" Calendar Wall Hanging.
This is the perfect frame for 8x10 pictures. And, it's probably the easiest frame to make!
Picture
What you Need:


All you need is one of those big calendars that businesses hand out. Lucky me, I got my hands on an adorable Chinese one!

What to Do:

-Rip all the calendar pages off the calendar, so you have a nice blank canvas.


-Take your 8x10 picture, and glue stick all over the back of it! Stick it in the center of the calendar, and there ya go! A suuuper simple, super adorable wall hanging! 
Picture
Picture
4. The "My Life's Adventures" Frame.
Instead of letting your vaction pictures rot in a photo album that no one is ever going to see, show off your favorites by making this beautiful creation for everyone to see, and be jealous of!
What you'll need:
Picture
-An old frame that has no back with it (I was lucky enough to find one that was the perfect size to fit 5x7 pictures in).
-A regular piece of cardboard!
What to Do:
-Lay the frame face down on the ground.
 
-Put your piece of cardboard up against it,and measure it.


-Cut the cardboard to fit inside the frame perfectly.


-Now, if your piece of cardboard isn't long enough for the frame (like mine was), simply cut the leftover piece and fit that inside the empty space! If you look carefully below, you can see where I did this, but other than that, it's not noticeable!
Picture
Picture
Now, all you have to do is find a couple of your favorite adventure photos (if you don't have any, go have an adventure, then use those pictures!), and some awesome adventure quotes, and use a glue stick or even double-sided tape to attach them to the cardboard! Use the string on the back, or attach one of your own and hang it up for all to see!

P.S. Welcome to all new readers who I met in Kentucky! I am SO stoked that I got to meet you! And I'm super stoked that you decided to come check out the site! Feel free to poke around and explore a little, I hope you find something you like!


Peace Love and Framing
Jess <3

Other My Peace Love Life Articles you might like...
Picture
Picture
Picture
  Crates to Storage Shelves Tutorial.            Tights to Stockings Tutorial.              Healthy Homemade Salsa Recipe.

2 Comments

Decorating Your Room...! From a (not) pro decorator

10/5/2012

1 Comment

 
How to Decorate Your Room
I loooove decorating! I re-arrange my room about 5 times a year (sometimes more if I'm feeling ambitious or restless), and every time I do, not only does it give me such a feeling of accomplishment, but I always feel refreshed and rejuvinated, like I have a fresh start, and it allows me to fall in love with my room and my decorations all over again! Re-arranging your room is about the quickest and easiest fix for when you're feeling restless and need a change (which is quite often for me!). Now, I don't claim AT ALL to be an interior decorator, or even know what I'm doing with this, but I think my room always turns out pretty awesome, and it's super fun! So here's my newest arrangement of my room, and some tips about how to decorate yours too!
I usually get a piece of paper and draw out a detailed map of my room, complete with where all the windows and doors are, and then decide where everything goes, but you can also just wing it if you'd like.
Picture
Here's my bed. It's just a cot with a boxspring and mattress on top of it, and I have no headboard. My sheets are silk (custom made for my bed in China SUPER cheap). Silk sheets (or even imitation silk) are the ONLY way to sleep. Oh my goooodness...you could sleep on a bed of nails and it would still be comfortable, just because your body is pressed up against silk...hmm....haha ok moving on!
I have a sari that I got from a lady in Fiji, hanging from my ceiling with thumbtacks, draping across my bed. This is one of my cutest, easiest decorating tips. You can get some old fabric at a Thrift Store, or even JoAnn Fabrics, and use that! Here I did the same thing for my Chinese night.
I have some of my t-shirt pillows that I made for myself propped up against the wall. You can get your own, custom made t-shirt pillows here.
Here's one of my favorite things in my room. I have a tutorial here on how to make it.

Picture
My music corner! Complete with record player, and my record collection.
The cruisin, golden oldies, and guitar wall hangings I got for .25 each at a thrift store!
My Jim Morrison, Elvis, and Beatles Posters.
My book shelf is in the corner also.
It can be a good idea to make themes in different corners of your room, like I did here.

My INCREDIBLE record collection. All in alphabetical order of course :) >>>

Picture
Picture
Old Wooden Crates to Storage Shelves that I made myself! These are so good if you don't have a lot of space to put things (like me). It only takes up wall space, and you can put decorations in it, or anything else you would like (behind my Led Zeppelin plaque is where I store snacks! Haha). This idea has saved me soo much room and to be honest looks pretty awesome. I made a tutorial here. This was one of my first tutorials!
Picture
Picture
My dresser. Yes, it is a little bit cluttered. But if you look on the right side, it has my Batman collection! That's my last decorating tip. If you have a collection of something, show it off! 
On the left hand side is more pictures and souvenirs from places I've been. That is a re-occuring theme in my room. It kind of pulls the whole thing together.
So there you have it! You get a sneak peek at my room! And some exciting new ideas for your room! I may not be a professional, but not too bad...!


Peace Love and Decorating
Jess <3
1 Comment
<<Previous
Forward>>
      
    ​
    Picture

    I'm Jessica!

    I've traveled all over the world, but Ohio is where I call home. I'm a lifestyle & travel blogger, and author. I love setting goals, reading, and snuggling up with my fur babies. I can usually be found at my local thrift store, or in the hammock in my backyard.

    About Me
      
    Picture
      
    Picture


    Popular Posts

    Picture
      
    Picture
      
    Picture
      
    Picture
      
    Picture
      
    Picture
      
    Picture
      
    Picture

    Categories

    All
    Asia
    Atlanta
    Beauty
    Blogging
    Bucket List
    Caribbean
    Changing The World
    China
    Christmas
    Coffee Break Retro Style
    Diy
    Fashion
    Food
    Goals
    Guest Bloggers
    Halloween
    Health
    Home Decor
    Inspiration
    Money
    Music
    My Favorite Posts
    My Life
    North America
    Oceania
    Ohio
    Parties
    Sponsored Posts
    Support Small Businesses
    Volke House
    Wedding
    World Traveler
    Zero Waste

    Archives

    March 2023
    December 2022
    August 2022
    July 2022
    June 2022
    May 2022
    January 2021
    December 2020
    September 2020
    August 2020
    July 2020
    June 2020
    May 2020
    April 2020
    March 2020
    February 2020
    January 2020
    December 2019
    November 2019
    October 2019
    September 2019
    August 2019
    July 2019
    June 2019
    May 2019
    April 2019
    March 2019
    February 2019
    January 2019
    November 2018
    October 2018
    September 2018
    July 2018
    June 2018
    May 2018
    March 2018
    February 2018
    January 2018
    December 2017
    October 2017
    September 2017
    August 2017
    June 2017
    May 2017
    April 2017
    March 2017
    February 2017
    January 2017
    December 2016
    November 2016
    October 2016
    September 2016
    August 2016
    July 2016
    June 2016
    May 2016
    April 2016
    March 2016
    February 2016
    January 2016
    December 2015
    November 2015
    October 2015
    September 2015
    August 2015
    July 2015
    June 2015
    May 2015
    April 2015
    March 2015
    February 2015
    January 2015
    December 2014
    November 2014
    October 2014
    September 2014
    August 2014
    July 2014
    June 2014
    May 2014
    April 2014
    March 2014
    February 2014
    January 2014
    December 2013
    November 2013
    October 2013
    September 2013
    August 2013
    July 2013
    June 2013
    May 2013
    April 2013
    March 2013
    February 2013
    January 2013
    December 2012
    November 2012
    October 2012
    September 2012
    August 2012
    July 2012
    June 2012
    May 2012

    *Disclosure; This blog is a personal blog written by me. This blog accepts forms of paid advertising and sponsorship. The compensation received may influence the advertising content, topics or posts made in this blog. That content, advertising space or post will be clearly identified as paid or sponsored content. Even though I receive compensation for some posts or advertisements, I will always give my honest opinions, findings, or experiences on those topics or products. The views and opinions expressed on this blog are purely my own.*
    Picture
Powered by Create your own unique website with customizable templates.