I took a picture of it, and vowed to myself that I would, one day, have something like this in my house! So here I am three years later, when my mother finds three adorable wooden crates at a garage sale! So I bought them for $11.00 (for all of them!), and then my wonderful boyfriend bought me two slightly smaller milk crates at a garage sale also! I knew that this was the time to do it! So I give you, how to make storage shelves (or just decorative shelves) out of old wooden crates!
1. Get yourself some crates! It dosen't matter what kind,
or what size they are. I used different sized and
shaped crates, I think it makes it interesting. You can
get these crates anywhere; garage sales, estate
auctions, or even your grandmother's attic!
2. Take your crates outside. They're most likely dirty and
spiderweby(is this a word?! haha). I used a broom to
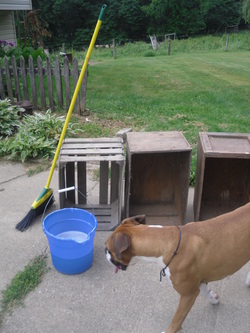
sweep all the spiderwebs and dirt out.
<<<Here's my crates (my puppy got in the picture, but she's just so cute I had to leave her in!)
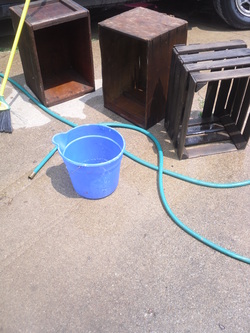
water and/or a garden hose.
4. Leave out in the sun to dry.
5. Once they're dry, the fun begins! Take them inside and
stack them however you want! And decorate them
however you want!
You can use this for soo many different things;
*A bookshelf
*Organize and display your jewelry, clothing, and
accessories (like in the first picture at the store)
*Fill it with picture frames, vases of flowers (mine has
dried flowers from every time my boyfriend's given me
flowers), and other memorabilia that you wish to display!
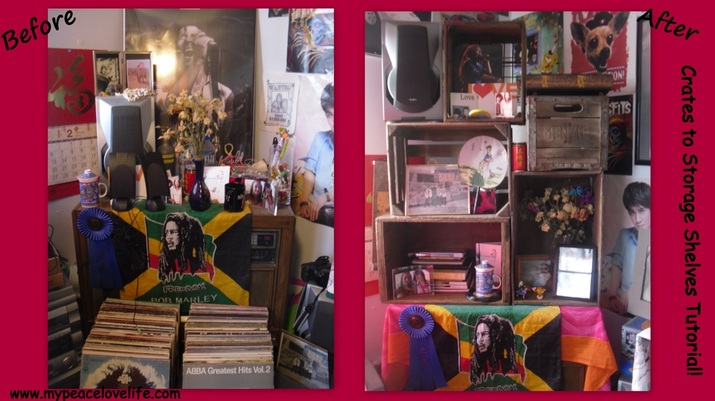
Here's a corner of my room before, and then my finished product!
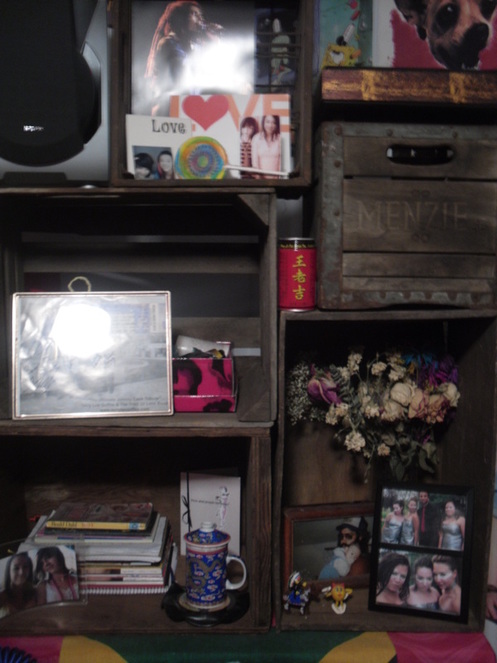
Here's my shelves! I looove them! I have them filled with photos, flowers, books, souvenirs, and other lovely things!
Let your imagination run wild, and build your shelves today!
Peace Love and D.I.Y
Jess <3
